 Do you remember long ago (longer for some of us than others), the moment that you learned to ride a bike? It usually goes something like this… At some point you decide that training wheels are just not going to cut it any longer. However, having removed them, you wonder why they are even called “training wheels” because you find that you are not suitably “trained” to ride solo. Instead, you needed a parent to run along beside you, with a hand on the back of the seat, smoothing out the lapses in balance. What followed was a time of general frustration accompanied by crashes of varying severity as you tried to figure out something that should be oh-so-simple. But… there was that moment, where you looked back and saw that your guardian parent was no longer holding on to your seat. You realized that you were doing it… you had learned to ride a bike. This is what happened to me last Wednesday. Let me explain…
The blow-yank-blow
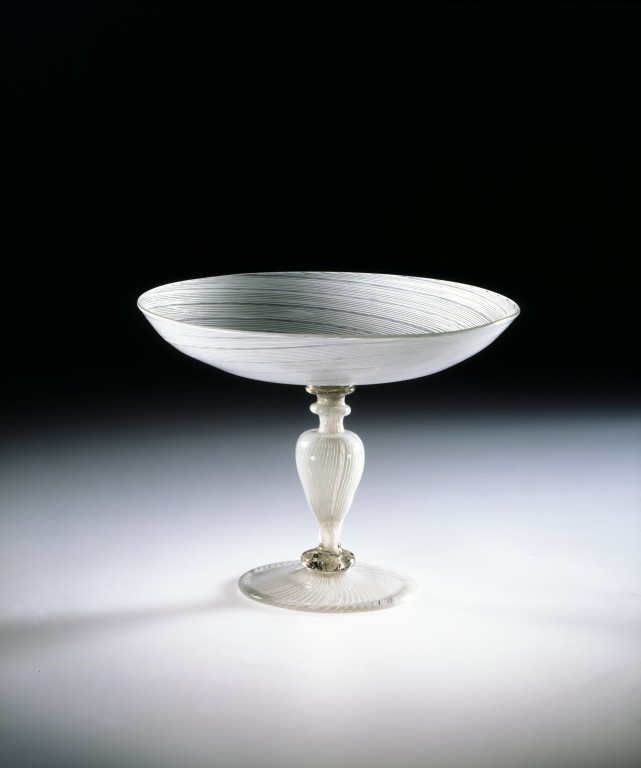
I believe that it would not be a stretch to say that Bill Gudenrath is recognized as one of the preeminent American Venetian-style glassblowers working today. (I must also mention that Bill is also a consummate teacher who is entirely gracious and unassuming — rarities I think, given his level of skill.) In September, Bill visited Penn State for the weekend. The visit began with a lecture in the Palmer Museum on Friday afternoon, continued with a full day of demo’s on Saturday, and wrapping up with a dinner at my house for all of the glassblowers. It was a fun (and instructive) time had by all. What I came away with from that weekend was the need to really refine the blow-yank-blow… Bill’s general process for creating all thin-walled, tall-form vessels. Here is his description of the non-optic b-y-b.
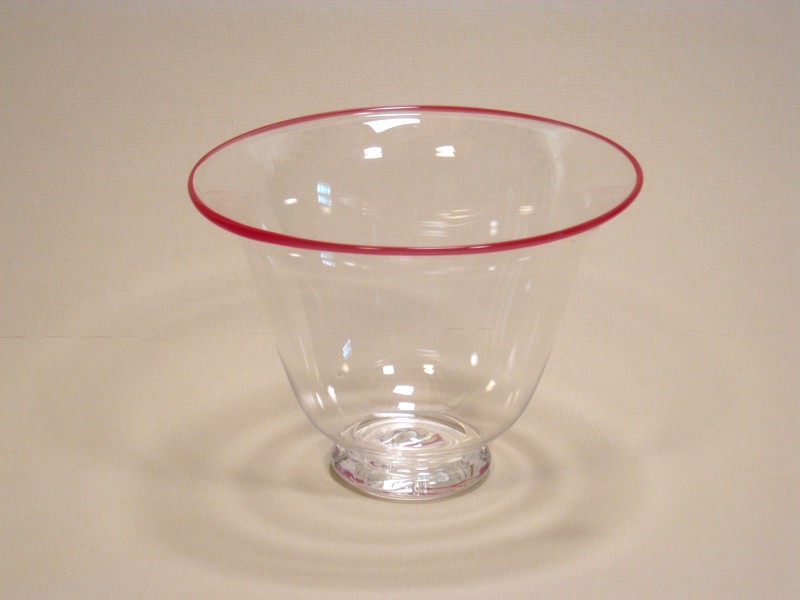
So, during the months of October and November, I worked exclusively on the blow-yank-blow. In addition, I also added a roman foot and lip wrap to each tumbler that I made (just to make the most out of each piece that made it to the opening stage). I should also note that I started to use Bill’s style of punty which I must say is perhaps the best punty that I have ever used… ever! Below are three tumblers from this span of work.
 Despite these successes, the b-y-b just didn’t look like Bill doing it… here’s an example (looks easy doesn’t it?). Instead of getting a long balloon shaped vessel, Carlo and I often produced a tear-drop which then had to be expanded (making for an overly thin bottom). Furthermore, I was consistently producing a thick-ish ring of glass two-thirds of the way down the vessel. Although it didn’t seem to affect the blowing process, it did disturb the look of the piece (unless it was hidden in the foot). By the beginning of December, I really felt that I had gone as far as I could go without some direction. Fortunately, Carlo and I were able to spend a Saturday in Corning working alongside Bill, who was able to critique my techniques and add some suggestions. Still, I must say that while at Corning, I had no epiphanies while practicing the techniques suggested by Bill.
That brings me to last Wednesday night. I should mention that the whole process isn’t just following the steps outlined in the b-y-b (although it is crucial to do so to the letter). What is not described in the recipe are the subtle nuances that go with each step… the length and angle of marvering, the right amount of reheating, the length of time for setting up the bubble, and finally, the pulling process (how much, when, etc.). In all of these areas, there are subtle corrections that make a big difference in the final process… even whether or not the whole process works at all. I am trying to dial in all of these variables while at the same time working to develop a “feel” for each step.
So, I’m about 5-6 pieces in… some were too cold, some not the right shape, others not set up correctly. At least I am beginning to see the mistakes, even if I can’t yet avoid making them. All of a sudden, everything seems to fall into place and the technique works (like hot melted butter it works!). Excited, I try another one… it works too! Sure there are even finer corrections that I see need to be made, but I am doing the blow-yank-blow. This was my “bicycle” experience because one moment it’s not quite working and the next it is. It was quite literally a quantum jump (no in-between). I was so excited that I didn’t really want to go home that night because I was afraid that I would lose the magic. Hopefully, the next time that I am in the studio, the magic will return and I will get on my bike and ride away!
Note: I should also point out that all of these very basic techniques don’t lend themselves to pictures. I’m not really “making” anything (except glass bubbles, with the occasional completed tumbler). Even the tumblers look pretty much like the tumblers that I was making a year ago. However, if you look very closely you can see (and feel) the difference. I find that I’ve become very picky… I want absolutely straight sides, no aberrations due to thickness changes, and perfectly flat rims. I have been assured that these exercises will make me better at working the glass so that when I do finally get around to making things, I can focus more on artistic expression that dealing with problems that arise from lack of skill.

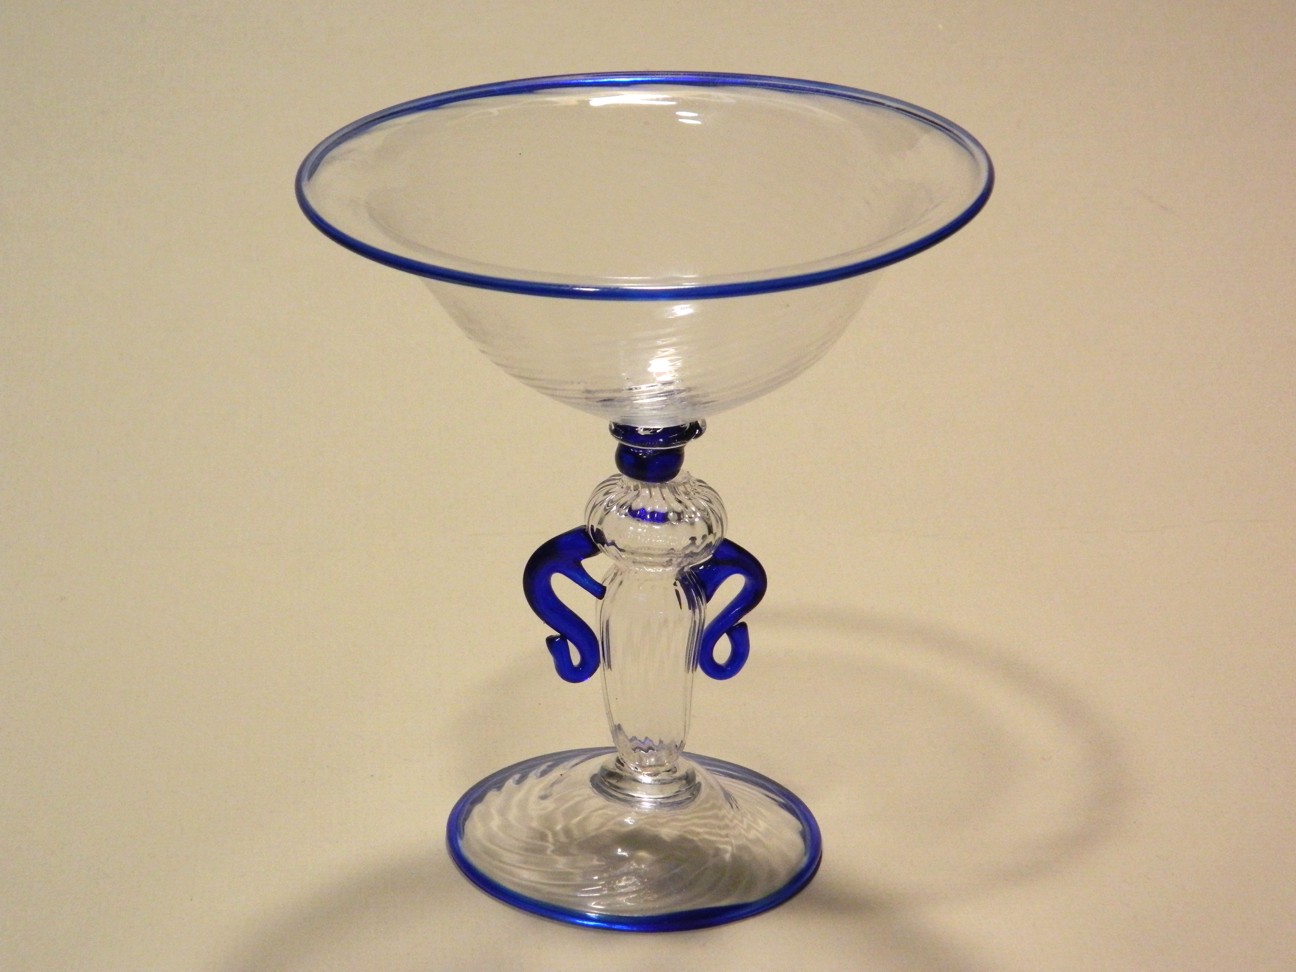
 The goblet on the right (see closer view) has a bowl with a mezzo-stampo and an optic ball / foot combination with an inner fold. The stem is hot-pulled at the time the bowl and foot are joined. I’m not such a big fan of this method as it is hard to get the stem the right length and straight. I like the look though.
 The light at the end of a tunnel? Perhaps. As you might have noticed, it has been a long time since I felt that I had anything to show. Fact is, I’ve put thousands of pieces in the scrap/recycle bucket over the last 6 months. Just when a thought that I have solved one problem, another one cropped up. I became so focused on these problems that I really hit a sort of frustrated writer’s block (blower’s block if you will). During the fall, I was so disheartened that I completely lost the desire to come in and blow at all. I had lost my sense of purpose in the studio. I needed a change.
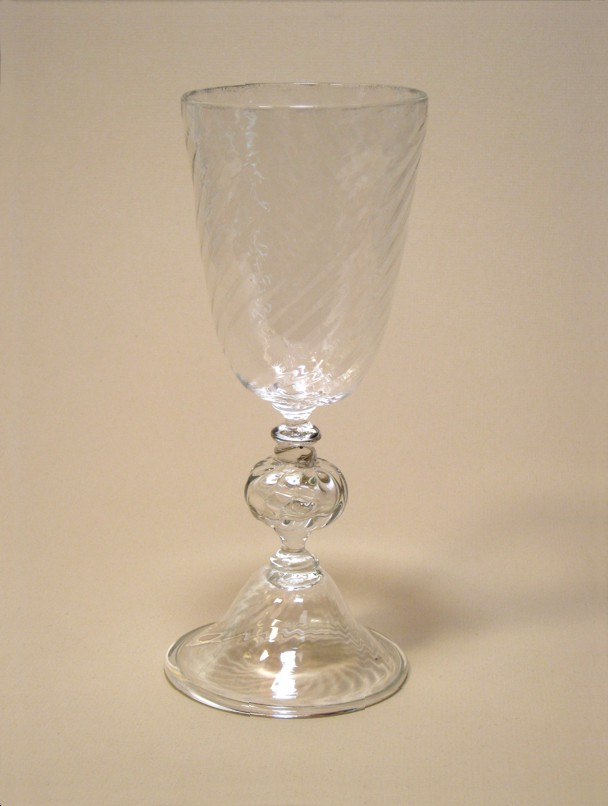
 The goblet above was made on January 16, 2013. Here’s a

