

By Ryan Johnson, technology training coordinator
Window 7 and 8 offers an easy to use tool to take screenshots. Whether you are creating documentation, sending an email with images or creating a helpdesk ticket and you want to capture an issue you are experiencing, a screen capture can be a very useful tool.
You can access the snipping tool by going to the Start Menu and choosing All Programs->Accessories and click Snipping Tool or the easier option may be simply typing snipping in the Start Menu search box and click Snipping Tool when it appears.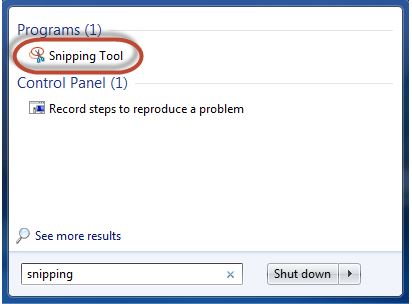
Main Interface
The Snipping Tool window has three important buttons: New, Cancel and Options.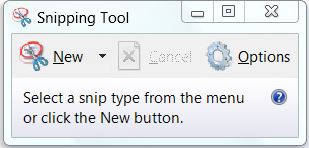
The New button allows you to select the type of screenshot that you want to take and then take a screenshot. The Cancel button allows you to cancel the current action. The Options button allows you to customize different aspects of the application.
How to Take a Screenshot
There are four types of captures available when pressing the New button:
 The Free-form Snip enables you to draw an irregular line around an object or area.
The Rectangular Snip allows you to take a screenshot shaped as a rectangle, by dragging the cursor around an object. I use this the most to capture parts of my screen.
Window Snip allows you to select a window (e.g. your Internet browser) or dialogue box (e.g. error message received from an application) and capture it.
Full-screen Snip enables you to capture the entire screen, like the old-fashioned Print Screen key.
Simply choose a selection and create your area to snip.
The captured area of the screen appears in the mark-up window, where you can write or draw on it, save it, and send it to someone in an email.