To finish out this blog, I thought it was fitting that I end with one of the harder braids that I know, which involves using a lot of the different braiding styles that I’ve you throughout the year. It’s called the flower braid, and is definitely a bit of a struggle, but looks so cute with a summer dress. Plus, flowers = spring, and Happy Valley finally defrosted, so why not celebrate by putting a flower in your hair!
*Just as a warning, this hairstyle needs long hair to do, so I suggest straightening it before you attempt it.
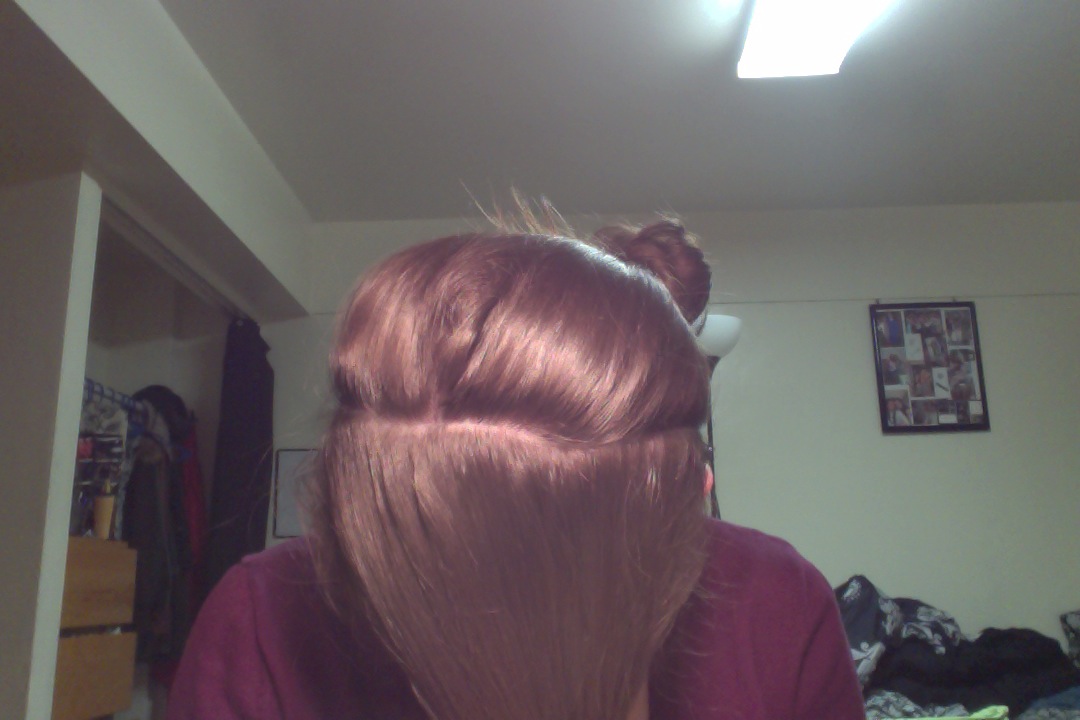
1. Part your hair, and starting with the side that has more hair, do a Dutch Braid. Braid like you would for a Headband Braid, but when you get hair to add in, take hair from the part line, and add in,so that the hair lies smooth and straight down. Braid this way until you get about half way down your head.

See how the hair is pulled straight down, make sure you do that!
2. Now continue to dutch braid, but turn your hair, so the braid runs parallel across your head. Simply lift the braid, aiming it towards the back of your head, and braid. Again, add the hair straight down in the top of the braid. Continue to braid this way until you get pass your ear.

Once you get to your ear, braid in one more section to the bottom of your ear and stop.
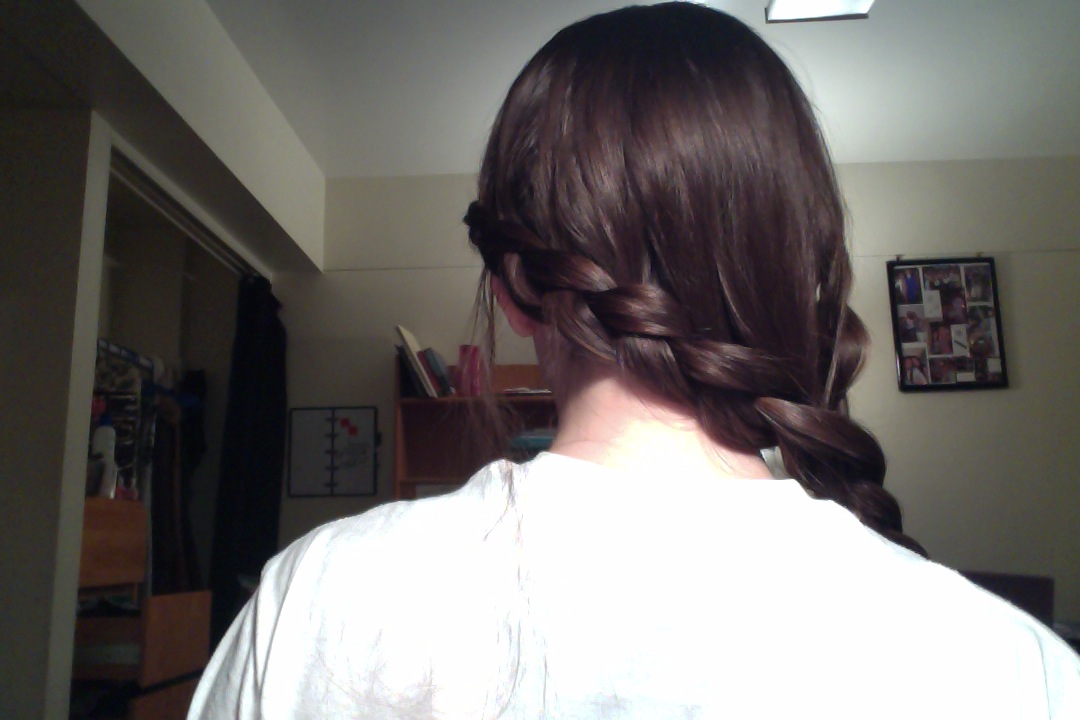
3. Now you’re going to want to continue to braid to across the back of your head, but start doing a Lace Braid, adding hair only to the top of your braid. Continue to braid until you get to get most of the way across your head.

4. Turn the braid down, so it goes down the back of your head. Continue to add hair only to the same side you were before. Stop when you get to the nape of your neck.
5. Now turn the braid so its facing the other side of your head (the braid will run parallel to the upper braid). Continue to lace braid, but add all the hair to upper section of the braid (the side that was the bottom one the upper braid). Continue to braid until you reach the other side of your head.

6. Now taking the remaining hair, do a normal braid, stopping about half way down. Taking the lower side, pull on the stitches, so that the loops are big.
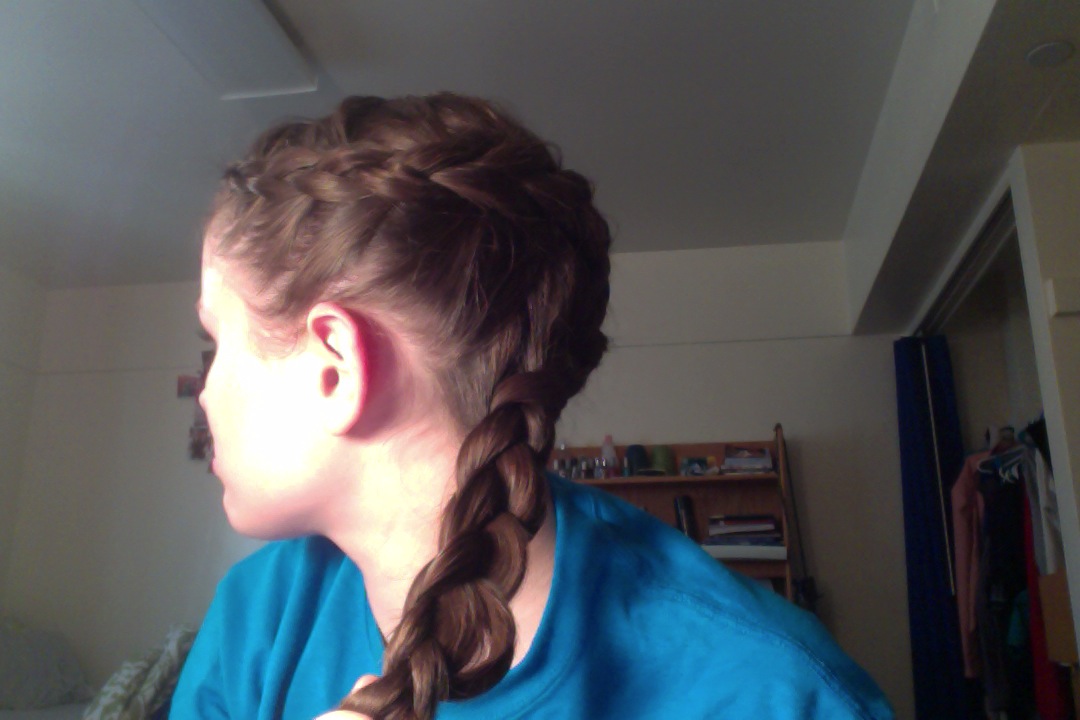
7. Braid the rest of your hair and repeat the pulling again. When you get to the bottom, tie it off with an elastic. Take the ends, and make a loop, securing the very most bottom part to the elastic.

8. Take the braid, and bring it up to the top of your head, and make a spiral, with the ends in the center. Pin the hair, and you’re done!


Because my blog is ending, I thought I should leave you with another blog to learn new hairstyles each week. Cute Girls Hairstyles is my go to site! Mindy, the mother, makes new videos every week, with the most creative braids ever; this week she did Prim’s new braid from The Hunger Games! This was actually the site that taught me most of the skills I know. Some of the hairstyles I do and showed you are derivatives of the styles she puts up. The videos are really helpful because you get to see how she does everything, the only downfall being that she does the styles on her daughters, so sometimes it’s hard to do them on yourself. I’ve found sometimes, if you’re having a lot of problems with a braid, you have to change around some of the directions if you want to do it on yourself (this hairstyle is an example of that). Overall, this site is amazing, so check it out or subscribe to their YouTube Channel!