These are the photo realistic 3000×2000 px rendered images of my scene produced in ART renderer at about 25-32 dB quality. The daylight is off and all scene lights are off which creates night time scene.
The Kitchen.
Resolution: 3000×2000 (render time was about 11 hours)

Living/Dining Area/View from the Kitchen Island

Partial Top View 
TV Wall Unit with all backlights on

A little bit about the process…
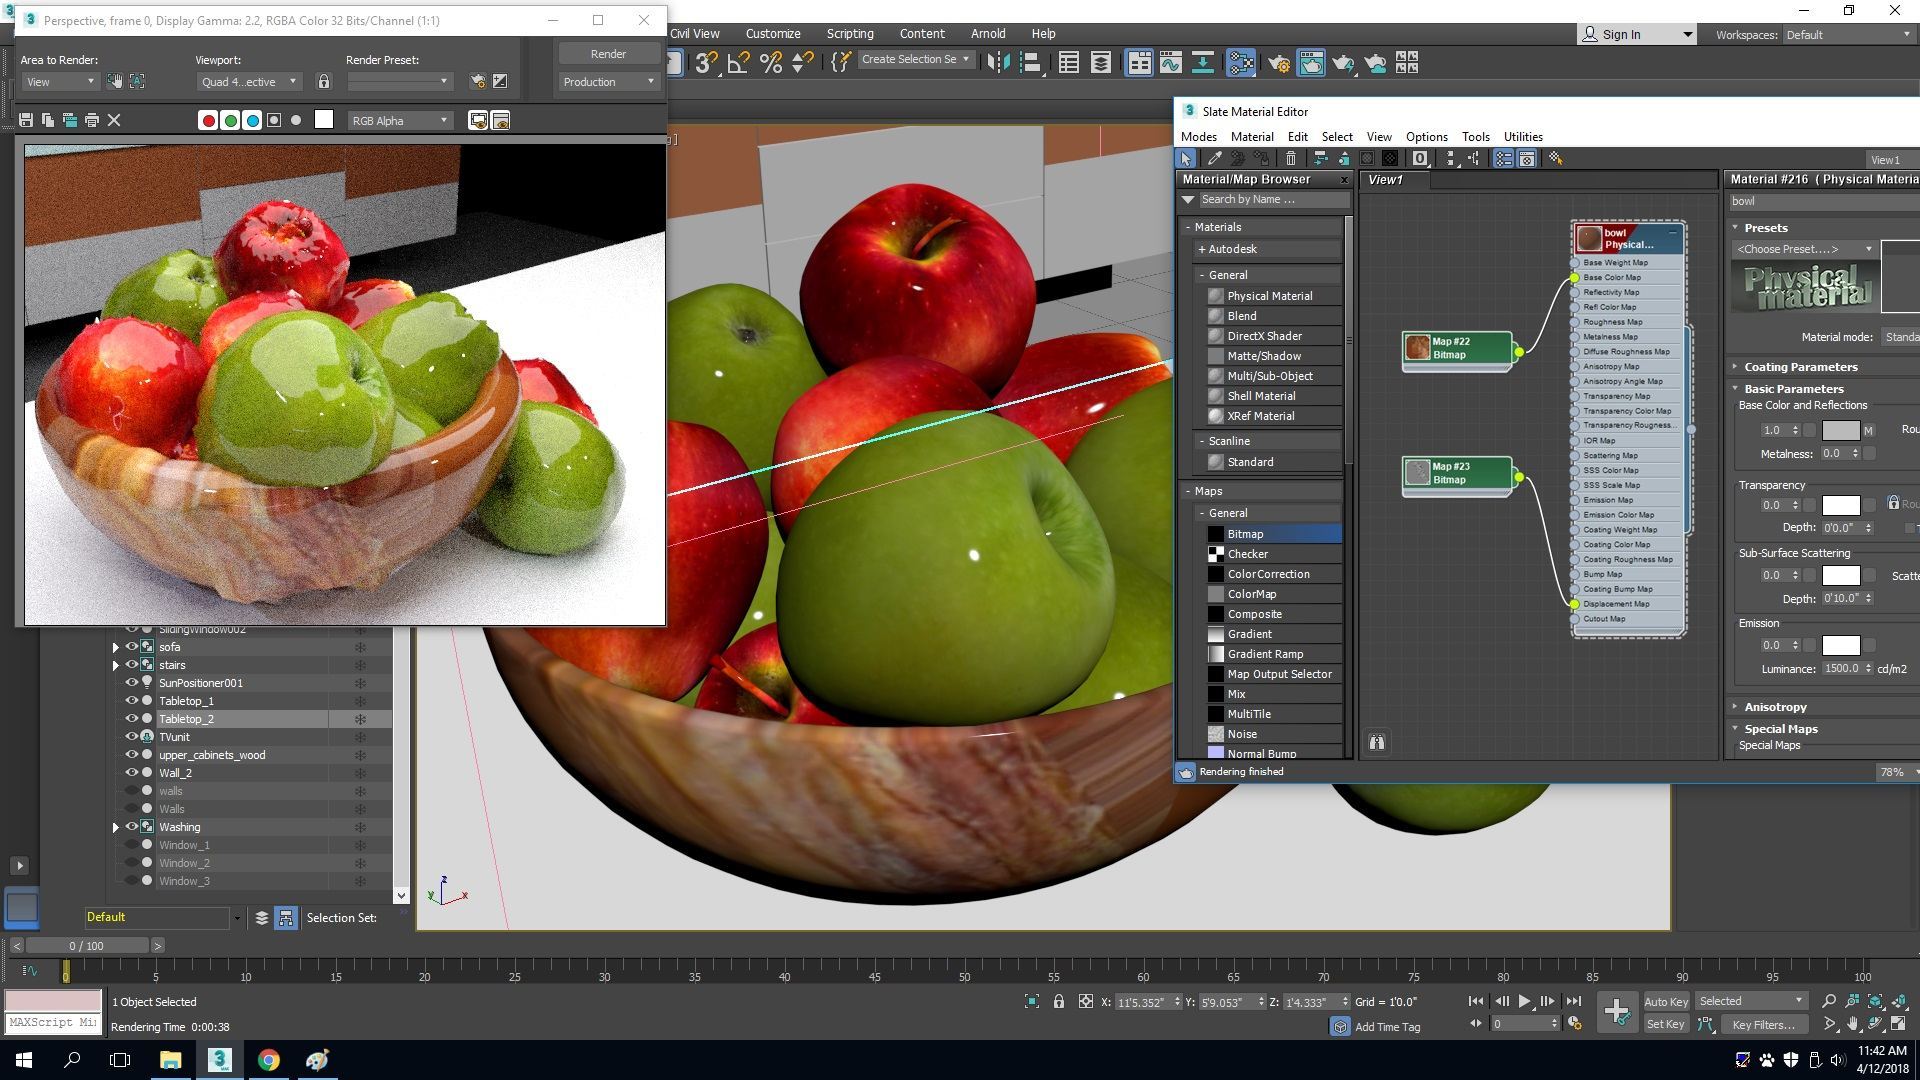
I was glad to see that 3Ds Max provides an estimated render time which Maya does not do for some reason.
Another cool thing about ART renderer (my experience in Maya with Mental Ray did not have this option) is that I can set the quality to a higher value, and still manually stop the rendering at any given time, once I feel I have reached a reasonable quality output. The reason why I think it’s important to do so is because our eye does not percept the difference between 32dB and 100dB quality rendered image (at least not in frames of this project since I don’t have that many highly reflective surfaces, a lot of multi-layer materials, and other super complicated stuff).
Here is the Estimated Render Time of 3000×2000 image at 100dB which is the Max Render Quality – 835 hours 30 min!!!!! (Which is almost 35 days in a row!) OMG! What else can I say.

I rendered this scene for about 11 hours and noticed that the quality of an image has not been really changing after about 5-7 hours (when the quality is reached at about 28-30dB).

Therefore, it’s important to set an automatic stop based on a time frame or a number of calculated iterations if and when the target quality is not attained. Or just stop it manually whenever you feel like it.

There was another quality setting based on the Rendering method: Fast Path Tracing and Advanced Path Tracing. I guess Advanced Path Tracing does a better job but it certainly takes longer render times. For my project, there is no need in Advanced Path Tracing so I go with the default Fast Path Tracing method.
Also, ART Renderer includes a Noise Filtering option to minimize grain. But I was taught by the numerous internet tutorials that I should not set it high otherwise I may lose the important details in the scene because the program may recognize it as noise as well. So I stuck with 20% noise filtering.