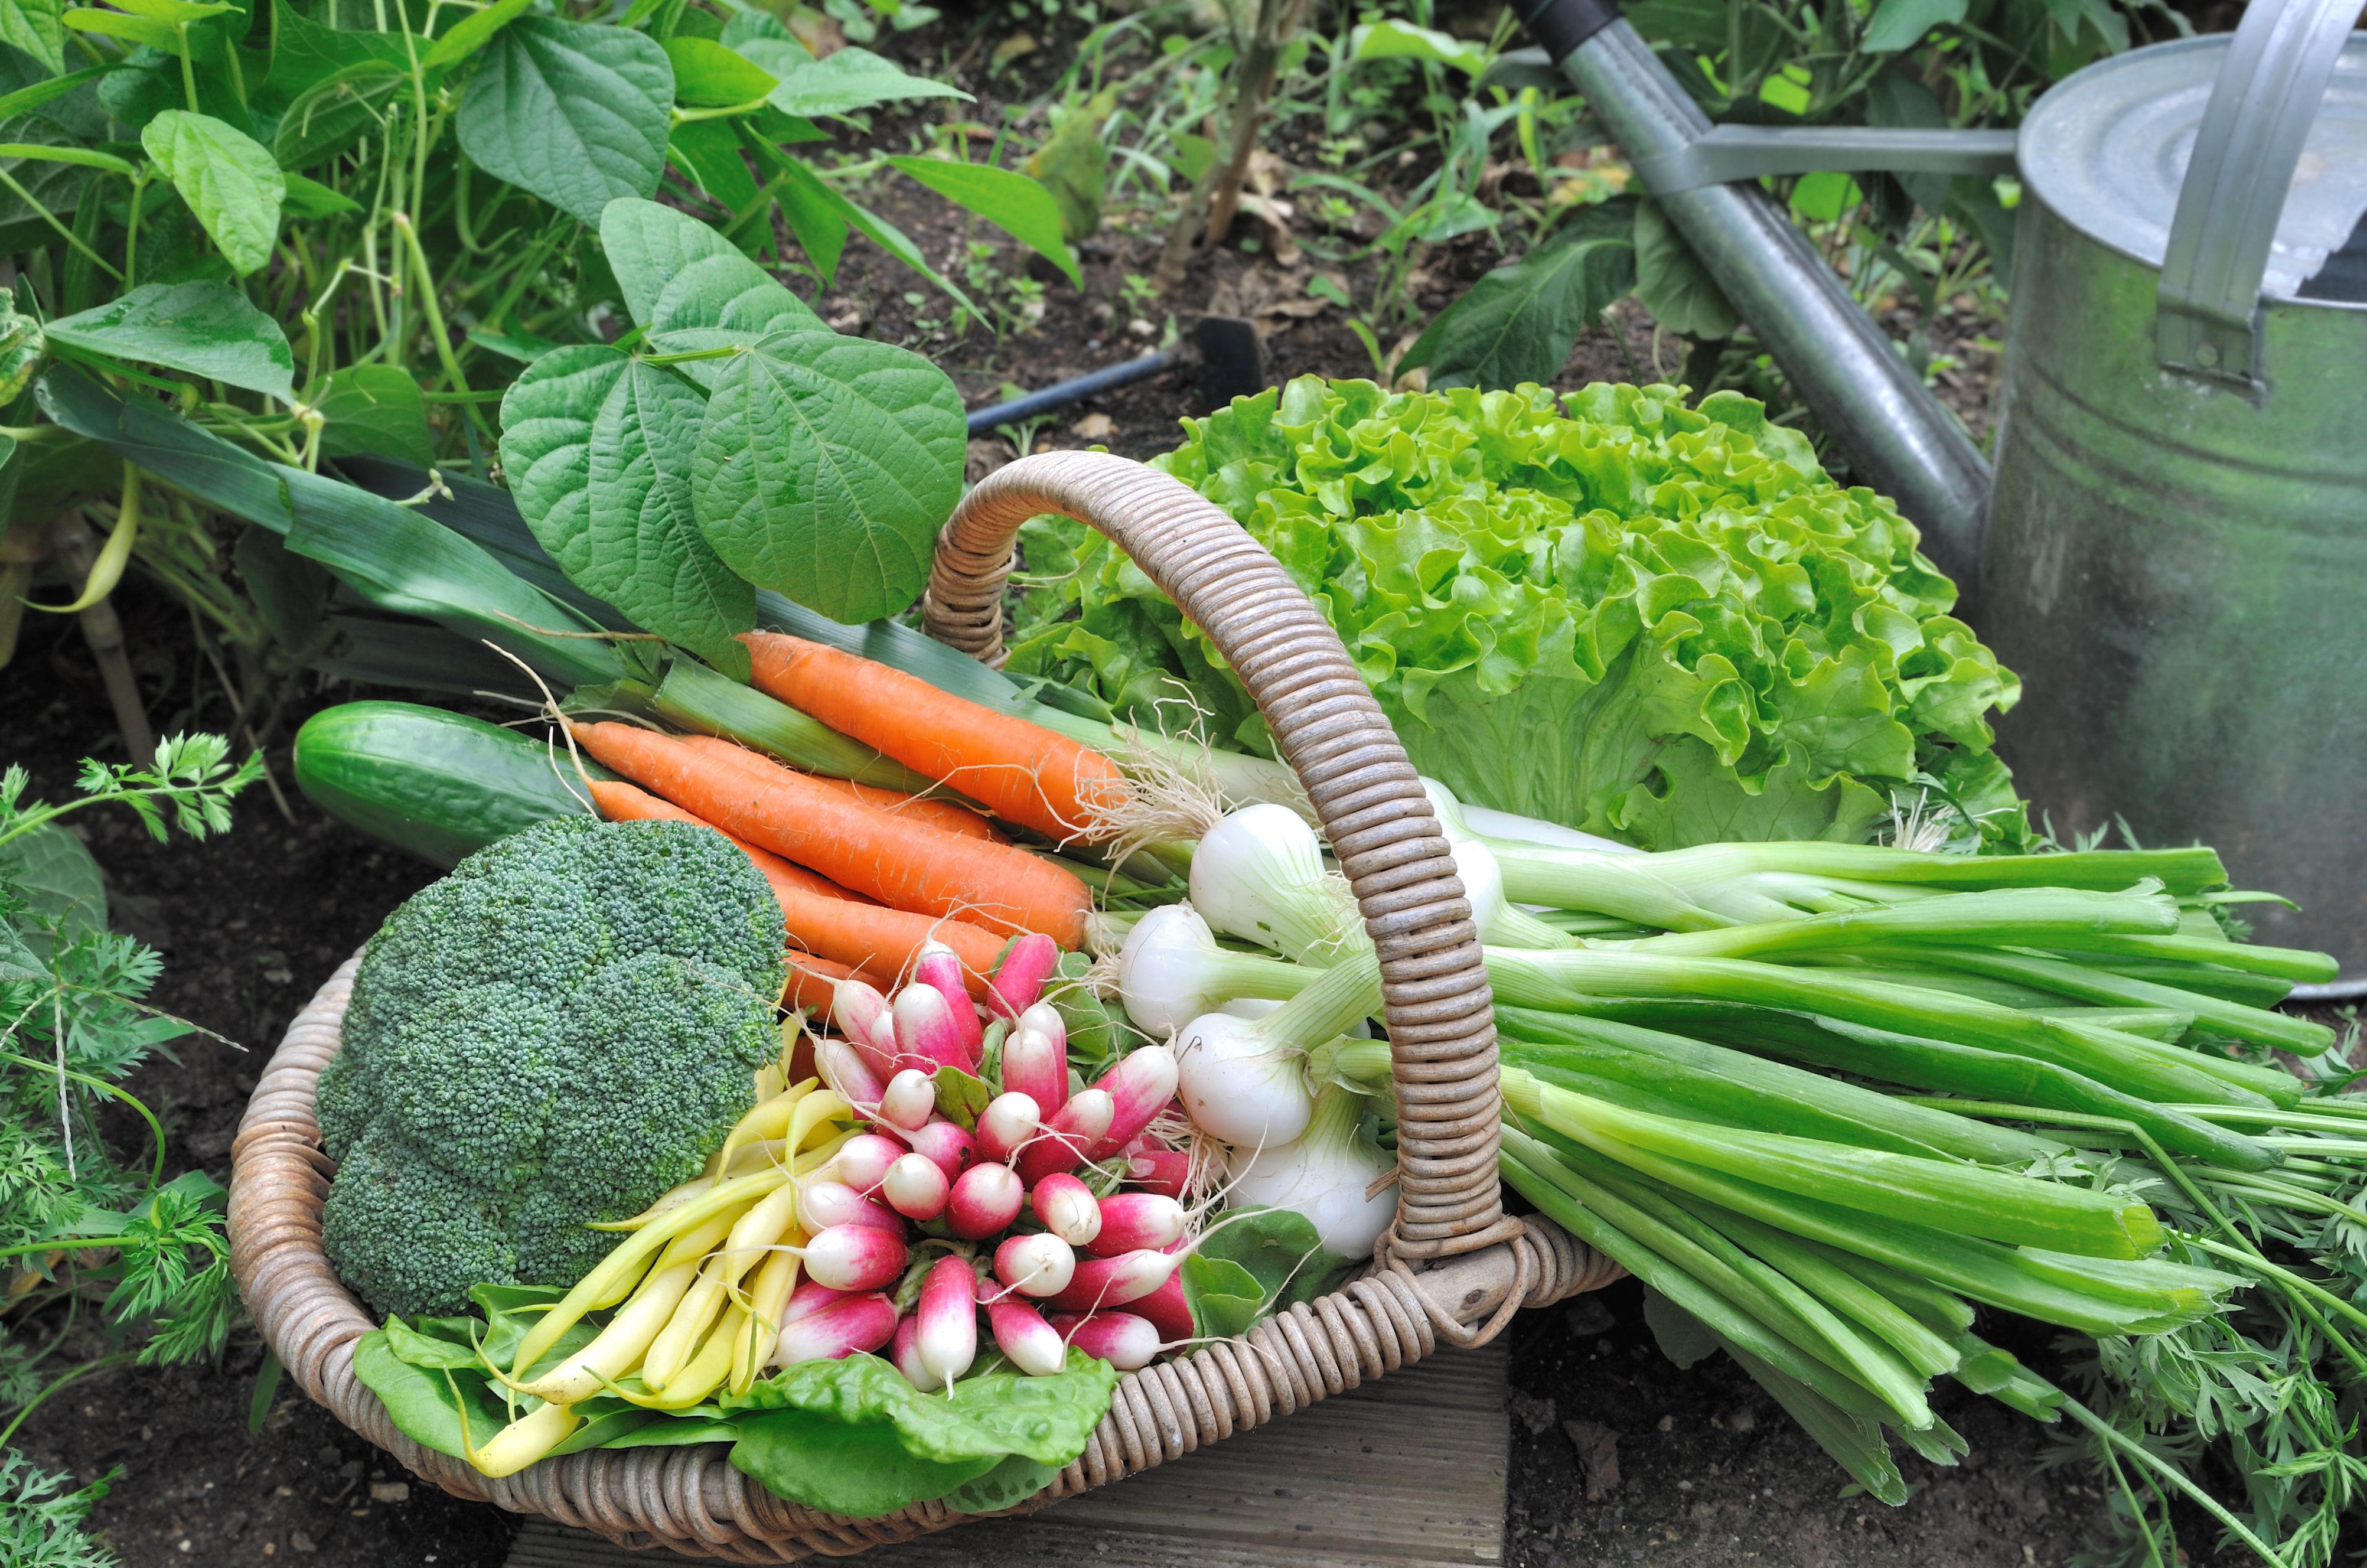
So, you want a garden? (Or maybe not and you just need to read this for an assignment, in which case I’m sorry). Regardless, you’re here now. In this 8 part series “The Garden Guide”, I, Charlie Colvin, a first year Plant Science major at PSU and lifelong gardener, will walk you through your first season in the garden. From selecting a location, to picking varieties, pest management, canning and more, this blog will teach you everything you’ll need to know to get your garden up and growing. In this post we’ll talk about the very first steps to starting your own garden.
Types of Gardens
Well before you start planting, you’ll need to establish what type of garden you’re aiming to have. This is usually determined by where you live and the type of spaces you have available. If you live in an apartment on the 15th floor, you’ll likely be limited to a couple containers on your balcony. Conversely, if you own a 10+ acres of land surrounding your home, you could easily fit a traditional in ground or raised bed garden. If the only space you have is on your kitchen countertop, you can still have a garden, you may just need to look into a small, self-contained hydroponic unit such as an “AeroGarden” (I have no affiliation with this company). The majority of this blog will be focused on traditional outdoor gardens, but some information will apply to other types as well.

Location, Location, Location…
Much like real-estate, location is a huge factor when deciding where to put a garden. The ideal site is level, has well-draining yet fertile soil (we’ll get into this in a bit), direct sunlight, and is in a location that is convenient to access. If possible, locating the site out of any small dips/valleys can be beneficial to preventing frost damage. Depending on your situation, a fence to deter dogs, deer and other critters may also be desirable.
Soil
For in-ground gardens (and to some extent raised bed gardens as well), selecting a site with appropriate soil is critical. Proper soil will make the entire garden more successful and prevent many issues from occurring. Quality garden soil should be dark in color and should be soft enough to be easily dug with hand tools. Additionally, soil should have adequate drainage such that water does not pool on the surface, even following significant rainfall. All of these things are able to be observed by simply going out and digging a shallow hole at prospective locations.

Good soil should also be within a “normal” pH range and have at least moderate levels of fertility. These characteristics must be determined through a soil test, commonly offered through extension programs of state universities, including Penn State.
Sunlight
Plants need sun to grow, and fruits/vegetables usually need a lot of it. Ideally, a garden site will receive a minimum of 6-8 hours of direct sunlight per day during the growing season. This online tool can help determine the path of the sun around your potential garden, and using it you can see if the sunlight might be blocked by any trees/buildings etc.

USDA Hardiness Zones
Although not able to be changed, it helps to note your USDA plant hardiness zone when you prepare to start your garden. The USDA zones are based off the average extreme low temperature (i.e. the absolute coldest temperature one would expect to see over the whole year in that area). Knowing your zone will help you better plan when to plant different crops in your garden, and in the case of perennial plants (those which survive over the winter and grow for multiple seasons) which ones are cold hardy enough to survive winters in your area. You can determine this by looking at the below map, or by visiting the USDA website and entering your zip code.

Getting Started
Once you have picked a location for your future garden, the area will need to be prepared before you can plant. One method of doing this is known as sheet mulching. For in ground gardens, this is best done by depositing a 2 inch deep layer of compost/mushroom soil/manure directly over the existing vegetation or soil. This soil should followed by a layer of biodegradable carbon rich material such as cardboard or newspapers, followed by an additional 2 inches compost/manure, and then covered with 2-3 inches of mulch (woodchips or shredded leaves work well). The diagram below gives a rough idea of the order of layering:
The cardboard will smother out any existing weeds and the mulch and compost helps to develop a soil rich in organic matter and nutrients that can be planted directly into. The buried cardboard will eventually fully decompose, leaving behind a weed free and fertile topsoil layer with very little effort.
For a raised bed, the process should be the same, except the layers will be inside the bed and the rest of the bed should also be filled with compost or topsoil (how much will be dependent on the height of the bed), with the mulch being the last thing to be added on top of everything else.
Ideally this site preparation would occur in fall or winter, and be ready to plant the following spring. However, if that is not possible, the process can still be done and the beds planted in the same day.
Next Steps…
The next post in this blog series will focus on seeds, including the types of seeds and their classifications, as well as how, when and where to start different types of seeds.
