 Introduction
The Hydro-Bag is a open source hanging hydroponic system based on the Kratky method for Hydroponic growing. The Hydro-Bag was developed by Lizz Andrzejewski, a current PhD student at Penn State University, as a way to make a vertical hydroponic system out of minimal components. This is the first version of this design.
The system itself consists of three main components, the hydro-bag, light source, and nutrient solution. The following guide will cover the background and motivation for the system, components list, assembly instructions, tips and finally a progress log.

Background and Motivation
The Kratky method for hydroponic growing was patented by Bernard A. Kratky in 1995. It is a passive, non-circulatory method for growing hydroponic plants. The Kratky method consists of a container, lid, net-pot, growing medium, and light source. In the Kratky method, nutrient solution is prepared for the desired plant to be grown and then is placed in the container. Initially, the container should be filled such that the only the bottom 1-2″ of the net pot are submerged in the solution. The growing medium inside of the net pot will remain moist due to capillary action. Once the solution is added and the seedling has started, ideally there should be no need to add additional nutrient solution to the system until the growth cycle is complete. As time passes, the nutrient solution slowly evaporates creating room for the roots of the plant to receive oxygen. The plant roots themselves grow longer and are therefore still partially submerged in the nutrient solution (Kratky 1995).


This non-circulatory method for hydroponics is ideal for a at-home grower because it requires the least amount of components to have success with hydroponics. However, the traditional version of this system requires buckets to contain plants. These buckets are typically placed on the grown or on a rack. Unfortunately, many people do not have an abundance of space within their homes for the kind of space hydroponics may take up. That is why I have chosen to explore the how the Kratky method could be implemented as a vertical, space saving, hanging system using minimal components that are readily available or could be acquired easily.
While space saving and cost efficient, this method for hydroponic growing does have some limitations. It is best suited for plants with a short growing cycle. Kratky recommends lettuces are best suited for this type of system, however there is evidence that other types of plants can also be grown (Kratky 1995).
Lettuce has a total growing cycle of approximately 11 weeks to harvest time. Referencing our hydroponic grow time ranges chart, of the optimal plants to grow hydroponically to supplement a complete diet, other plants that may grow well in this system are beans, garlic, kale, onions, peppers, spinach, strawberries, and tomatoes. There is a potential that carrots and broccoli may also be able to be grown with this method.

Works Cited:
Kratky, B.A. 1995. Non-circulating hydroponic plant growing system. U.S. Patent No. 5,385,589.
Components List

- Tools/Reusable Supplies
- Wire Cutters
- Drill
- Drill Bit to fit Heavy Duty Screw Hook
- 2-5 Gallon Container or Bucket for Mixing Nutrient Solution
- Scissors
- Newspaper
- 2 Pens
- Tape measure/Ruler
- String/Thread
- Disposable Cup for Transferring Nutrients
- 3D Printed Parts
- 1 Hydro ring
- 1 Twist Lock Lid
- 1 Grow Light Bracket
- 1 Grow Light Ring
- 2″ Net Pot
- 30 feet of 50 LB Braided Hanging Wire
- 4 square feet of Non-Stretching Garbage Bag or Other Plastic Membrane
- 1 Heavy Duty Screw Hook for Hanging
- 2″ Rockwool Cubes
- Seeds
- 5 m3x15 screws
- 5 m3 nuts
- E6 socket with attached on off switch
- full spectrum grow light
Assembly Instructions
Step 1 – 3D Print Parts

Required Materials: 3D Printer, 3D Printed Parts
Acquire all of the necessary materials described in the components list. This does involve 3D printing some components. If you do not have a 3D printer yourself, many public libraries offer 3D printing solutions or you can contact us to purchase a kit of the 3D printed components. The 3D printed parts print without support and a 20% infill. PLA is an acceptable material to use.
Step 2 – Plastic Membrane

Required Materials: Plastic Membrane, 2 Pens, Ruler/Tape Measure, Newspaper, String/Thread, Friend
Next, you should prepare the plastic membrane. For most plants, a 22″ diameter circle is appropriate. You can make a simple compass with two pens, a piece of string, a piece of newspaper and a friend.
You will begin by opening up the piece of newspaper flat.

Tie one end of the string/thread to one of the pens.
With a tape measure or ruler cut the string at about 11″ to give yourself some room to work.
Now tie the other end of the string to the other pen, making sure that the distance between the two pens is approximately 11″.
Have a friend hold one pen in the center of the flattened piece of news paper while you draw a circle by keeping the string tight as you go. This may produce a rough circle so just keep going until you have a relatively circular circle.

Cut out the circle from the newspaper. You now have a template for a 22″ circle.

Place the newspaper circle on your selected plastic membrane on a flat surface and carefully cut out a 22″ circle.

This will become the bag to hold your nutrient solution.

Step 3 – Hanging Hook

Required Materials: Drill, Drill Bit to fit Heavy Duty Screw Hook, Heavy Duty Screw Hook
Now it is time to locate a good spot to hang your hydro – bag. This is any spot where you can solidly place a hanging hook into a stud.
After you have located a good position, you can install the hanging hook.
Step 4 – Hydro Ring

Required Materials: 20 feet of 50 LB Braided Hanging Wire, Wire Cutters, Hydro Ring, Grow Light Ring
You will now cut 20 feet of the 50 LB Braided Wire. Thread this wire through the hydro ring and the grow light ring.
It is important that you feed the wire in this specific manner or the hydro-bag system will not be able to self level when the water is introduced.

When you are finished stringing the cable, you should tie the two open ends of wire together. You will now have two loops of wire at the top of the system.
Step 5 – Grow Light

Required Materials: Hydro-Bag assembly from Step 4, Grow light bracket, E6 socket with attached on off switch, full spectrum grow light ,5 m3x15 screws, 5 m3 nuts
Place the E6 socket into the grow light bracket and tighten it in place with one m3x15 screw and nut.

Attach the grow light bracket to the Hydro-Bag assembly by using the remaining four m3x15 screws and nuts.

Install the full spectrum grow light into the socket.

Step 6 – Hanging Hydro-Bag
Required Materials: Hydro-Bag Assembly
Hang the Hydro-Bag by the two loops at the top onto the hanging hook.
You can adjust the height of your Hydro-Bag according to your plant’s spatial requirements or your home growing needs by shortening the complete loop of wire and working the excess through the whole system until it equalizes. The grow light assembly should remain close to the top (4-6″).
Step 7 – Install Membrane

Required Materials: Hanging Hydro-Bag Assembly, 28″ circle of plastic membrane, Twist Lock Lid
Fold the 28″ plastic membrane in half two times.

Feed the point down into the center of the hydro-bag assembly and begin opening it around the rim.

With approximately 1-2″ of plastic above the 3D printed ring, place the twist lock lid on top.

Applying slight pressure to the lid, you can arrange the plastic around the ring evenly. When you are satisfied, press the ring down and twist in a clockwise direction to lock in in place to the ring.
Step 8 – Nutrient Solution
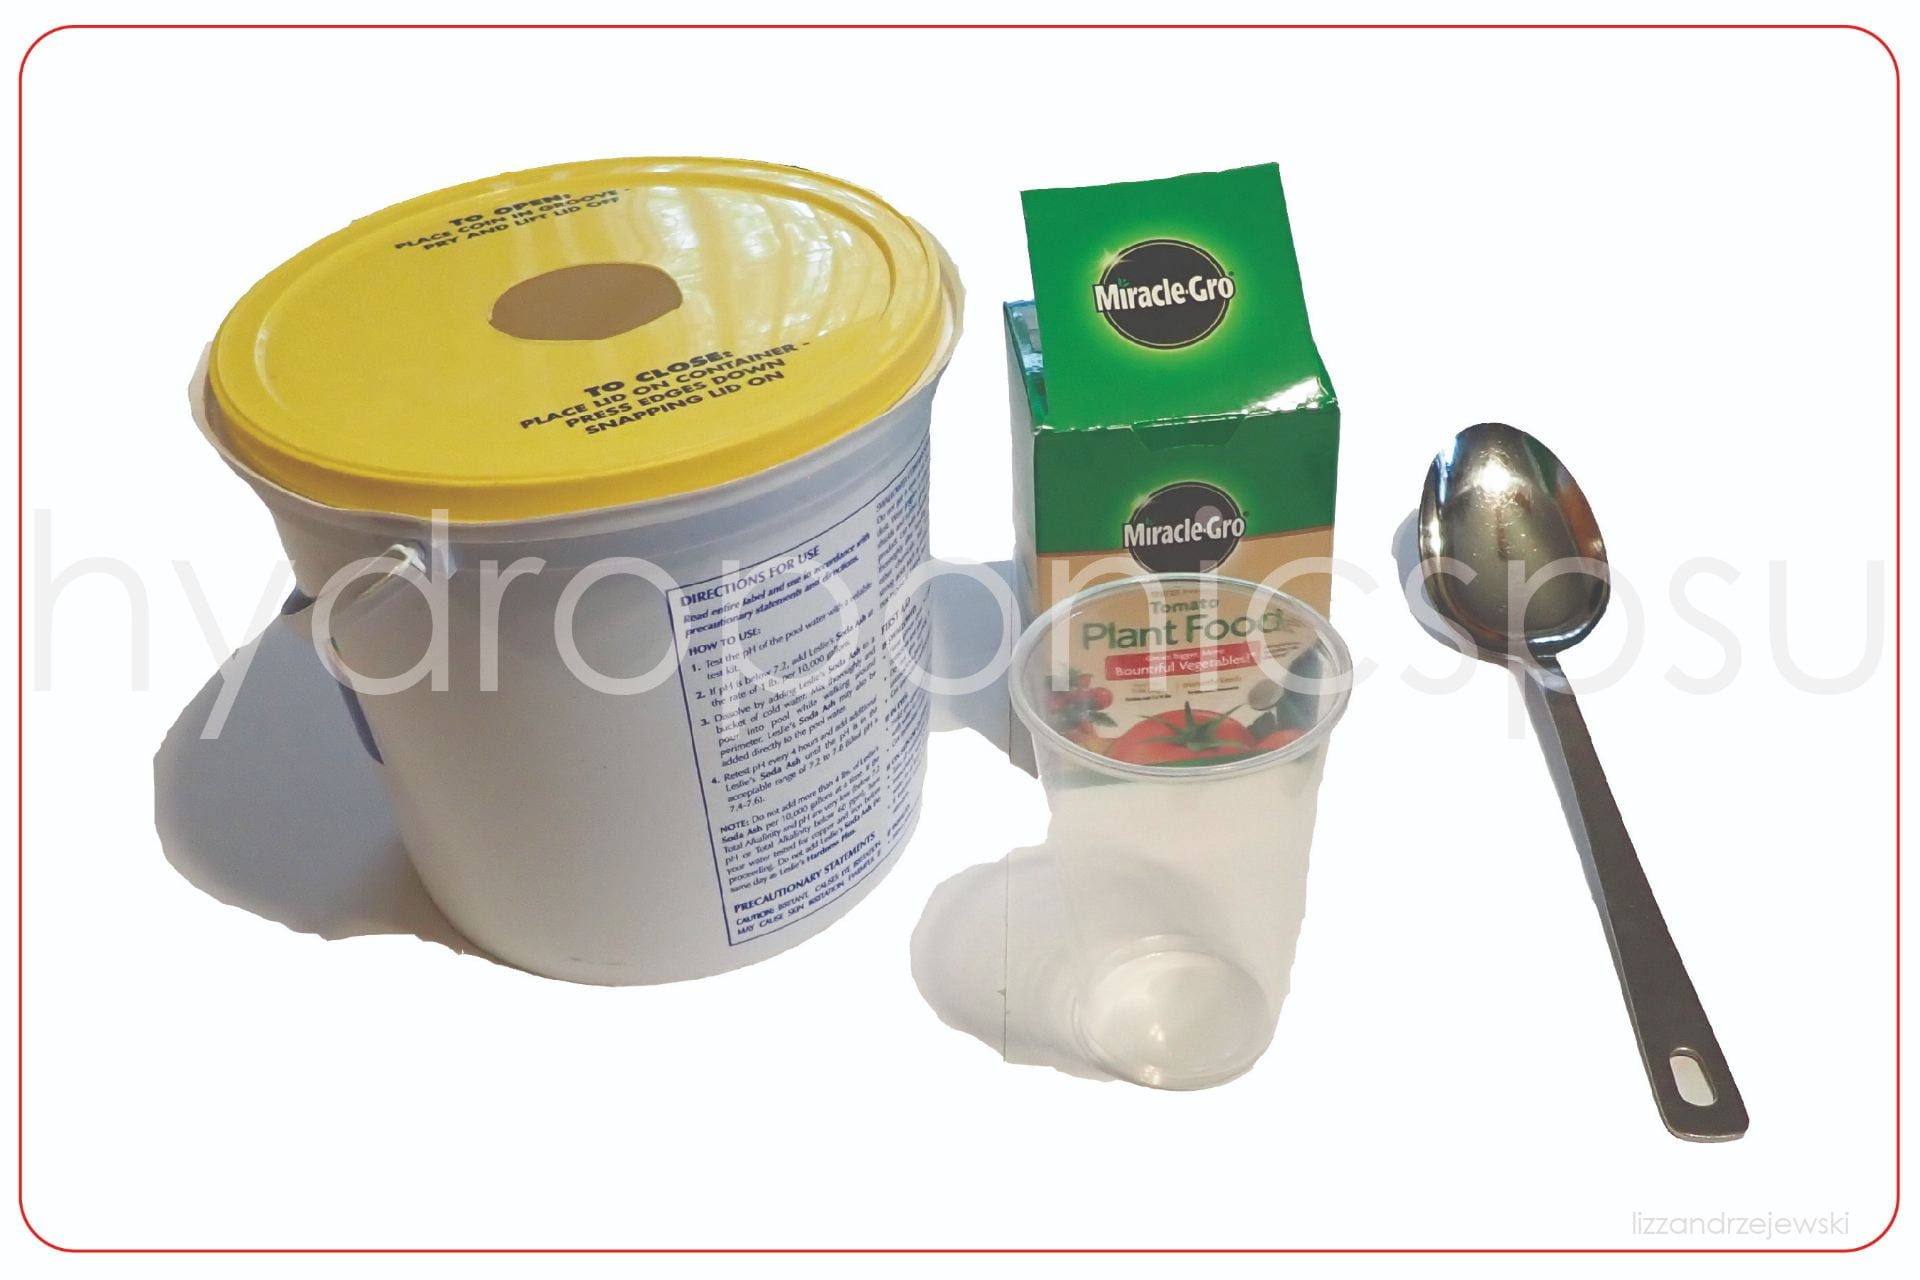
Required Materials: 2-5 Gallon Container, Nutrients, Mixing Stick, cup for transfer
Mix up a nutrient solution according to the requirements of the specific plant you are trying to grow in the 2-5 gallon container.
Transfer the mixture into the Hydro-Bag one cup full at a time. You should stop filling the bag when the liquid is 1-2″ from the lid.
Step 9 – Planting

Required Materials: 2″ Net Pot, 2″ Rockwool Cube, Plant Seeds
Place one rockwool cube into the net pot.

Insert the recommended number of plant seeds to the recommended depth according to the seed packet.
Place the net pot into the opening in the top of the Hydro-Bag lid.

Provide your plant with the recommended amount of sunlight by turning the light on and off daily.
Step 10 – Trellis
OPTIONAL
Required Materials: 50 LB Braided Hanging Wire, Wire Cutters
If you are growing a plant that will require trellis support, you can run a wire or a string from the two holes built in to the lid to the two holes built in to the light ring.

Plant Density

This system is scalable to achieve different densities of plants. For this example, an 8’x8′ area has been explored and considered to achieve different densities of plants based on their growing size requirements. Currently the first version of the Hydro-Bag has only been developed to hold one plant at a time based on the size requirements of a tomato plant. However, different iterations of rings and lids could be developed to produce a system that could support the growth of more plants per illuminated area. Below are examples and calculations for the plant density that could be achieved in this 8’x8′ area by tomatoes, lettuce, and carrots.

Tomato plants should be spaced 2-3’ apart from one another and their roots can reach a depth of 2’ and they can grow to be 2-4’ tall. Using the hydro-bag scenario each plant would probably need an individual grow light (pending the results of this test). Assuming that I would use a typical grocery bag for this system, the maximum depth achieved can only be about 13”. Therefore if the tomato plants are encouraged to only grow to be about 3’ tall I can fit two rows of tomato plants in a space with an 8’ height for a total of 12 tomato plants.
Healthy lettuce plants should be spaced 6-8” apart in rows that are 18” apart and should have at least 6-12” in height to grow. The Hydro-bag using plastic grocery shopping bags limits the maximum grow depth to 12”. Based on my initial calculations, it would appear that one grow light might be necessary for each grow bag. In this case, there would be one grow bag for each set of 7 plants occupying a 1’ diameter circle. I could have 3 rows with 8 grow bags in each row. This means that an 8’x8’x1’ area could grow approximately 168 lettuce plants.
Carrots have a much smaller plant requirement area than the tomatoes. I believe that I could develop a method of having more than one net pot and water system having access to the water bag at a time to increase the number of plants that could be hosted in this area. I believe the grow ring could be adapted to hold 7 net pots at a time per bag of solution. Carrots should be spaced approximately 2” apart and have a 1’ of depth to grow. I am assuming that I could serve 3 grow ring bags with one grow light. This means that in a linear vertical fashion, an 8’x8’x8” area could grow approximately 252 carrot plants at a time.
Conclusion
Thank you for taking the time to consider the Hydro-Bag as a hydroponic concept. In the future, it will continue to evolve as a system to include multiple densities for more plants.