Favorite Photographs and Looking Forward

Now that I have talked about most major forms of photography and the basic camera settings, I just wanted to show some of my favorite photos that I took in State College this year, and then my plans moving forward. While this will not be a year in review kind of blog post, it will encompass my time here as a freshman at Penn State. One interesting thing about looking at several pictures from the same artist over a period of time is that you should be able to notice a style they usually go with. I will point out what I think my artistic style and how I try to stay consistent to that when I am shooting/editing photos.

I really enjoy taking photos of landscapes and nature. That is my niche. These first two photos will be recognizable places, Old Main and the Hub. These two photos were taken only a few weeks apart and they were both beautiful days.

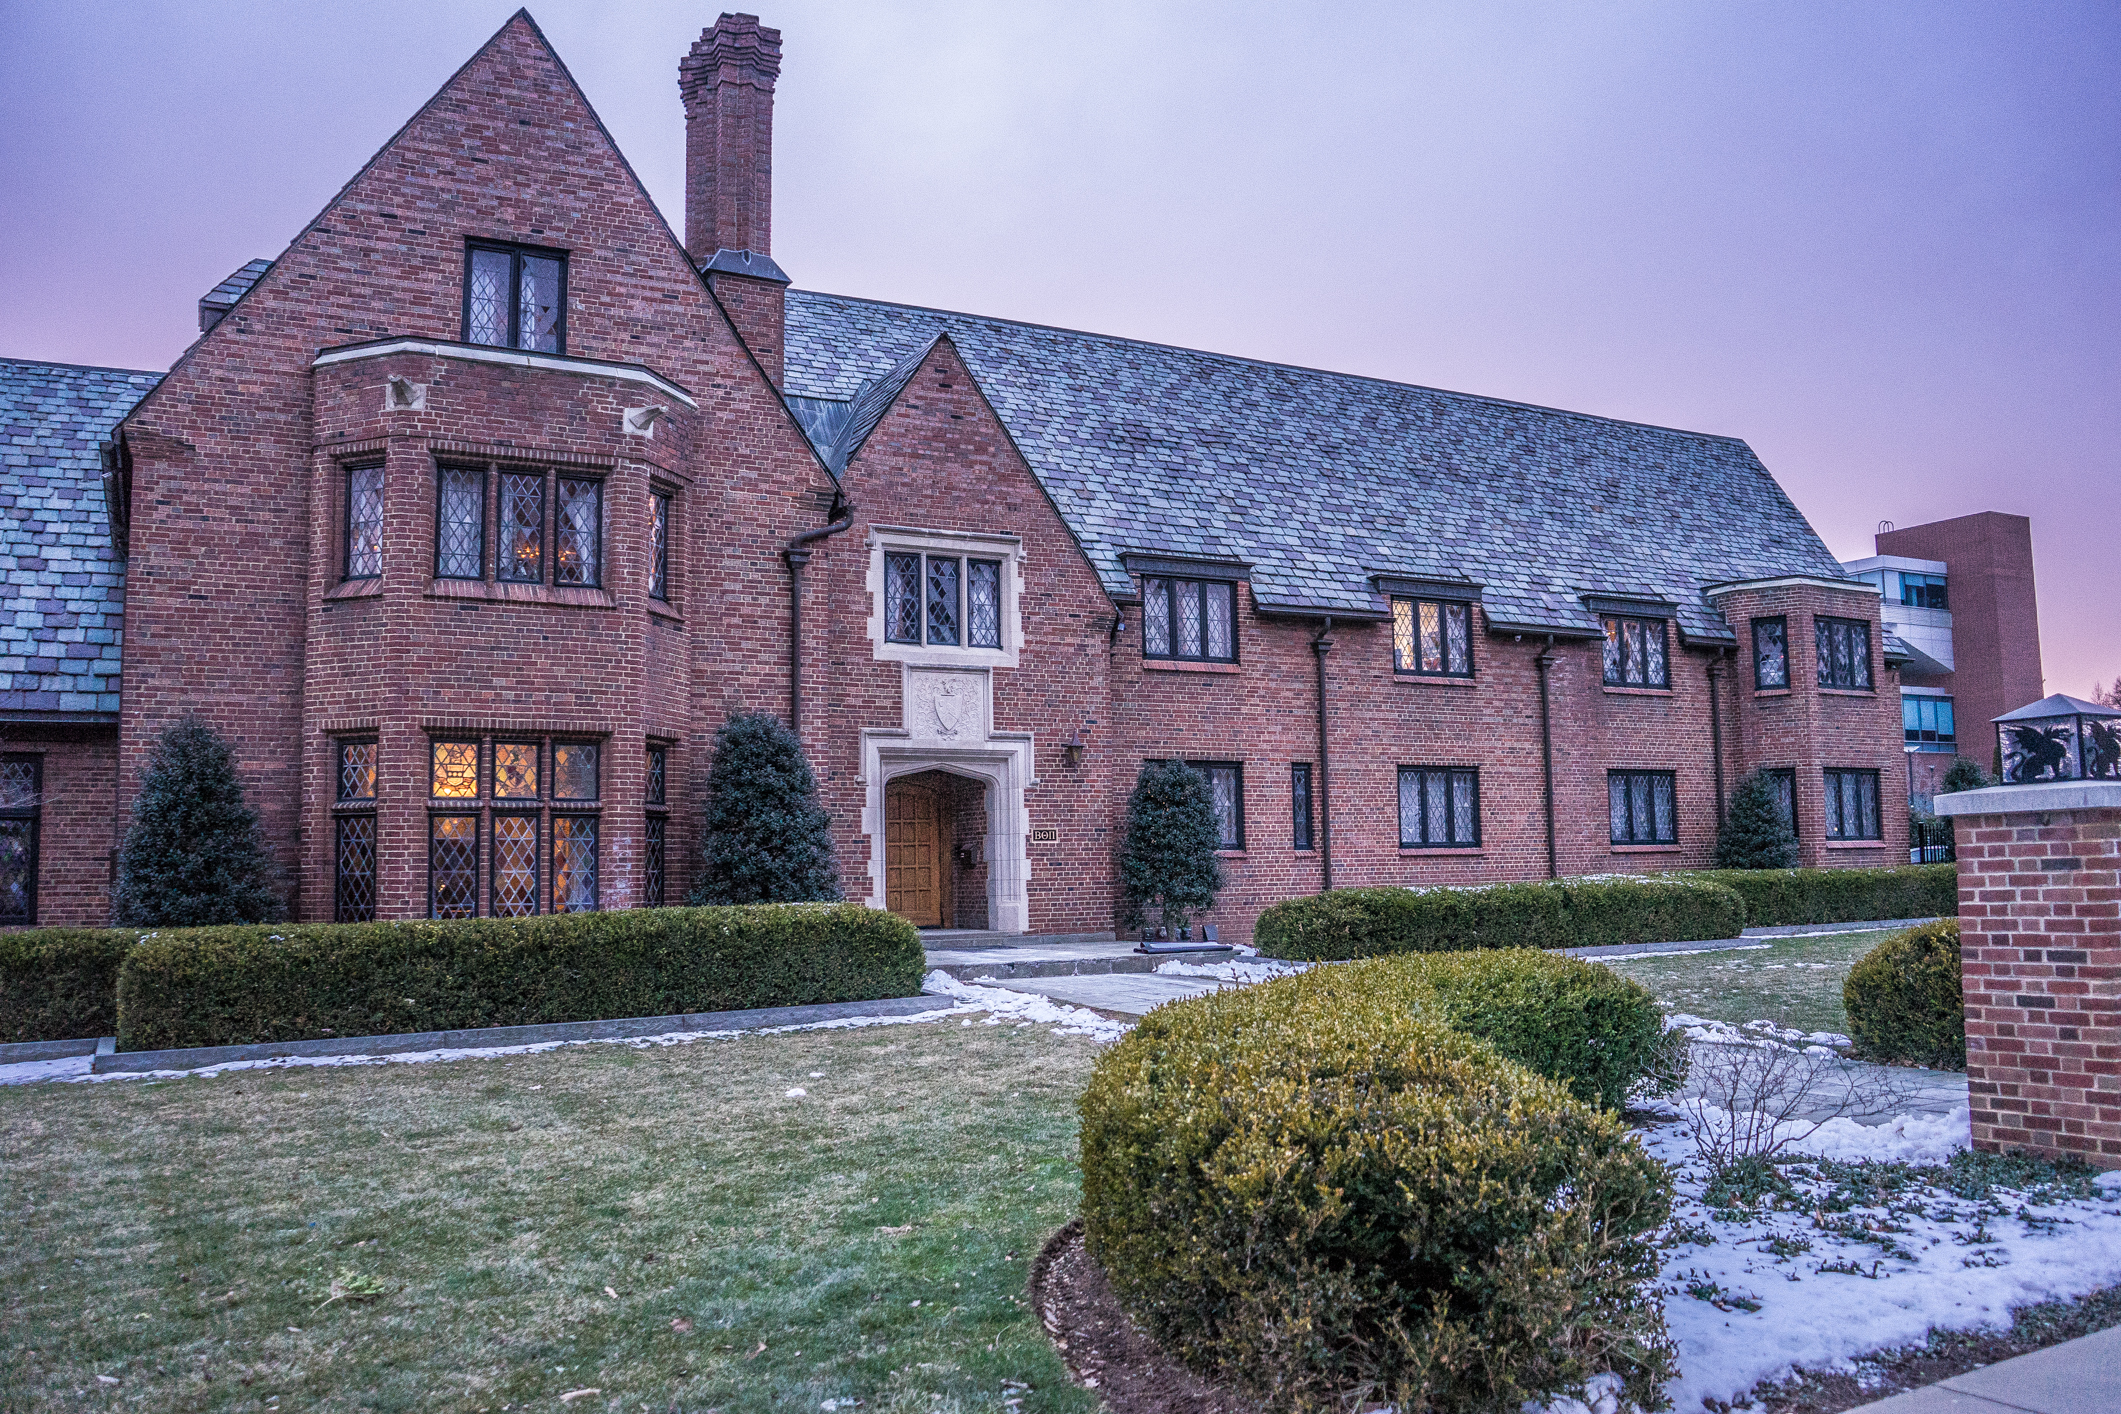
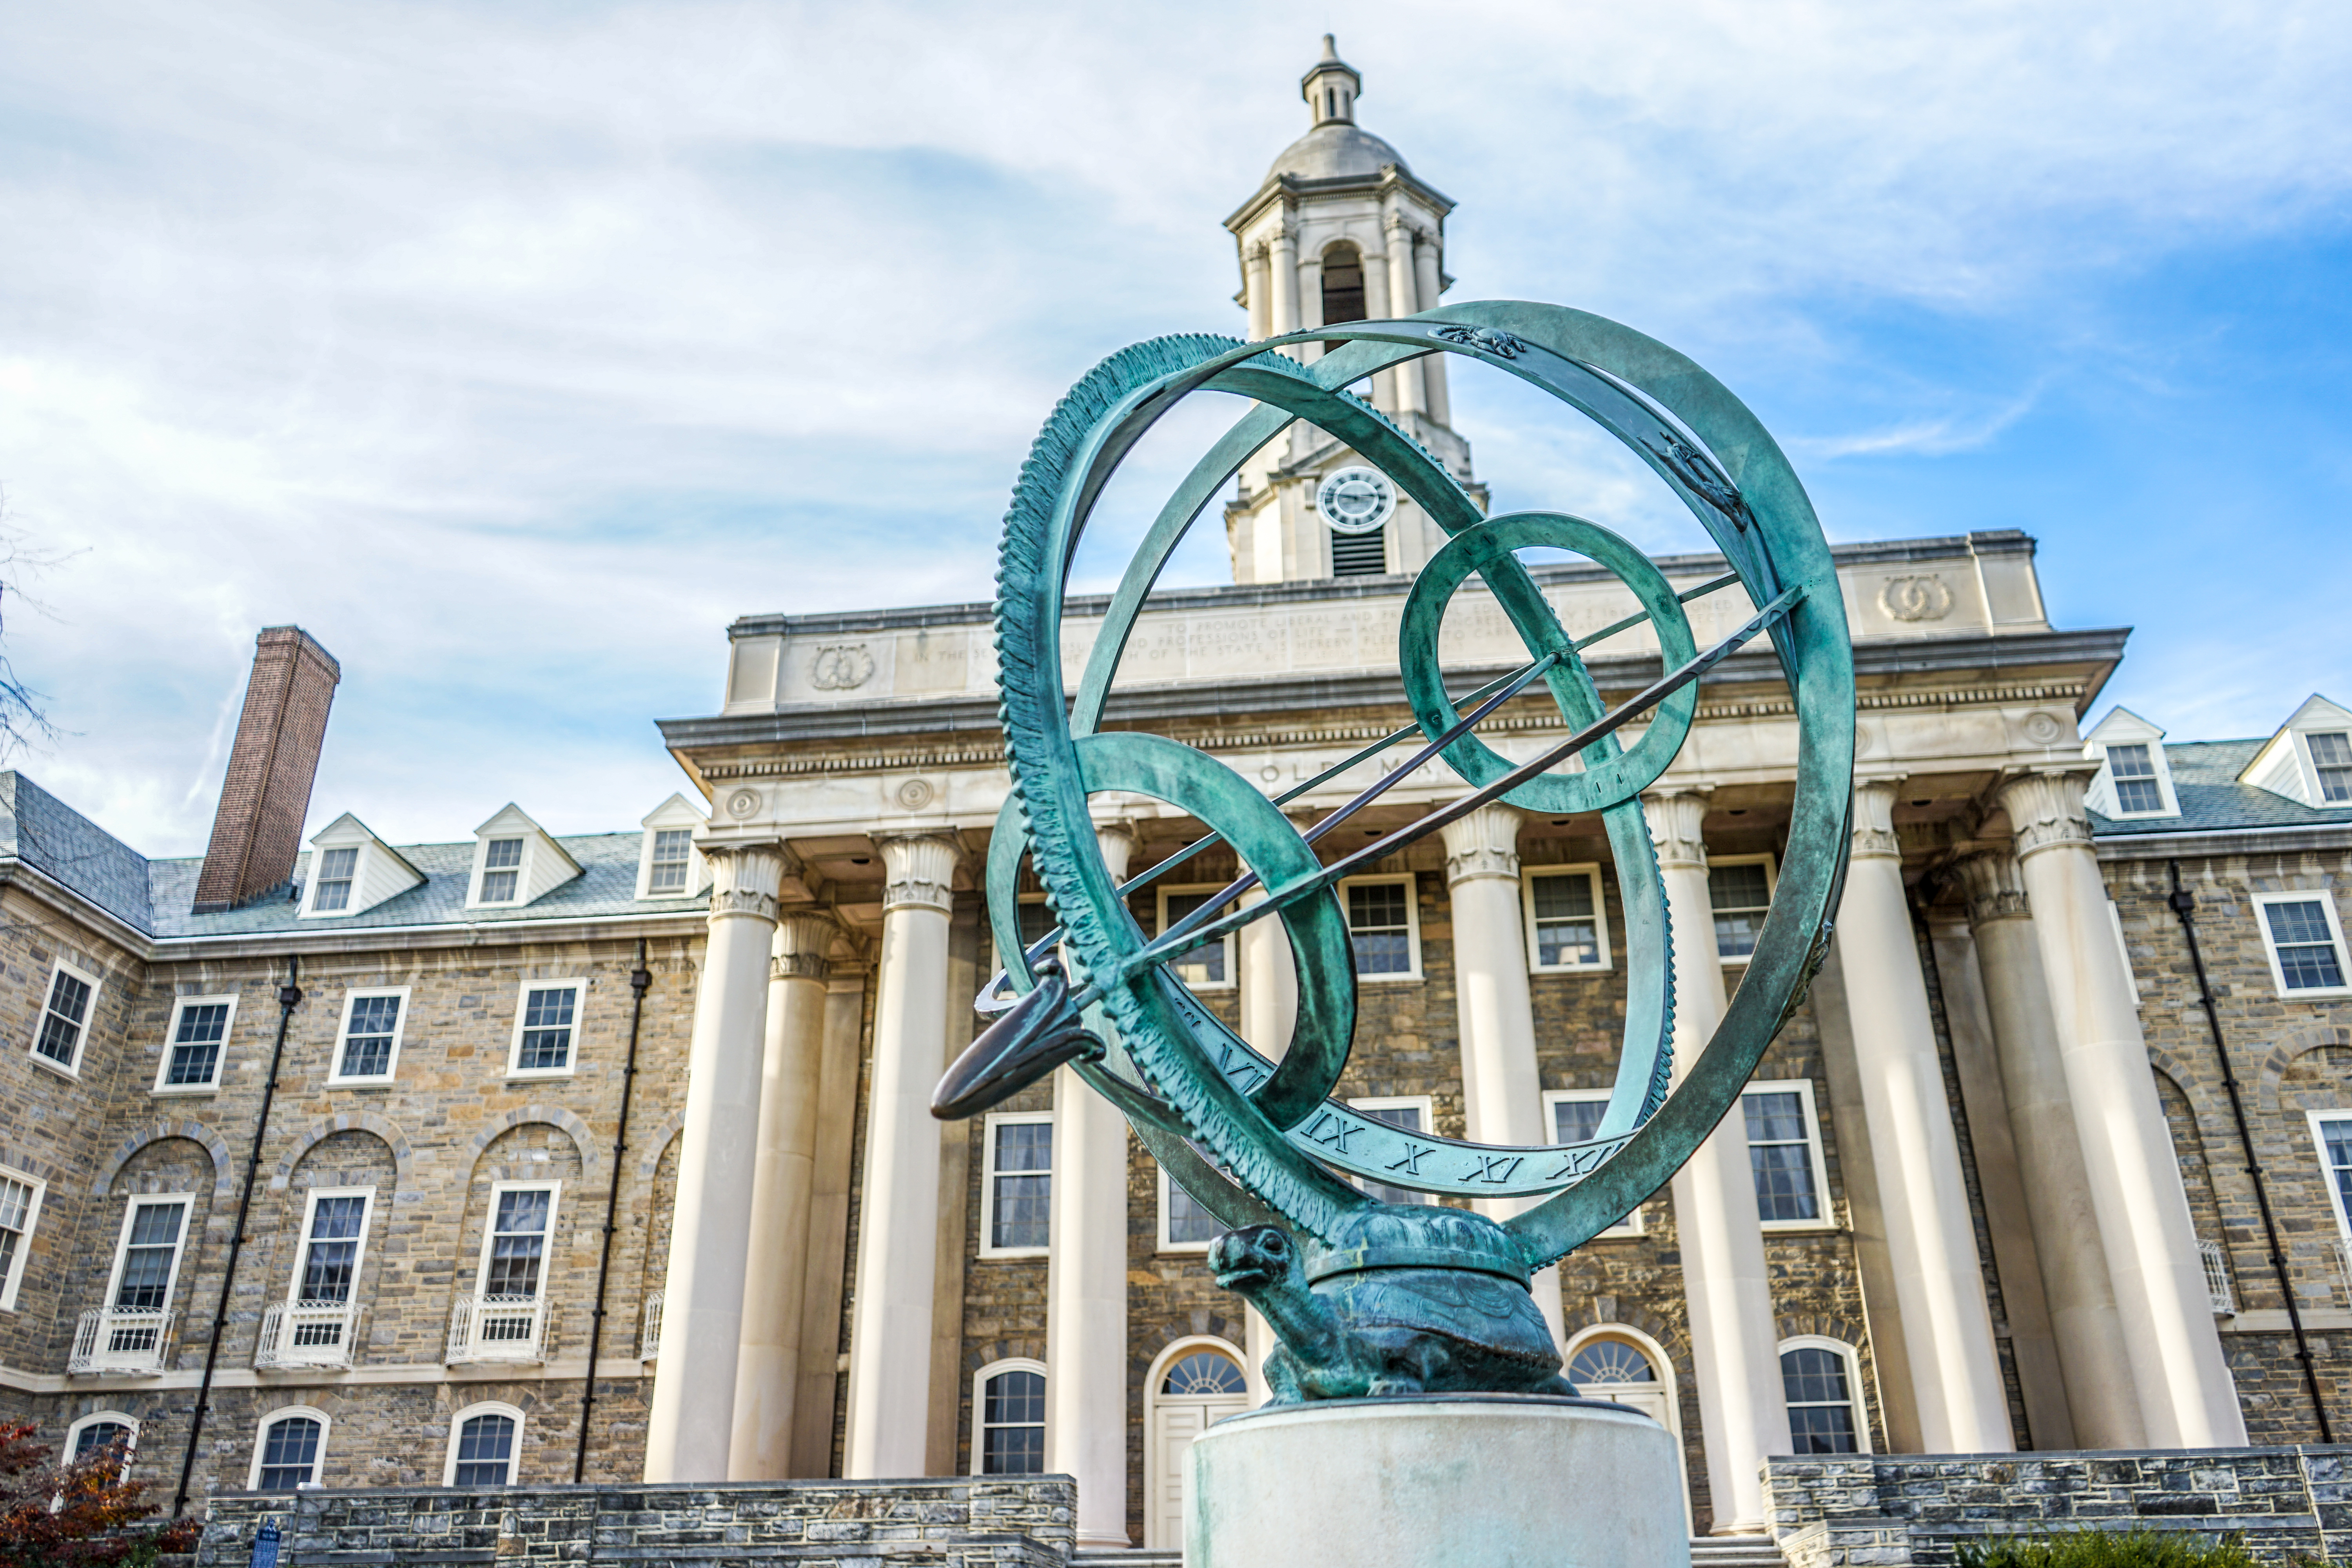
The Old Main picture I really like because I never realized there was a turtle at the base of the statue in front, carrying the sphere on its back. I think it is really interesting how many times we can walk past something, and notice the smallest things, such as the turtle, months later.

To be completely honest, I am not entirely sure why I like this Hub photo so much, but I just remember thinking how interesting the reflecting glass was and how the leaves were starting to turn in the fall.

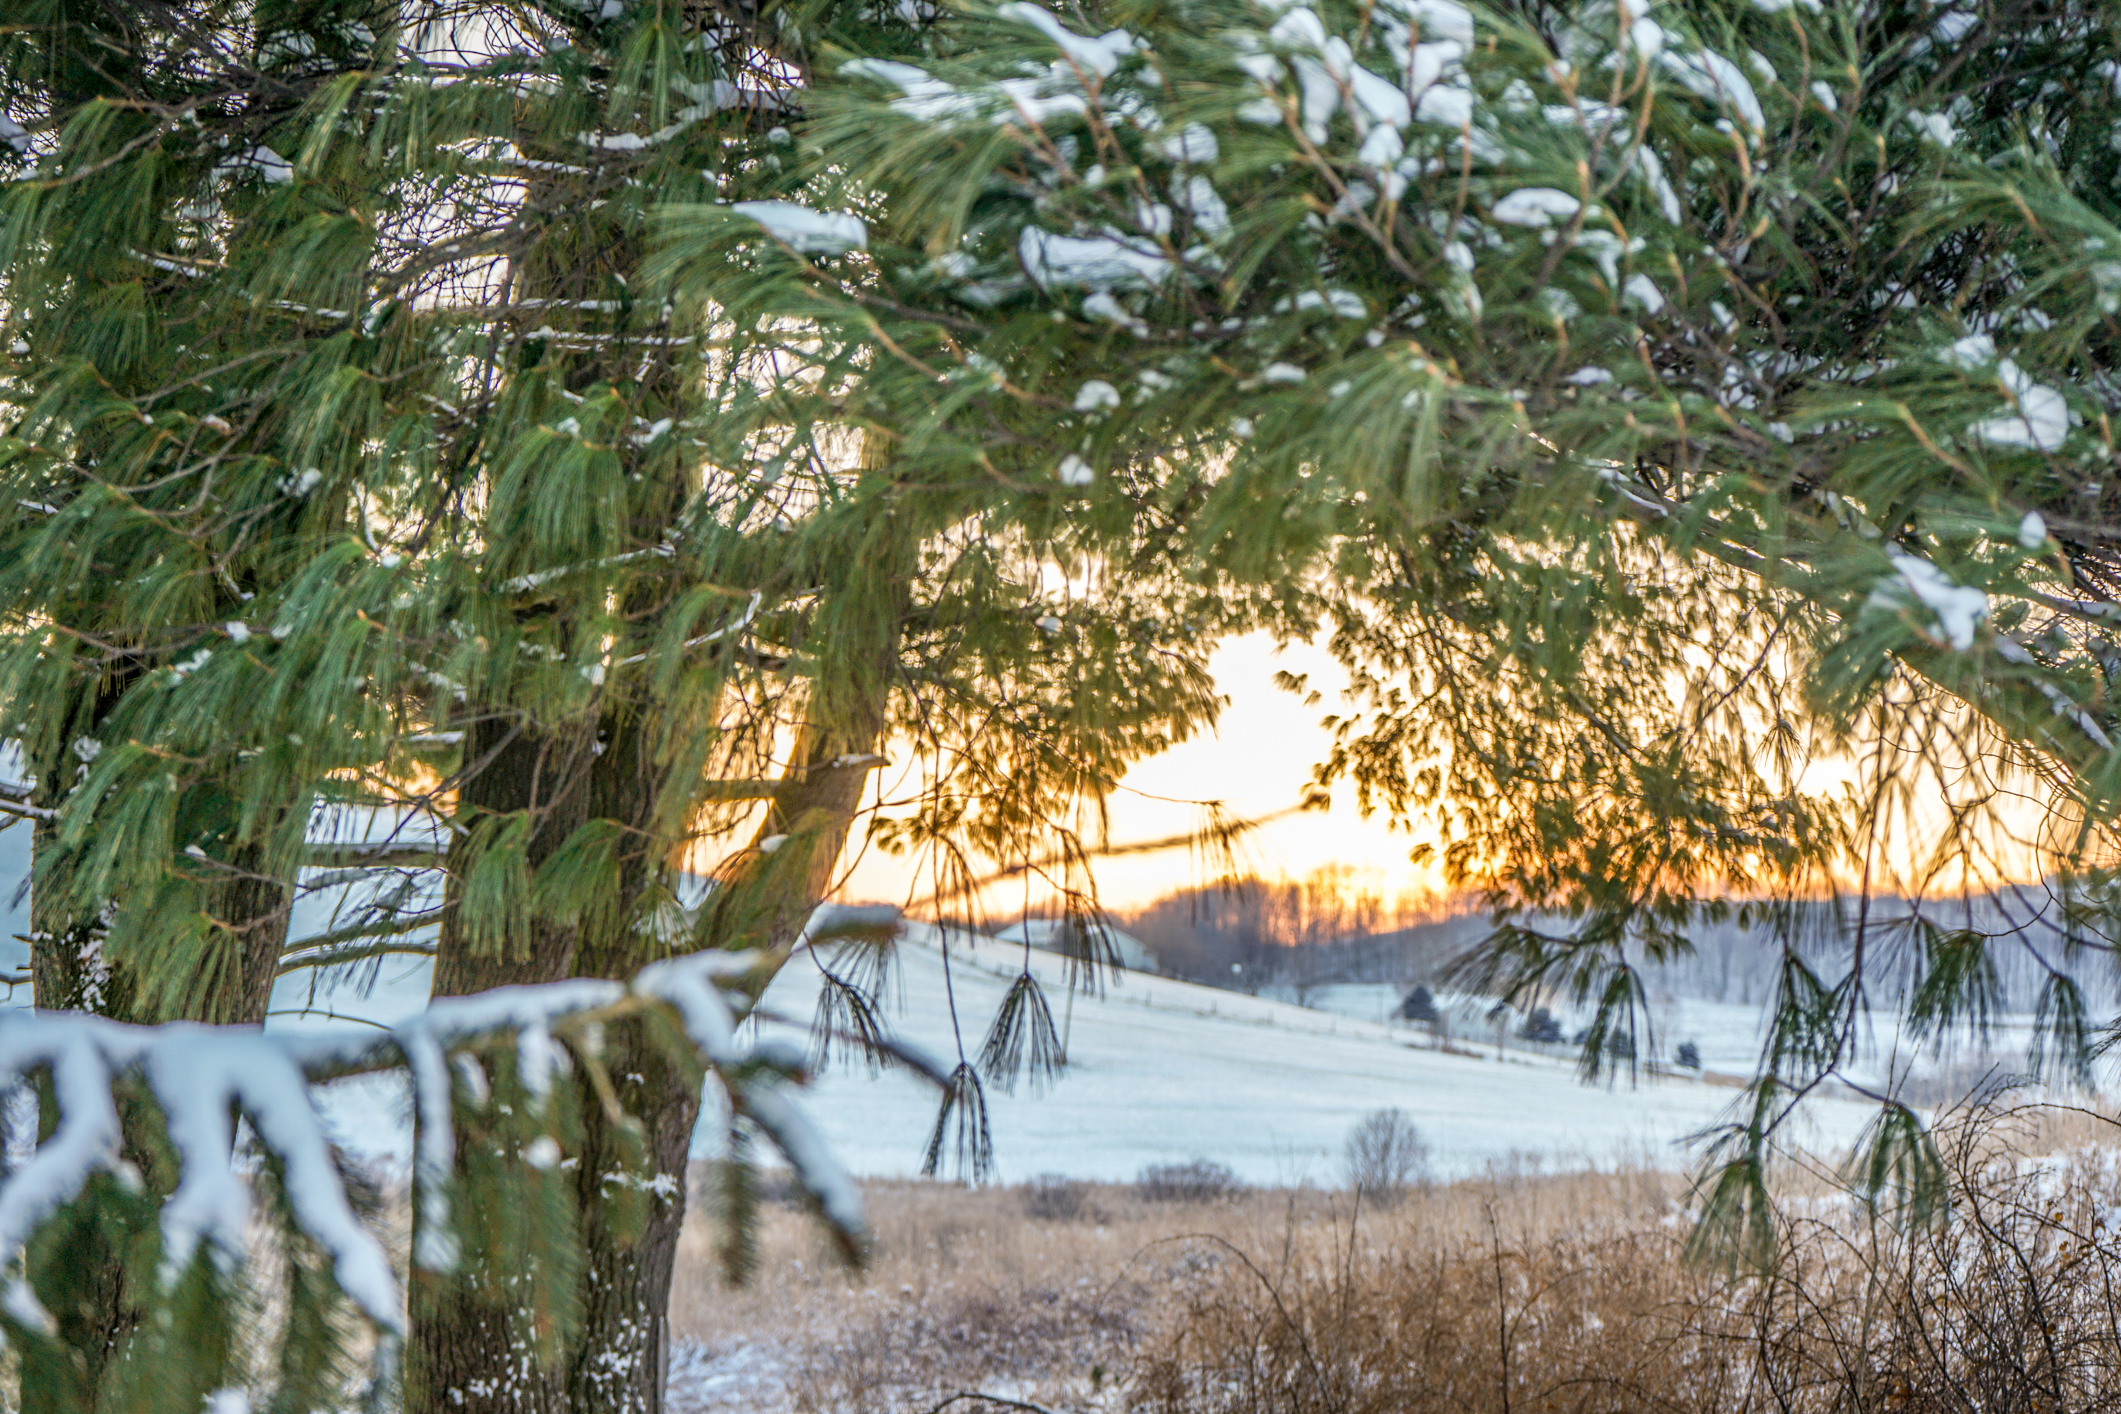
Speaking of leaves changing colors during autumn, this next photo is my all-time favorite fall picture I have ever taken. I was sitting under a tree, waiting on a friend of mine to pick me up to go hike Mount Nittany, when I looked up and saw this. I had to shoot into the light, which is why the top right corner is blown out, but looking back I think it looks more interesting this way with the white light drowning out the background in some spots.

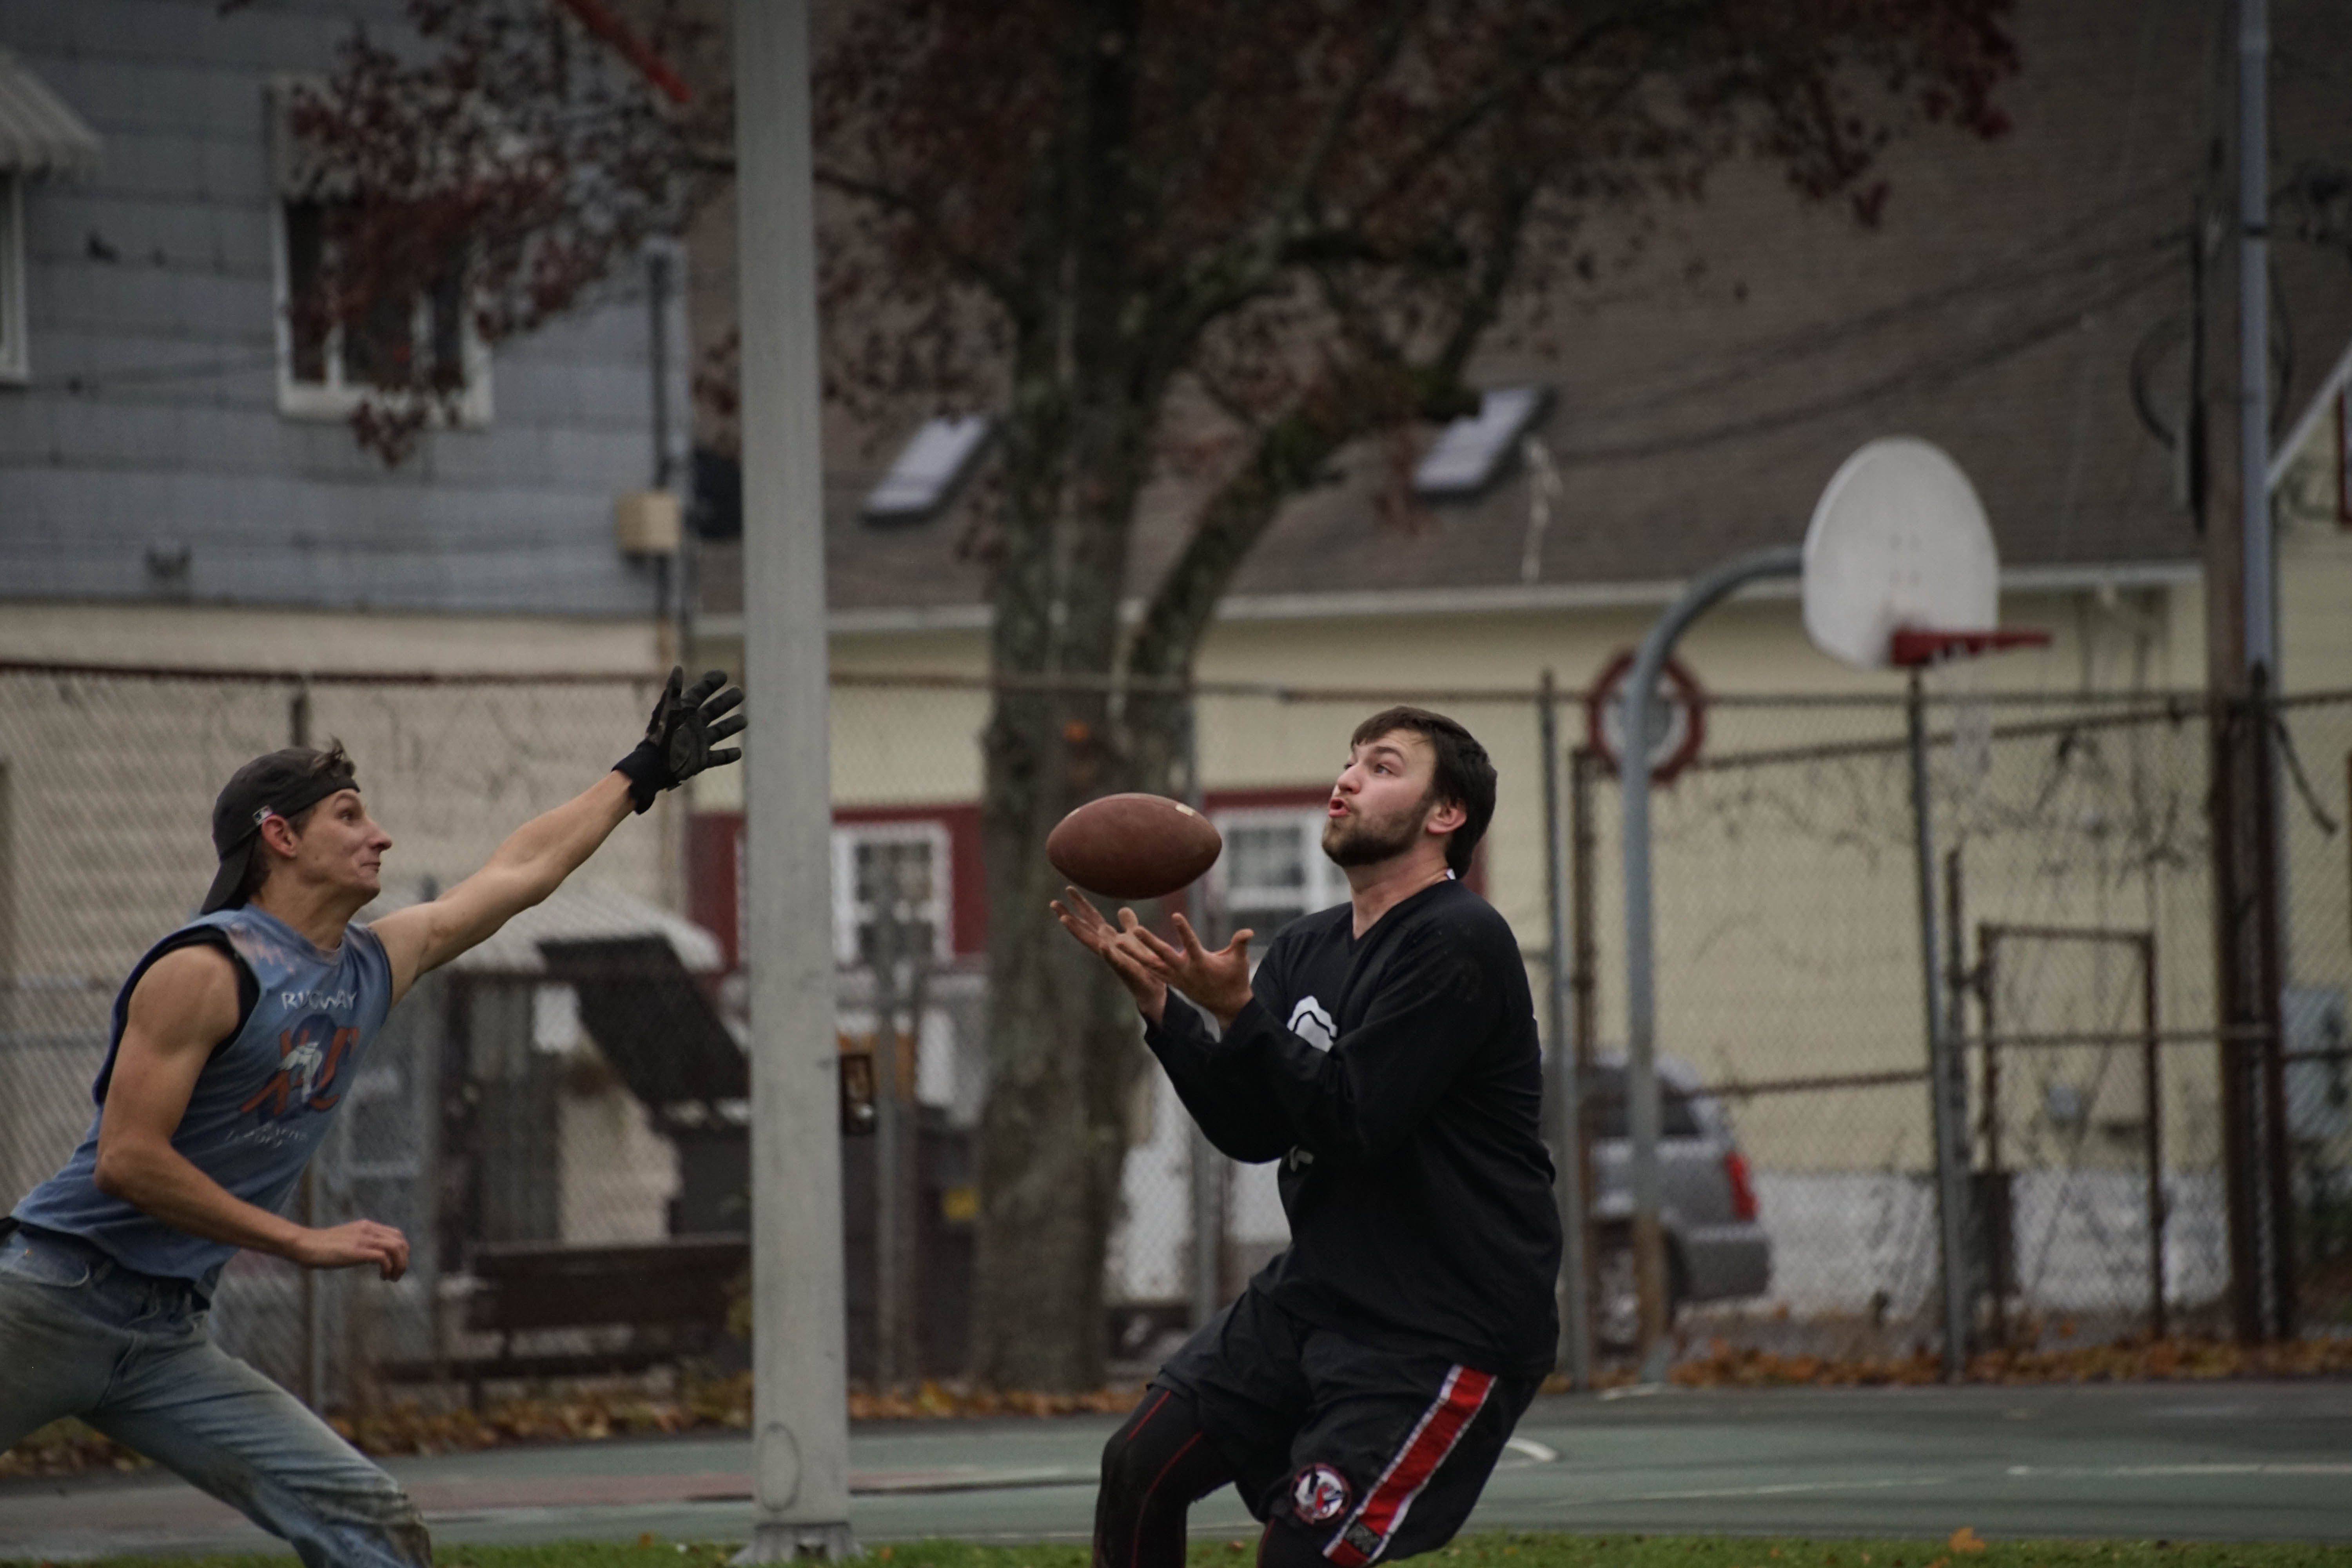
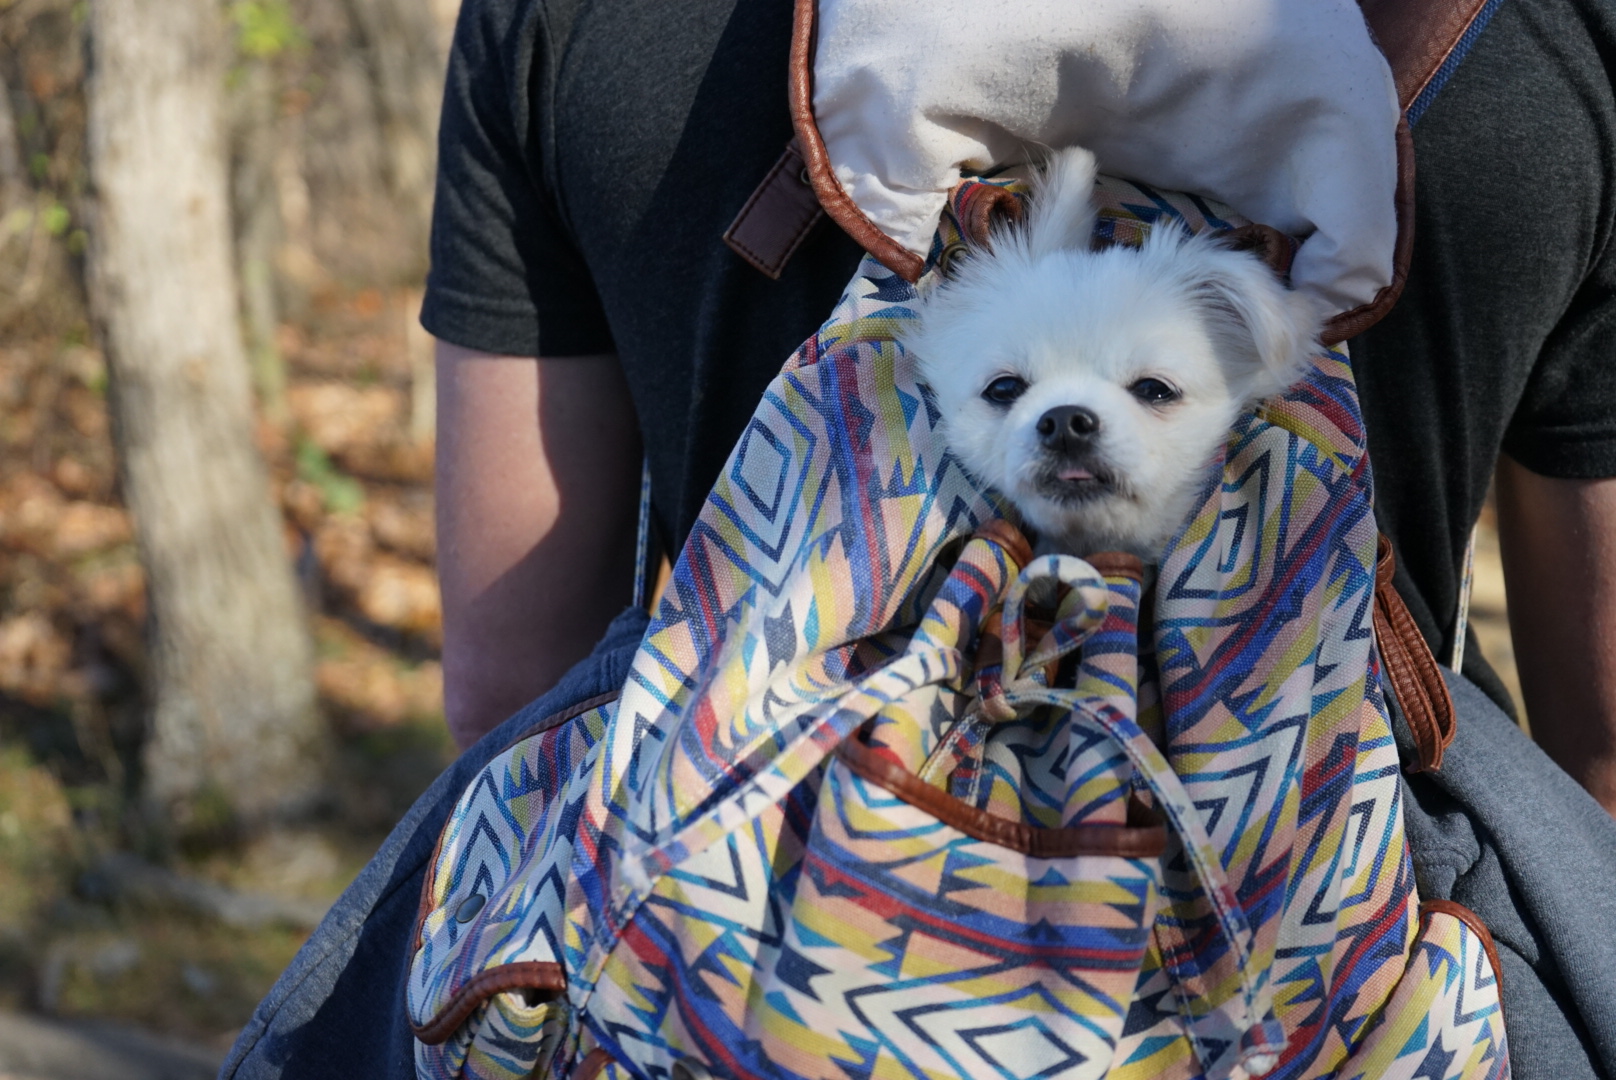
Just as a little bonus picture, later that day when we were hiking, someone was carrying their dog in a back pack, and admittedly I still smile at it every time I stumble upon it again.

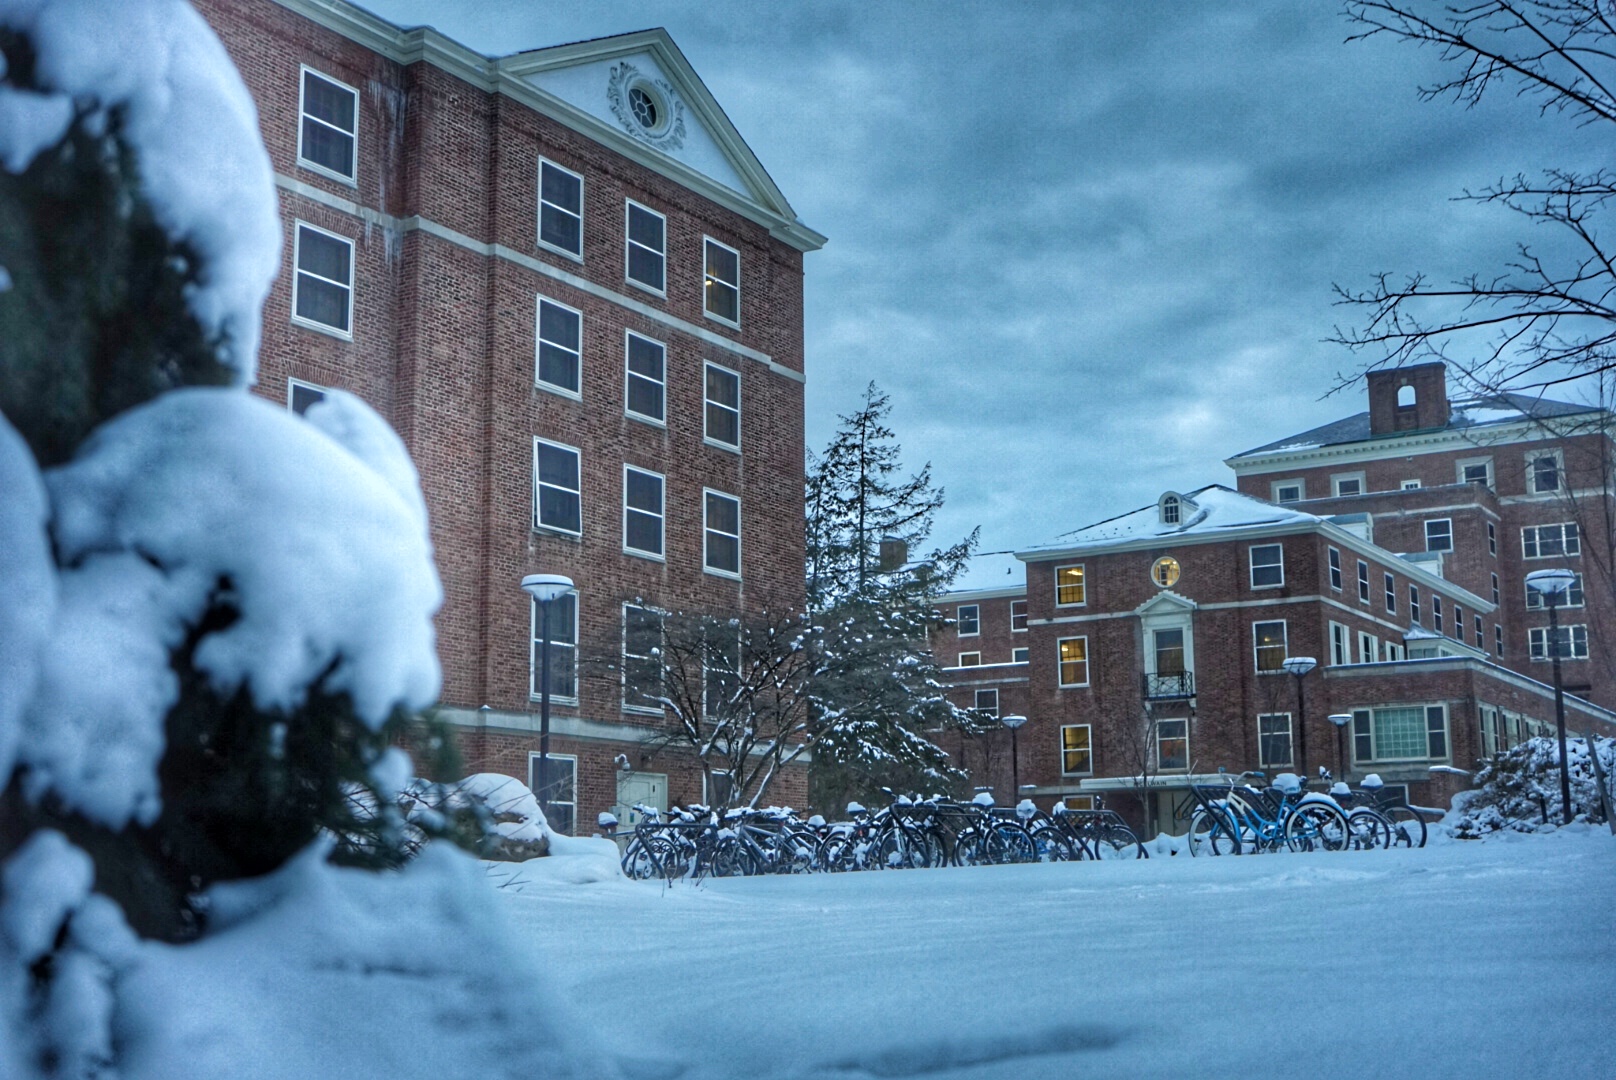
This next picture was taken right after a big snow storm. This is right behind Simmons Hall on campus and I think it ties into my style very well. I really like dramatic pictures that are a little punchy, where the detail is just breathtaking. I think this picture accomplishes just that.

Once the snow melted and spring arrived, I was just as happy as everyone else on this campus. I spent numerous nights the past few weeks, just being outside sitting on the hub/Old Main lawn and avoiding school work. This picture was taken when I was attempting to make a time-lapse of the sun set, that came out very nicely.

Moving forward into summer, I really want to become better at using Adobe’s Photoshop. Right now, I use Lightroom to edit most of my photos, but there are some incredible things Photoshop is able to do beyond adjusting picture settings. For example, this is a picture of the lion shrine I took early last semester that I Photoshopped to make it look as if it is coming out of the phone.

I think things such as this are interesting spins on what otherwise would have been just a normal picture. Besides that, my biggest goal is to improve my picture taking, and start to do more videos to round out my abilities.

Let me know which photo was your favorite!


**All photos are those of the author

Low Light Photography

It is not always going to be daylight, with beautiful natural light every time you want to take a photo. A lot of photos take place inside buildings, or at night time when great natural light is not available. I will call these types of photographs “low light”, and in this blog post I want to cover how to take stunning photos even when there is not much light to work with.

Most people’s first instinct when they have to take photos in dark places is to use flash. Flash is great when you want a picture with your friends and don’t really care how the picture turns out; you just want the picture to remember the experience you had. However, if you have a camera at your disposal there are other ways to brighten pictures that will make the photograph much better overall.

A little tip: if your camera has a flash on it, the best thing to do would be to cut a ping pong ball in half and tape half of the ball on the flasher; this creates more even lighting and leads to better pictures overall.

If you do not have flash, then the best way to get brighter pictures is by adjusting camera settings that increase the amount of light your camera takes in. Namely, ISO and shutter speed. With that in mind, this first picture was one of the first pictures I took when I learned how to take photos at night, and it highlights how finicky night time photos can be. ISO is the sensitivity to light a camera is. A higher ISO, the brighter a picture will be. The major catch, which can be seen in this photo, is the higher the ISO the more noise (fuzziness) that will be in the photo. This picture was taken at a ISO of 8000 and a shutter speed of only 1 second.  If I were to take this picture again to get the same amount of brightness I would drop the ISO to something smaller such as 1600 or 3200, and bring the shutter speed to 20 seconds. This would be much better for two reasons, it would be the same brightness with less fuzziness, and the slower shutter speed would capture the movement in the smoke that would have provided a more interesting picture.

1

This next photo was taken much more recently and illustrates how much I have learned. This photo was shot at an ISO of 100 (normally what I use during the daylight), but it had a shutter speed of 5 minutes. This was a cloudy night, so the long shutter speed creates a very interesting aspect with how the clouds above the trees appear.

2


I am a huge astronomy nerd, so to me, one of the most fascinating things cameras can do is astrophotography. Since cameras are much more sensitive to light than humans are, they are able to capture the magic of the Milky Way. Living in State College, there is far too much light pollution (pictures of stars need for there to be no light around when taking the photo because it is absorbed in the lens and doesn’t show the stars as well) for any decent pictures of the Milky Way to be taken, therefore this photograph was taken by Dave Morrow, a photographer I follow.

3

This in my opinion is the most beautiful composition and what I hope to work on this summer when I am able to travel more freely to places without so much light.

The last thing I wanted to touch on are star trails. This is another type of astrophotography, but it is not just one picture; these are made by taking multiple photos  and compressing them into one through a computer software at the end. The secret for these types of photo’s is to take a time-lapse of the night sky with long shutter speeds to capture the stars movement. I again intend to attempt photos like this, this summer when I can travel. For now, this is Lincoln Harris’s photo that is breathtaking.


4

One thing that always makes an interesting picture is portraying things that you see everyday in a different way that no one has seen before. Low light photography is one way to do so, that makes taking pictures not limited to when the sun is out.


Photograph Credit

1- Taken by the author

2- Taken by the author

3- www.DaveMorrowPhotography.com

4- http://www.lincolnharrison.com

Event and Sport Photography

The next types of photography I wanted to cover in this blog are event and sports photography. These types of pictures are interesting because at the surface they should show what happened during the event and make you feel like you were there, but a good photographer should be able to tell a story with their photos and evoke emotion with their pictures. Wedding photography is usually included in the event photography section, but I wanted to cover something that monumental at another time.

As a photographer for Onward State, these are the two types of photography that are required of me the most. Through Onward State I have been able to cover some very interesting events that go on around this school. For example, I have been able to shoot THON, the Brantley Gilbert concert, TEDxPSU, State of State, and Nittany Lion basketball games.

THON is a magical place, and it is true that it is impossible to understand THON until you are standing inside the Bryce Jordan Center (BJC) with thousands of others all fighting for the same thing. To see those kids smile and not worry for 46 hours is nothing short of miraculous.

This next picture is my favorite photo from the entire weekend. It perfectly summarizes what THON is all about and that is, “We THON so every cub can grow up to be a Nittany Lion”. The author of this quote is unknown, but you can feel this belief within every person who enters the BJC during the weekend.


This year at THON, the music group DNCE made a surprise appearance and performed a set for all of the kids. Luckily, I was on shift when they came on, and not to sound like too much of a fan girl, Joe Jonas was inches from me.

When shooting high action events such as concerts, when the band is jumping around, or sports it is no longer about planning shots in my head and finding the perfect time to take it. I had to simply point my camera at the band, hold down the shutter, and hope a few of the thousand pictures I took turned out well. This method is almost mandatory because the band will only be out playing for a short amount of time, and I cannot bring the band back out if I did not get the perfect shot.

During the DNCE concert section I ended up taking 1,285 pictures– out of all of those, only a handful were worth keeping.

Sports photography is the next type that I wanted to talk about. Being at the game and standing right next to some amazing athletes is an experience like no other.

Every year a group of guys I graduated high school with have something called the Turkey Bowl where we all get together Thanksgiving weekend and play football. Last year they asked me to take some photos while they played. These are some photos I was able to capture during the game.

Things people love to see in sports are the big plays and the player’s numbers.

For high action events where people are moving around a lot, it is necessary to shoot with a very high shutter speed. This was shot at 1/4000th of a second which is very quick and allows for a photo that is crisp. Another helpful tip is to have a camera lens that is capable of high focal lengths—or in laments terms, can zoom in. Most of the time there is no way to be standing right next to the athlete, so being able to zoom in on the subject from the sidelines is necessary.

Overall, these types of photography are usually very interesting and open up many opportunities to attend special events. I hope you had as much fun looking at my photos as I had talking about them!


***All photos are those of the author

Landscape and Nature Photography

In this week’s blog post, I would like to cover two of my favorite types of photography, landscapes and nature. These are fun to shoot because of the freedom it allows me. There is nothing in particular I am supposed to be taking pictures of, so it is whatever I find the most interesting. In addition, it is extremely relaxing to be alone in a park or in the quiet of your hometown and taking pictures of things that you never thought much about. After spending enough time taking photographs of nature, you begin to find beauty in everything.

The other week, State College was bombarded with snow, and that snow helped to produce the most beautiful scenes around campus. Since my classes were cancelled I decided to wake up early and go out before there were many people on the streets.

This is a landscape taken behind the iconic Old Main. I love this photo and the way it turned out. I think the trees creating a path towards the tower is something that is truly remarkable and one of the highlights of the shoot. Onward State featured it on their website and it received many likes and comments from students and alumni alike that appreciated the scene and beauty of the campus.

This next photo is another landscape shot of the fraternity Beta Theta Pi that I took following the death of Tim Piazza, a student and member of the fraternity, that died in the past few weeks. Although I very melancholy reason to take the photo, it was a very beautiful day. The sun was just setting that provided many wonderful colors and made the sky very intriguing. This picture was actually featured on ABC World News Tonight when they were doing their feature on what happened. It is very exciting for your work to be recognized, especially by such a large media outlet.

Moving more towards the nature side of things, I like to use a macro lens for taking these kinds of shots. A macro lens is a camera lens that produces an image that has a 1:1 ratio of how big the subject actually is to how big it looks in the picture. They also allow for photographers to get much closer to the subject. Many people might not know this, but camera lenses require that you be a certain distance, on an average lens it is usually right around 1 meter, before it will focus and let you take a decent photo. That is what is nice about the macro lens, it greatly reduces the distance so you are able to get right up to the subject.

I took this photo on campus right by my dorm room and the thing I wanted to point out is how the background is blurred. If you remember from my post talking about camera settings, this is caused by having a small f-stop number. This photo has a f-stop of f-3.5 which is relatively large and creates the scene of the subject being in focus but everything behind it slightly blurred.

This last photo I would like to highlight is one that I actually took right in my backyard at home over winter break. I am rarely up to see the sunrise, but I remember this particular morning I had to be up at the crack of dawn to head to Pittsburgh. I was walking out to my car when I saw this scene and it took my breath away. It snowed the night before, so there was a small amount of snow on the ground but the way the sunrise was peaking behind the hills and through the trees was mesmerizing.

Landscape and nature photography are great ways to experience nature and help us realize just how beautiful the world we live in is. I hope you enjoyed looking at my pictures as much as I enjoyed taking them.


*All photos are those of the author

Fundamentals of Photography

I have been taking pictures since I was seven years old. When I first started out, I only had a disposable camera that I would simply point at something and shoot. On my twelfth birthday, I was finally given what I always wanted, a digital camera (DSLR).

Since then photography has become an integral part of my life, and throughout this blog I wanted to share some basics of the art, as well as some interesting projects that I have been working on. Before I cover more advanced photographs I take, it is necessary to be familiar with the fundamentals.

The art of photography truly comes from switching your camera to manual mode and being in complete control of the three different settings that transform boring pictures into breathtaking photographs.

These three settings are international standards organization (ISO), shutter speed, and the aperture of the lens.

ISO

ISO is how sensitive the camera is to incoming light. ISO numbers range anywhere from less than 100 all the way to over 10,000. The lower the number, the less sensitive the camera would be to light, making pictures darker. This means that if I was taking a picture outside in the sunlight, I would go with a low ISO number, and oppositely, if I was taking a photo at night I would go with a higher one. The trickiest part to which ISO number to go with is the fact that the higher the ISO number the more noise (fuzziness in the background) a picture will have. For this reason, it is advisable to always try to use the lowest ISO number possible.

http://whiteonricecouple.com/photography-travels/iso/

Shutter Speed

Just like the name implies, the shutter speed is how fast the camera takes the picture when you click the shutter. This, in truth, is one of the easier settings to master. If it is a fast-moving subject, like a running dog or an athlete you would want a high shutter speed so they do not appear blurry. If the subject isn’t moving, then a slower shutter speed will work just fine.

In addition to making sure the subject is not blurry, the shutter speed also helps to control the amount of light that is allowed into the lens. On fast shutter speeds, since the lens will be open very briefly, not much light will be allowed in, making the photo darker. On the other hand, low shutter speeds allow in much more light and can brighten up pictures without having to change any other settings.

https://oberphotographytips.files.wordpress.com/2013/04/shutter-speed-example.jpg

Aperture (f-stop)

Aperture is the last setting that has to be accounted for when taking a picture. All that this setting controls is the focal length of the lens, or in simpler terms how wide the camera lens is opening.

The numbering for this particular setting is a little confusing. It would make sense that lower focal length, the smaller the opening, but it is actually the opposite.

While the aperture may seem like the simplest of the settings, it is the one that by switching it around, creates the most interesting pictures. For example, low f-stop numbers like f-2.8, are what allow for pictures where a subject is in focus but the entire background is blurred out, a common technique used in headshots.

https://17strevdav.files.wordpress.com/2015/06/aperture-sequence-2.jpg

When first starting out, learning how to change all of these in order to capture the photo that is wanted can seem very daunting. No matter how many times I read lists of what these did, when the time came to take a picture, I would always blank and miss the shot. The easier way to learn is by practicing, and soon without even thinking you know how to switch settings to capture the moments that are worth remembering.