


There comes a time when your storage is maximizing and upgrading your storage which adds additional payment. I’ve reached to the point that I no longer want to pay more, so I decided to use my extra external hard drive and transfer all my Photo taken from my Apple devices. If you feel like on the same path with me and don’t where to start, follow along and lets clean up and regain that space!
Method
Opening Photo Library
- Navigate to preferences
- Check “Copy items to the library” (this procedure ensures all your photo are within the database

Then ‘Exit”
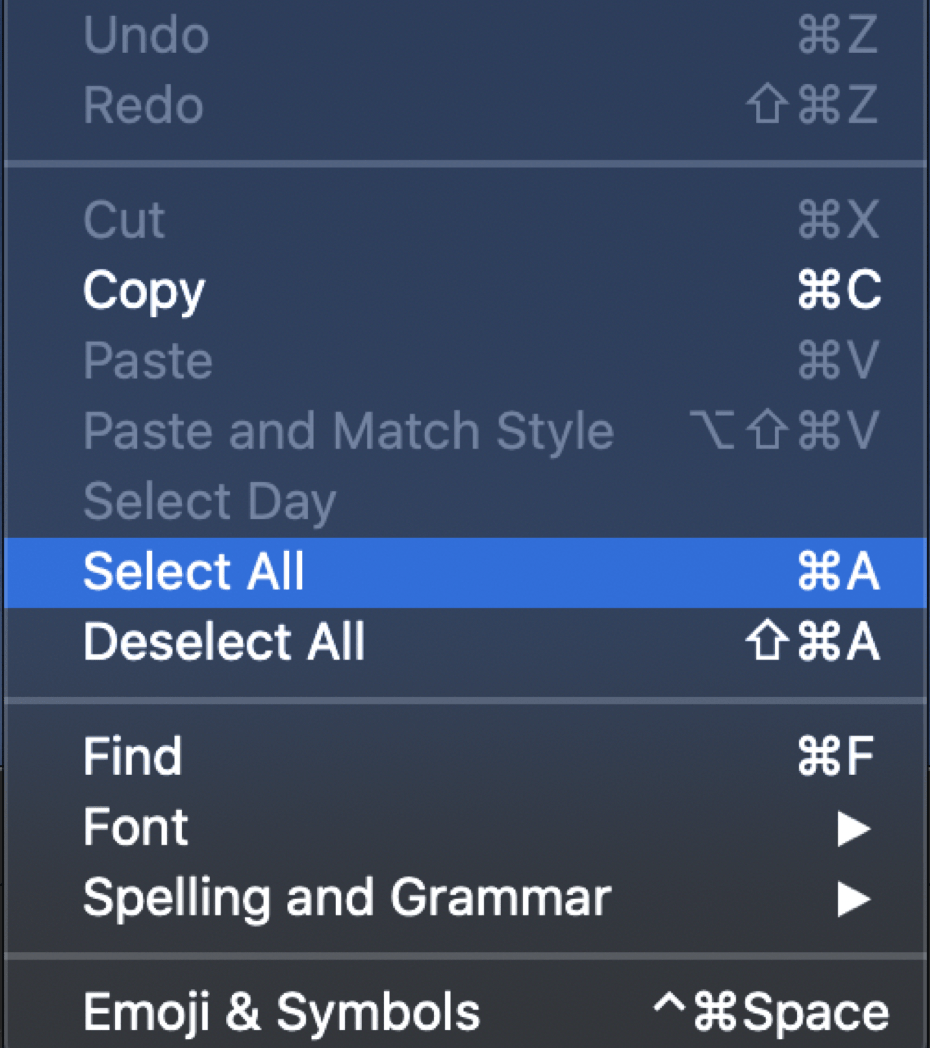
Next, Navigate to ‘Edit’
Select all
File “consolidate” – if this is greyed out it means this is already consolidated
This step will highlight or select all your photo
Then, go back to Preferences
General (look where the photo file located)
Click “Show in Finder”


The result should look like this

Once it’s located you can drag & drop the iPhoto to your external hard drive, given that you formatted your HD and rename it accordingly.
And you should be done within a few minutes or depend on how large your files are. After the transfer is finish you can now go ahead and delete your iPhoto to free up your space.
Optional: If you want to set a settings that will help your machine to locate your photo, you can do so by:
Opening the iPhoto while holding down the “option key”

A window will pop up showing you options to choose.
Another method is by simply navigate where you save your file, in my case it is on my external hard drive and just double click on it. This method will remember where to locate your file, the only downside is when you accidentally unplugged your external hard drive.

Finally, now that we move all our files the next method would be to regain all those space. Navigate again to your ‘Finder’
This is where Mac stores your photo library.
All you need is to simply Drag & Drop those files to ‘Trash’ and empty your trash.