Have you ever seen a flawless set of gradient nails and wondered how on earth it was possible to create something so seamless? Believe it or not, gradients are one of the easiest and most effective nail art techniques to recreate. For those of you that lack a steady hand and therefore can’t be bothered to attempt nail art, this is the perfect method for adding excitement and interest to your manicures. Let’s face it, the same plain color of nail polish on all ten fingers gets boring real fast.
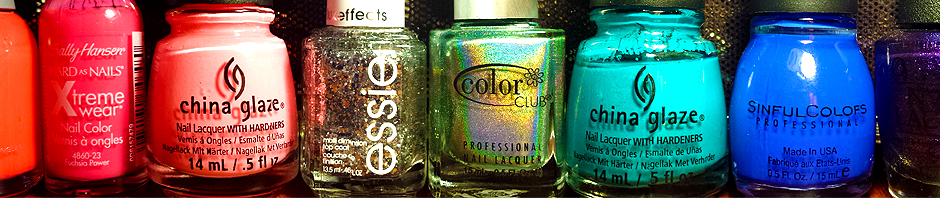
Another good thing about gradients is that you only need a few things to achieve the perfect gradient, and chances are you already have most, if not all, of the items! First you will need a minimum of two colors of nail polish. It is not always necessary, but having a bottle of white polish is recommended. A base coat of white can drastically improve the vibrance of your gradient. If you wish to create a monochrome gradient (a gradient involving shades of just one color), two polishes will be sufficient, but the more colors, the more seamless the transitions will be. Gradients involving shades of one color will almost always have a great outcome. These gradients are the easiest to achieve, followed by gradients consisting of analogous colors, which will require at least three colors. Analogous colors are colors that are right next to each other on the color wheel, such as green, blue, and purple. Lastly, creating a gradient using complimentary colors or colors with high contrast can be difficult to pull off, but not necessarily impossible.
Once you’ve chosen your nail polishes, you will need a makeup sponge. If you don’t have a makeup sponge, any scrap of spongy material can create a similar effect. I used to use pre wrap in my earlier days of creating gradients because that’s what I could find around my house.
Finally, you will need q-tips and nail polish remover to clean up after the sponging process. Gradients may be easy, but they can get pretty messy. Occasionally, I will tape off the skin all around my nails so there is less to clean up afterwards, but this tends to be just as time consuming and even more of a hassle.
Before you start, you need to remove the lid from each bottle and keep them unscrewed until the end. This is because the process is fast and you will be using your colors often.

Here’s a pictorial of the process:
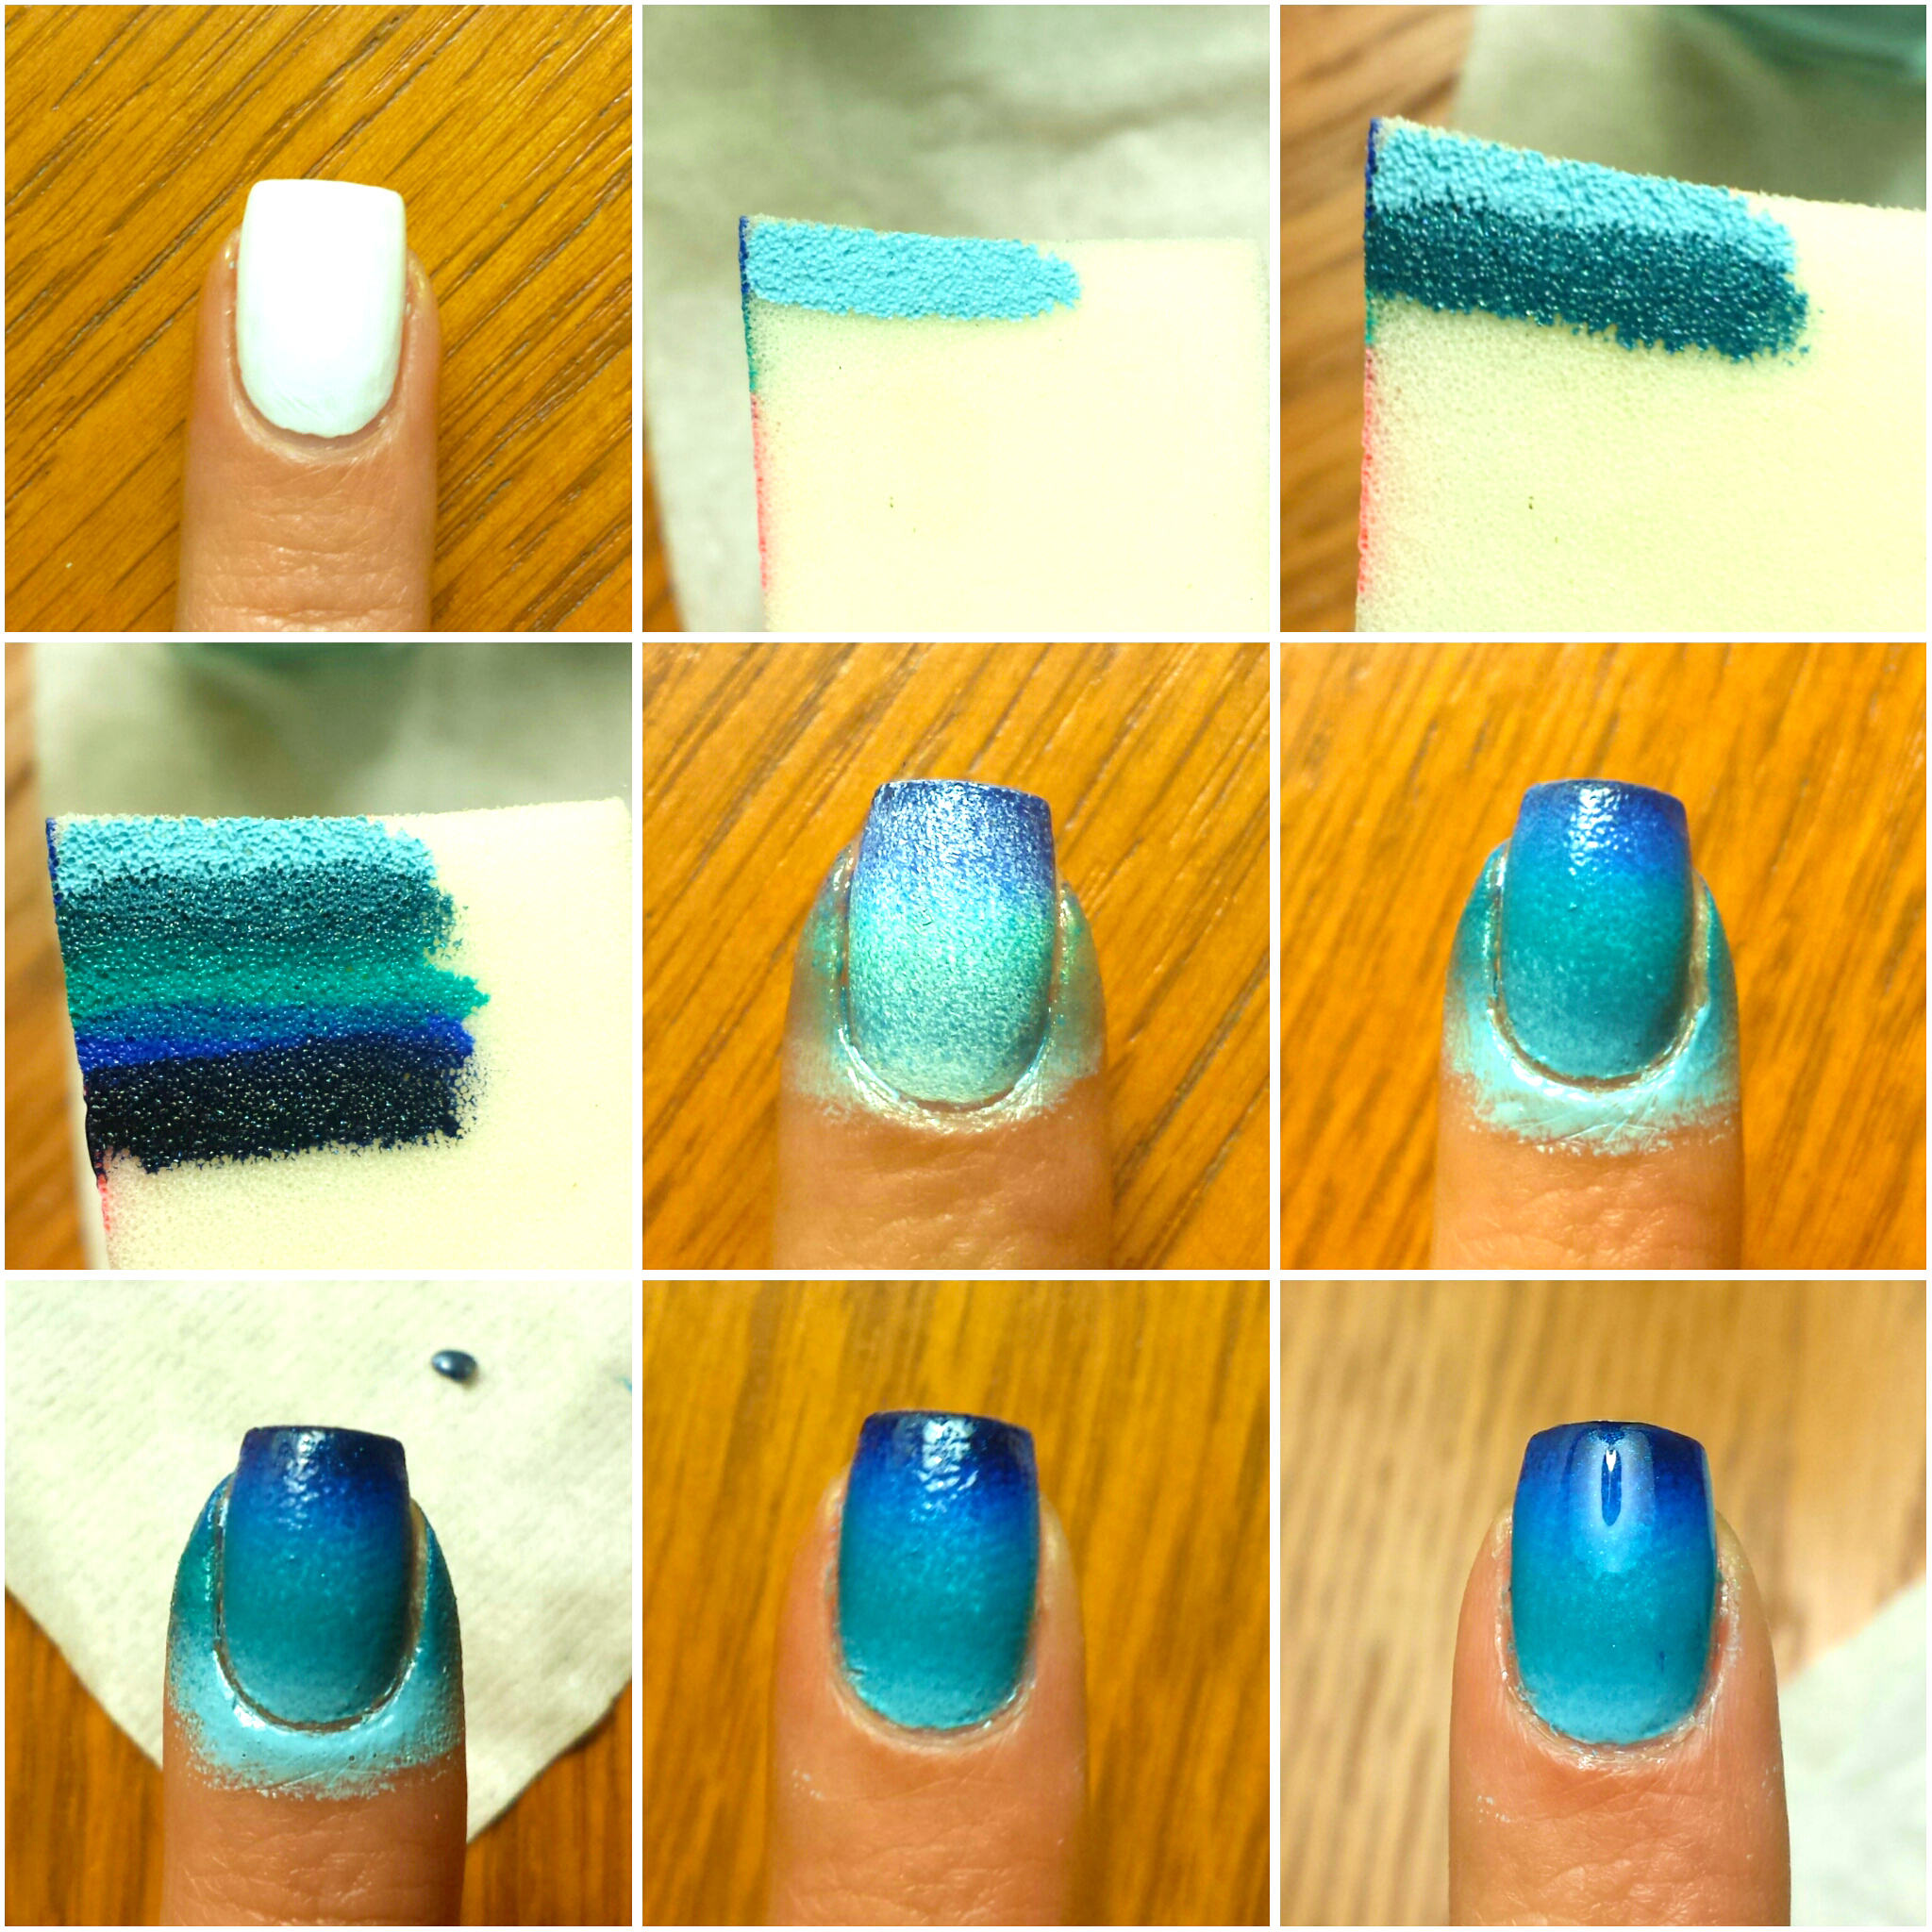
First you want to start off with a white base coat. This will make the colored polish you put on top more vibrant. The base coat can be thin, and it doesn’t have to be perfect because it will be completely covered up later. Let the white dry completely before you move on.
Next, paint a thin strip of each polish on the makeup sponge. You want all of the colors to be able to fit on your nail, so size the stripes accordingly.
Right after you’ve applied the last polish to the makeup sponge, stamp the painted area on your nail. With a stippling motion, dab the sponge on your nail, moving it in tiny circles. The first coat is going to look pale and the transitions between colors won’t be seamless. Make sure this coat is dry before you apply a second coat. If it is still wet, the sponge will pick up more color from your nail than it puts down. Repeat this process several times until you reach your desired coverage, making sure to allow each coat plenty of drying time. Reapply polish to the sponge between each nail. The more coats you apply, the smoother the transition between the colors will be.
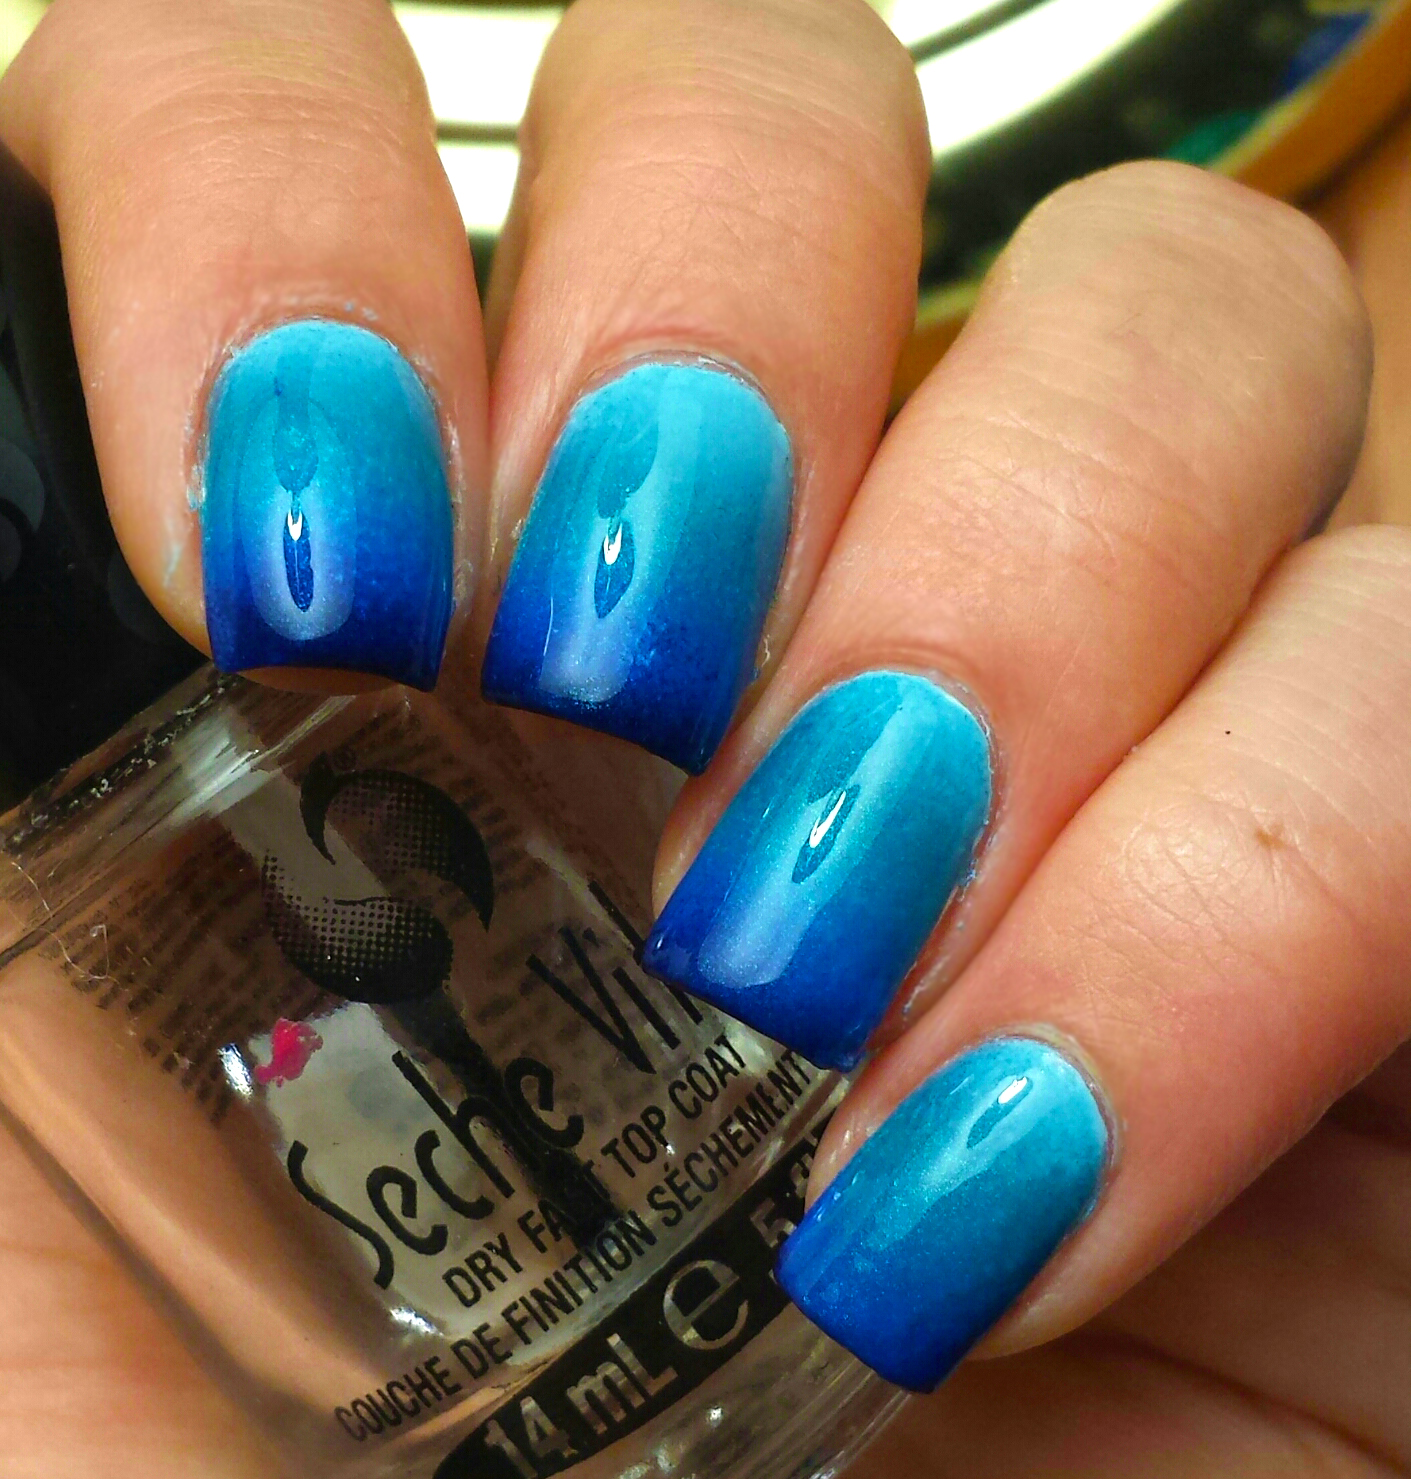
Top coat is highly recommended for gradients. Not only does it add a nice glossy finish, but it almost blurs the transitions between colors so that the gradient looks even more seamless.
Its up to you whether you clean up the excess polish before or after you apply top coat, just make sure you take your time doing it so you don’t mess up your freshly painted nails. Dip a q-tip into nail polish remover and wipe the nail polish off the skin around your nail. Running a toothpick along the cuticle area to separate the polish from the cuticle can make your manicure look even more professional.
The process may seem long, but it actually goes pretty quickly once you get the hang of it. The end result is definitely worth your time. You’ll be left with a mesmerizing manicure that’s sure to impress. And of course, practice makes perfect, so keep trying until you’re comfortable with the technique!
I have always wanted to try a different nail polish technique but I usually just stick to one color because I never thought I could do any fancy design. This tutorial makes it seem so easy and I actually have all of the items needed. I don’t know how well it will turn out, but it’s worth a try!
I love the look of gradient nails! Unfortunately whenever I’ve tried it, it always ends up a gooey mess more than anything. Practice does make perfect though, so I’ll definitely keep trying!