Composition: The One Thing You Need To Know

Seriously, if there is one thing that you should take away from this blog, it will be this concept. Allow me to start by explaining exactly what it is. Composition is aligning all the elements in your frame (or shot) in a way that pleases the human eye. For example, look at these two pictures:

IMG_1998 IMG_2000


Which one do you think looks better? If you picked the top one you are correct! The top one uses composition to arrange the frame. To correctly “compose” your shot, the easiest thing to do is imagine a tic-tac-toe board over your image (Some devices have an option to display a grid over the image preview) and then align the main points of your image along those grid lines. Here are the pictures above, but with the grid over top of them:

IMG_1998 IMG_1999

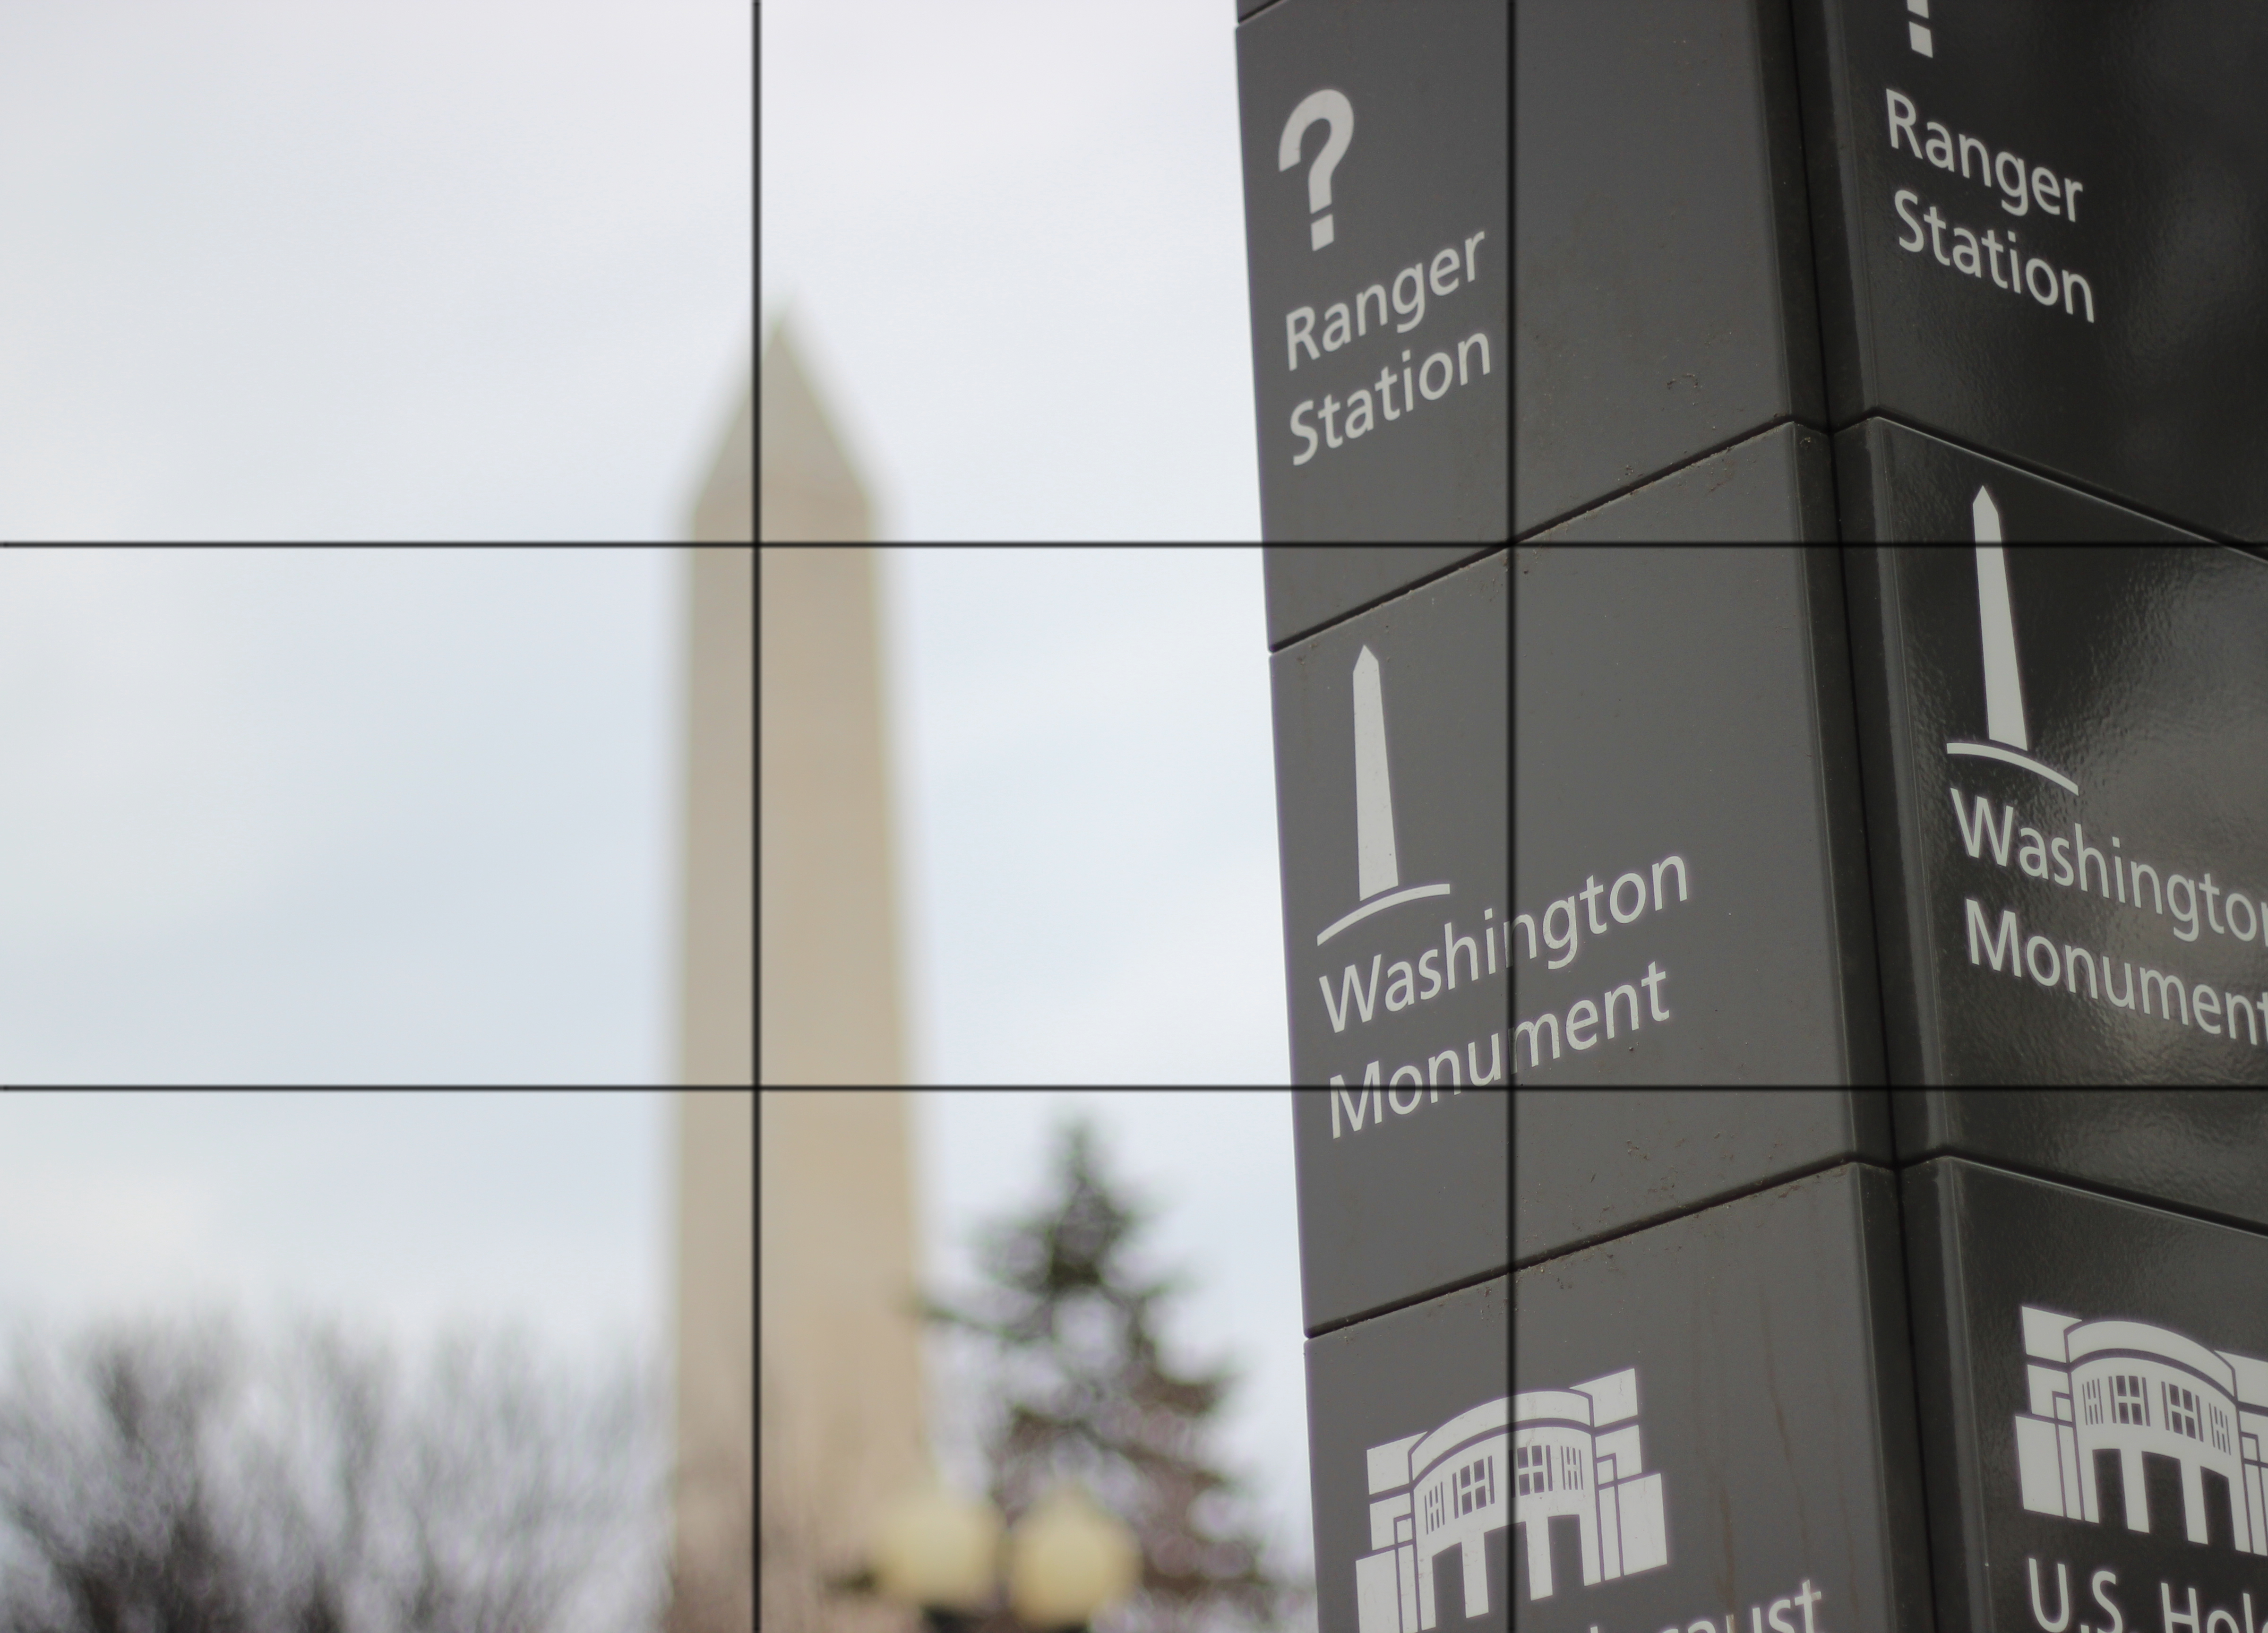
See how in the image on top that everyone’s head is aligned with the top bar of the grid? That makes the picture more visually pleasing then the one on the bottom. This is to make sure that you don’t leave too much headroom on your subjects, like the bottom one did. When you are trying to frame objects and not people, the rule of thumb is to try and place all the subjects you would like to show in the photo on one of the intersections of the grid.  Here are some examples with the grid on them:

IMG_1997 IMG_2013 IMG_2152


If you follow that one trick, that will turn your everyday instagram photos into something of a masterpiece. If you have an iPhone, there is an option to turn on a grid when you are in the live preview screen. Turn that on and see how your pictures and video will change.

P.S. I know some of you have asked me to put up some of my work on here, I have started a gallery (the link is in the top right or bottom right depending on where you are in the page) if you would like to see some of the pictures I’ve taken. The gallery won’t let me upload videos, so if you want to see those you would have to go to my YouTube channel.

Depth of Field

Have you ever realized how some pictures have a really nice blurred background? Have you ever thought of how only the important objects in the video are sharp? What they are using is called Depth of Field. Basically, it is adjusting the focal range of your camera so it only partially focuses the image. Now you’re probably asking, “What the heck is a focal range?” and I have an answer. The focal range of a camera is how much of a certain shot is sharp and how much is blurred. Now to adjust this, you have to look at some parts of the camera. In font of the sensor of your camera, there is a series of blades that can open and close to adjust the amount of light that you let hit your sensor. That part is called the aperture.  The amount of light let in by the aperture is measured in something called “f-stops”. It isn’t as important to remember every value of the f-stop scale (I don’t even know the whole thing) but a general rule of thumb to remember is the lower the number, the more light that is let in and thus gives you a shallow depth of field (more things will be blurred out). For example, a f/1.4 will give you a nice blur on a background if you were taking a shot of a person while a higher number like an f/9 would keep the background in focus. Now something you can try, since the iPhone has a fixed aperture of f/2.8, that allows you to take some pretty decent pictures at a close distance. To test this you can set up an object like a soda can on a table and place your phone very close to it, but not so close that it cuts it out of the frame. Then, make sure there is a deep background behind it and then take the picture. You should see how the background has a nice blur to it and the soda can is kept in focus. You can practice this also with more professional cameras that give you more control on the focal range. I’ve added some examples that I’ve taken using Depth of Field. These were shot on a Canon t3i with a f/1.8 Lens.

IMG_4125IMG_4126


About This Blog

Hi, My name is Ryan Archambeault and I chose to write this blog on Video production and tips for taking better pictures. Allow me to start by giving a little background on myself. I’m a college freshman at Penn State and I’ve been making videos since my freshman year of high school. On here I will be talking about some of my videos, some of my favorites from YouTube and some insight to some pretty cool film gear. I’ll start off by going over what I use. For my videos, I usually shoot with a Canon t3i and a Sony Action Camera. Now you’re probably thinking, “Why is he using a photography camera for video?” and my answer to that question is that it shoots some of the best video quality I have seen in a camera that costs less than $1000. On occasion I also use a Sony Action Camera, which is an overall great point and shoot camera. Its one button recording and virtually everything proof case makes it one heck of a good buy. Another sweet feature of this camera is that it also has the ability to shoot 4x slow motion which adds some great effects. To produce my videos I use adobe products like Premiere pro and After Effects. I’ve had both these programs now for almost 2 years so I know both pretty well. Usually my videos are montages of trips I go on or events I take part in. I also did a great number of videos for my school functions like volleyball games, Prom, and the planetarium we had. If you would like to view some of the work I’ve done, I’ll post a link to my channel below. I hope you all enjoy my blog!


Here’s the link to my channel: http://www.youtube.com/channel/UCAgoxF2WtTeWmFLTfFvarDA