After a week or so I have nearly finished the project, the animation is running smoothly on all 3 components that I have designated to be the clockwork pieces. All others will move in a normal, consistent speed until the ‘cube’ returns to its ending state. The clockwork motion I found to be a little less finicky than I originally expected. After doing the bouncing ball practice piece, I used very similar aspects of that animation for this one; namely having the movement swerve quickly into a hard stop. The motion on the ball emphasized its weight, which is exactly what I wanted for the clockwork components. I found the yellow block the most difficult, because it took a few extra steps and a lot of fine-tuning to get the ‘weight’ of it to feel heavy enough to where it hit that sweet spot of bouncing back into the position. The minute hand were easier since their ‘weight’ wouldn’t warrant a bounce back, and a hard stop worked well there. I though the other black bars would do well to mimic the cage door on a jail cell or something similar, so I had them close in at the end to feel like it ‘traps’ the piece into place.
Category: Project 1
Design Final for Mondrian Animation
http://https://www.youtube.com/watch?v=K8sclOsNoDc
Here is the culmination of my work in our first project from DART303. Since the project was first introduced and we saw the example post of all the example elements zooming in to their final position, I thought immediately that it could be improved. One of my favorite ‘styles’ of animation would be clockwork movement and I thought that this project would lend itself perfectly to clockwork motion of elements. The picture I chose had multiple, thin, black lines going through the painting and I decided these would make good ‘minute’ and ‘second’ hands for this animation. As the yellow cube stood out in the original piece, I thought it would make a great center piece that acted as an ‘hour’ hand. I also wanted to exaggerate the weight of the cube by having it rotate past its stopping positions and then in an elastic motion, bounce back to the temporary stops. The animation for the time pieces was a lot simpler than I thought, it was just dividing the time into equal spaces and having each arm rotate an equidistance to correspond with the time sections. In order to make it feel like they were ‘falling’ into the movements and having those hard stops, I had to do some tweaking in the graph editor and change the uniform, straight lines that feed into each key frame. I was able to select all points and have them all follow an identical motion where it makes a negative log function pattern (for any math people out there) where it starts out horizontal for awhile then quickly drops to a near vertical shape.
I was able to copy this pattern for both minute hands and for the second hand, but for the second hand I doubled the number of keyframes and spaced them accordingly to fit. Aside from that, the overall animation has 2 stages, where there are initial pieces that fall into place, and then secondary pieces that close the final shape and almost cage it in. At the final frame it cane be a bit hard to see how it fits into the original picture, but from an orthographic view it does fit.
Cromar, William. “Essentialsmondrianimation.” NewMediaWiki [Licensed for Non-Commercial Use Only] / EssentialsMondrianimation, http://newmediawiki.pbworks.com/w/page/126906422/essentialsMondrianimation.
1.1 Reference Reflections
As a kick off for our first project in 3D design we were assigned to read and watch a few pieces of information.
Firstly we read through a wiki title called Parallel Universes which basically gives the history of design as a concept, not even 3D. At its core, design is essentially the transfer of visual ideas and data between one person to another, or one person to an audience. This begins with the Neolithic period and cave sculptures and how early mankind conveyed the visual ideas of their surroundings to others through painting on the cave walls. With these drawings it highlights that early man found their surrounding flora and fauna so important that they wanted to immortalize and discuss their thoughts on these things through visual means. Not only did they draw their surroundings, but they also made attempts at mapping their skies, particularly the night sky with constellations. Not only were they just emulating their surroundings, but the video talks further about how the pictures are created in a way that they simulate movement based on the source of the light hitting the wall at differing angles, which surprised me the most. The animals and other figures seem to mirror or emulate the common constellations we recognize today. As this is a 2 dimensional map of a semi-2 dimensional sky, there is no data lost in the translation. When thinking about 3D design, we need to incorporate design of 3 dimension which is a lot more in depth and detailed than 2 dimension. Especially when the only real way for most of history was to convey objects in 2 dimensions. The Renaissance artists did not have 3D software to create and present their modeling ideas to their colleagues so they had to warp their drawings and designs to incorporate perspective and create the illusion of 3 dimensions. Today this is very commonplace to have 3d objects presented on a 2d plane, but nearly 400 years ago the visual language for these designs had to be generated using only pen and paper. Our overall challenge for this project and the semester as a whole is to understand what was learned in the last 400 years and apply the tools and tricks to our production process.
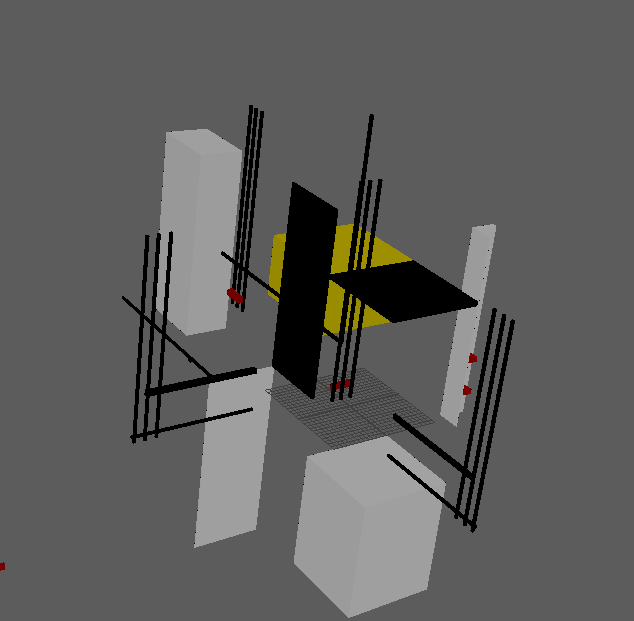
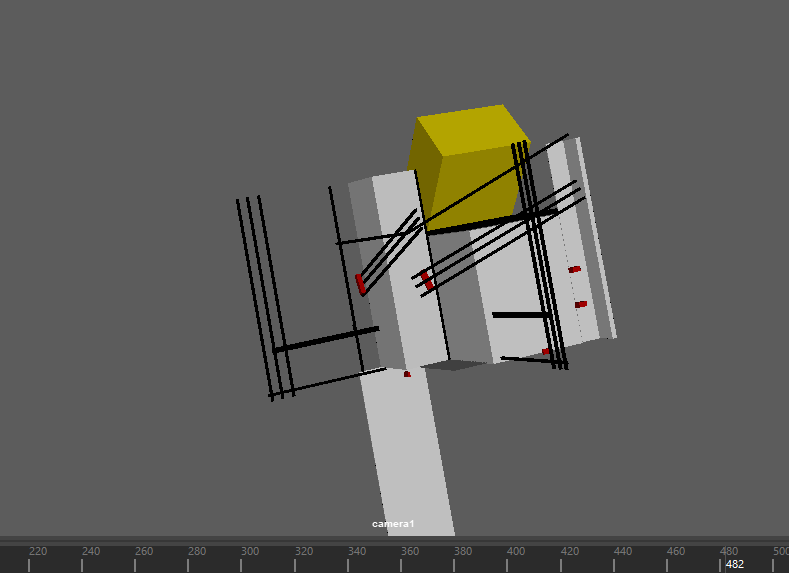
Secondly we were tasked with watching and emulating a list of tutorial videos provided by Linkedin, and taught by George Maestri. In these videos we learned the in’s and outs of all the fundamental components of Maya, a 3D modelling software produced by AutoDesk. Maya will be the primary tool of our modeling in this class, so it was important to understand how to use the tool, especially since no one in the class had used it previously. From these videos we were able to learn how to control the camera, as well as add more to our projects to provide different angles to our scenes. Along with that, George covered the basics of how to move, reshape and size different objects and primitives, along with modifying smaller components of an object. As I have previously done some minor work using Solidworks in the past (4-ish years ago), I was not completely unfamiliar with all that was being introduced in these videos. I was excited to see that pivot points were also able to be moved in this program, which I had not seen before. Once I saw this function of the modelling software, I got a spark in my mind that would indicate the direction I want to take for finished project. After seeing the tutorials and doing the Ball Drop exercise, I was inspired to take a ‘clockwork’ approach to my project which I will detail later in another post dedicated to that production. Regardless, the tutorials also introduced the animation components of this software, which I was used to from last semester, but had never seen inside of a modelling software. By this point I was starting to understand that this was more than just a shape-making tool, I would be using this to create small films and animations. Now I was a little more interested because this would give me insight to some of the films I loved watching when I was younger like Shrek, The Incredibles, and Monster’s Inc.
The third piece of information we were asked to look at has to deal with the artist that is inspiring our project; Piet Mondrian. The reading goes into detail about Mondrian’s paintings and style development and how he takes simple shapes, namely rectangles and lines, and creates a narrative, or a sense of movement in his paintings, despite them appearing to be still and plain on surface level. Mondrian’s choice of color and position with his components are what gives the pictures a multidimensional sensation. Our goal is to use this idea of making motion from the motionless and replicating one of Mondrian’s pieces inside of Maya, and having it move in such a way to produce the final, finished piece that looks nearly identical to a classic Mondrian.
Citations:
Cromar, William. “Paralleluniverses.” ParallelUniverses [Licensed for Non-Commercial Use Only] / ParallelUniverses, 2020, newmediaabington.pbworks.com/w/page/67264981/parallelUniverses.
Cromar, William. “Maya 2022 Essential Training Online Class: Linkedin Learning, Formerly Lynda.com.” LinkedIn, 2020, www.linkedin.com/learning/maya-2022-essential-training/.
Cromar, William. “Essentialsnonobjectiveobject.” NewMediaWiki [Licensed for Non-Commercial Use Only] / EssentialsNonObjectiveObject, 2020, newmediawiki.pbworks.com/w/page/126853943/essentialsNonObjectiveObject.
Ball Drop Exercise
For our first exercise using the Maya software we were tasked with creating the class ‘ball drop’ piece that is ubiquitous with all new learners of 3D modeling software, similar to that of the ‘Hello World!’ project that all programmers complete as their first piece of code. For this project we needed to understand how the physics of a bouncing ball actually behaves. There is the first piece to consider which is just the actual pathway of motion that the ball will follow as it moves forwards and bounces in these arcs that decrease in size as the ball continues to move along the plane. The first arc is always the largest and based on the perceived mass and size of the ball, it will determine by what factor each arc diminishes in. So the first step is to assign an x-axis movement, meaning just have the ball go left to right on the screen which covers the horizontal motion. Pretty easy and straightforward. Next is the y-axis which is where nearly all the magic happens and this is basically laying out all of the peaks and valleys of this sinusoidal motion of the ‘bouncing’. However this motion is not a perfect sine wave and the valleys are much less like valleys, and more like gorges or ravines, in that they meet at a sharp point instead of a rounded one to emphasize the impact of the ball on the ground. And for some flair near the end, we add some z-axis movement to have ball roll off to the side at the end. All of these can be edited with the graph editor in Maya which gives a more mathematical and plotted visual of how the object moves in different planes.
After the motion of the path was completed, we had to get into the smaller details of the motion of the ball’s structure as it bounces. Meaning that the ball does not remain uniformly spherical through the entire motion. As the ball hits the ground the sides of it will blow out slightly, and the top of the ball will sink into itself in a similarly proportional manner. As the ball leaves the ground that warping of each axis will then invert as the top of the ball stretches upward and the sides will shrink towards the center slightly. And this will repeat for each bounce, at a decreasing volume each time similar to how the arcs diminish in power over time.
Below is the end result along with the wiki to follow along.
Cromar, William. “Essentialsballdrop.” NewMediaWiki [Licensed for Non-Commercial Use Only] / EssentialsBallDrop, 2020, newmediawiki.pbworks.com/w/page/126871157/essentialsBallDrop.
Project 1.2 Exercises
In this selection of exercises designed to prepare us for our upcoming project. This project I have personally decided to call the “Alphabet Soup” project, where we have to reimagine the alphabet in our own theme. regardless, these exercises focus on a few skills that we will need to complete the project. One of these skills is just making sure we, as students, understand the different ways to present our works online and their formats. How each format can be used or manipulated on the web, and also how our audience will see it, namely pngs, jpgs and gifs. Another exercise was intended to familiarize us on just using text in our artwork and how we can manipulate that in both Photoshop and Illustrator, in conjunction with other images. Finally the third exercise was to introduce us into making our own gifs or looping images. We did this a few ways, one of which was using an online software that would instantly create gifs for us, so long as we provided the frames to be used. Another was to use Photoshop and create the gifs manually and help build our understanding of what a gif really is and how websites read those pieces of digital information. Lastly we were introduced to apngs, which is the latest form of moving images on the web. Since it is a newer form, there were a few bugs especially when it came to creating these in Photoshop. In conclusion, these exercises gave us the skills needed to make our own, moving alphabets.
https://pennstateoffice365-my.sharepoint.com/:i:/g/personal/gxs481_psu_edu/EX5v1G-eh_9Ao5JfM4PsY_IB_DzVsR1ntRLhmrQRxzkpNw?e=v766eq
https://pennstateoffice365-my.sharepoint.com/:i:/g/personal/gxs481_psu_edu/ERIPbVmTRbFEjdvoW8EJk60Ba_JoLPSJJ4WXLLYiq-4L-w?e=P09Zxs
https://pennstateoffice365-my.sharepoint.com/:i:/g/personal/gxs481_psu_edu/EX5v1G-eh_9Ao5JfM4PsY_IB_DzVsR1ntRLhmrQRxzkpNw?e=B2ooEb
https://pennstateoffice365-my.sharepoint.com/:i:/g/personal/gxs481_psu_edu/EUN9X2QlReRPusMmVdpxbIcBWaBtg2FscOoGMj99rZvOYw?e=1NiM9E
https://pennstateoffice365-my.sharepoint.com/:i:/g/personal/gxs481_psu_edu/Ebc3UpGiIAxJlgY4WC3wyTEBxx6ocT3YNKAy5VKpl_71Tg?e=1tWYlw
https://pennstateoffice365-my.sharepoint.com/:i:/g/personal/gxs481_psu_edu/EVyQZD0h2ZlOiWsxiO43rYoBB4Fs0iBJ8DggubMJStuZig?e=v97k3R
Bibliography
Cromar, William. “a2ZWebAnimation.” NewMediaWiki [Licensed for Non-Commercial Use Only] / a2ZWebAnimation, 2020, newmediawiki.pbworks.com/w/page/127847607/a2ZWebAnimation.
Cromar, William. “a2ZWebGraphics.” NewMediaWiki [Licensed for Non-Commercial Use Only] / a2ZWebGraphics, 2020, newmediawiki.pbworks.com/w/page/127847586/a2ZWebGraphics.
Cromar, William. “a2ZWordImages.” NewMediaWiki [Licensed for Non-Commercial Use Only] / a2ZWordImages, 2020, newmediawiki.pbworks.com/w/page/127847598/a2ZWordImages.