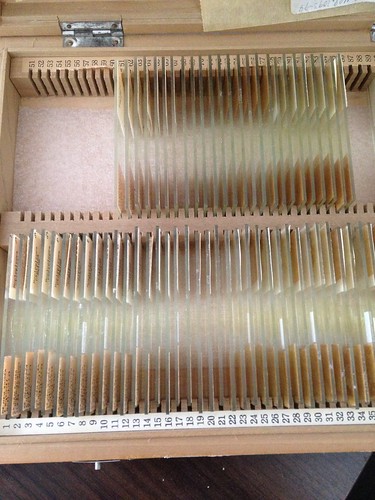
Many of the specimens in our collection have been through a lot. They’ve withstood being in slide boxes. Many seasons have gone by; humidity has changed. All of these elements contribute to their labels falling off the slide. Preserving these labels is critical to a specimen’s digitization, as they are typically the only reference of an individual slide’s data.
This week at the Frost, we’ve been working on re-adhering these labels. Using Positionable Mounting Adhesive, it’s been possible to label slides that had been losing their written identities for a while.

Here are the basics of using this system for relabeling.
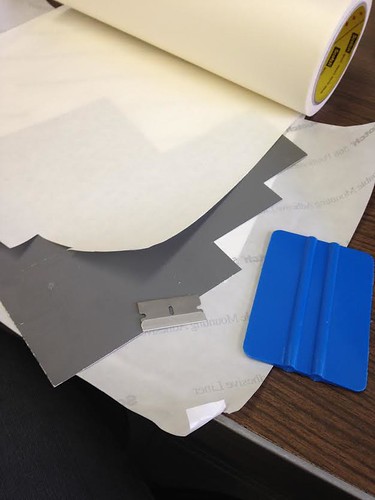
1. The mounting kit includes the adhesive, a cover liner, and a plastic “squeegee” for sealing the adhesion. We also used a blade and scratch board underneath for precise adhesive cutting.
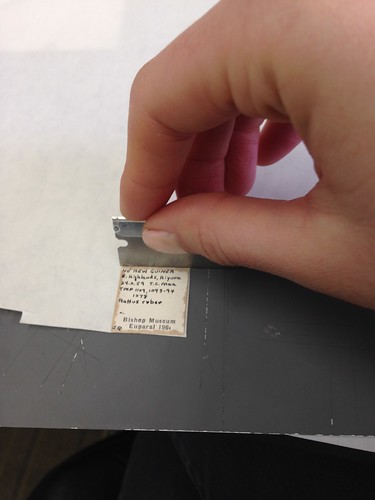
2. Place labels face-up on the mounting adhesive and then cut right along the label’s edge. We learned how critical it is to try and line up with the corner to prevent extra adhesive from attacking an entire workspace.
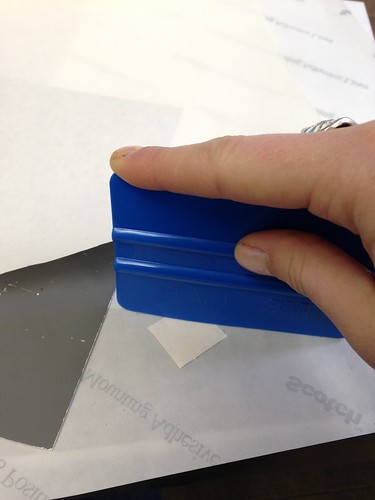
3. Use the plastic “squeegee” to coat the back of the label with adhesive, going over a couple times to ensure that the back of the label is completely covered.
4. Peel the adhesive liner off of the back of the label. If not thoroughly coated, it is possible to reapply the adhesive paper and recover what was missed.

5. After replacing the labels and using the squeegee to remount them, the slides are as good as new!
Join us next week for another edition of Friday Night Lice!
Leave a Reply