In this passion blog, I am going to be researching and finding different easy but cool designs that you can do on your nails.
- The first and probably most easiest nail art hack is using a sharpie to create intricate designs on your nail. Have you ever attempted using those really tiny nail art brushes? Well if you haven’t yet, don’t waist your time. It is basically impossible to get the exact design that you are trying to craft. Sharpies, on the other hand, work just as well and are much easier to control. Also, if you make a mistake, this “permanent” marker can be easily removed using a Q-tip and rubbing alcohol. Here are just a few examples of nail art done with sharpies:

- Ombre Nails:
- The first step is painting a base coat on the nail, allowing it to dry a little, top it off with a white coat of nail polish and allow this coat to completely dry.
- Optional: If you want to make it easier later to clean up around the nail, apply liquid latex around the outside of the nail and let it dry before you start painting.

- Choose the three colors that you wish to be in the Ombre when it is applied to your nail. Then use any ind of Latex Cosmetic Sponge and paint three strips of the colors you chose (in the correct order you wish for them to appear in), allowing them to overlap a little bit.
- The next step is to sponge these colors over your nail. Let this layer dry for a little bit, reapply the colors to the sponge, and finally sponge it back over your nail again so that the colors are more vibrant.
- Clean Up: Peel off the latex first so that all of the excess paint that got around your nail is removed. Next, dip a brush in acetone and clean up the area around the nail to ensure that the tiny spots that seeped through the acetone are all cleaned up.
- Repeat this process on every nail (I know it’s a lot but it will hopefully be worth it) and your nails should end up looking something like this:

Another cool and fairly easy nail design are water marble nails. Here’s a step by step process on how to complete this look:
- Put a base coat on the nail
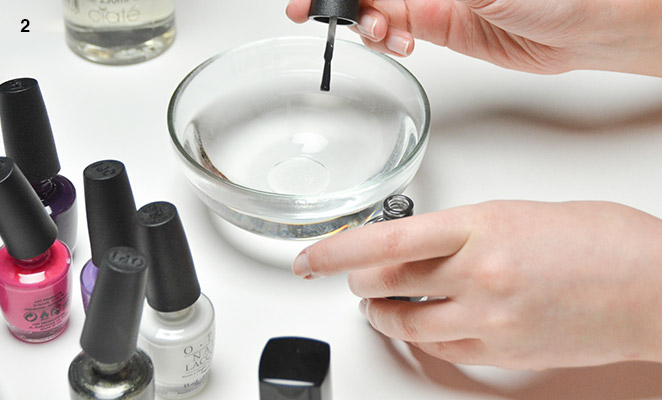
- Next get a small bowl and fill it with water. Next to the bowl set up the colors that you wish to use in the marble and loosen the lids to all of these colors so that when you use them, you simply have to pull the brush out of the bottle and no unscrewing needs to be done:
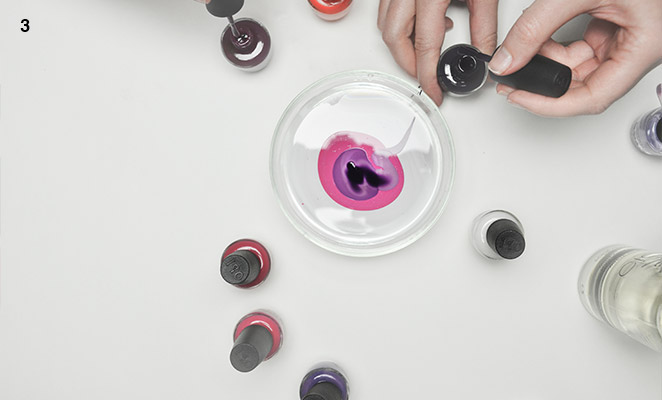
- Basically drench the brush of one of the colors in liquid so that it can be dripped in the water. Then do the same for another color and place another drip in the middle of the first (which should have spread out by now). Repeat this process over and over until you have a significant pool of colors in the water (about eight layers is a good amount).
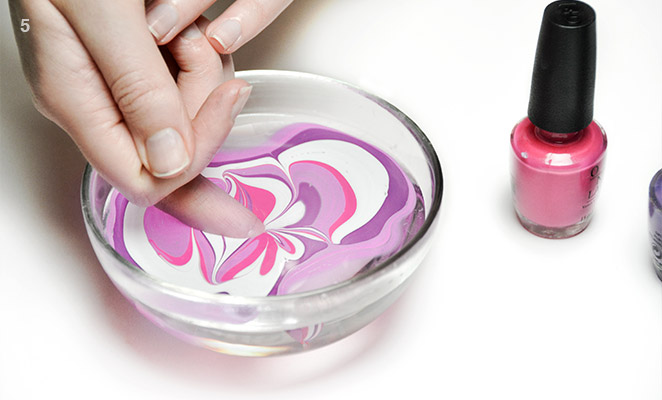
- Take a toothpick or some kind of stick and create a pattern in the pool of water:

- Place your nail into the water and push it all the way down into the water, basically scooping up the color and removing your nail once it is covered in a marble pattern. Take a Q-tip dipped in nail polish remover and remove the excess nail polish around the nail. After this, take the toothpick and remove the excess nail polish in the water so that the water is fresh for when you repeat these steps for the next nail.
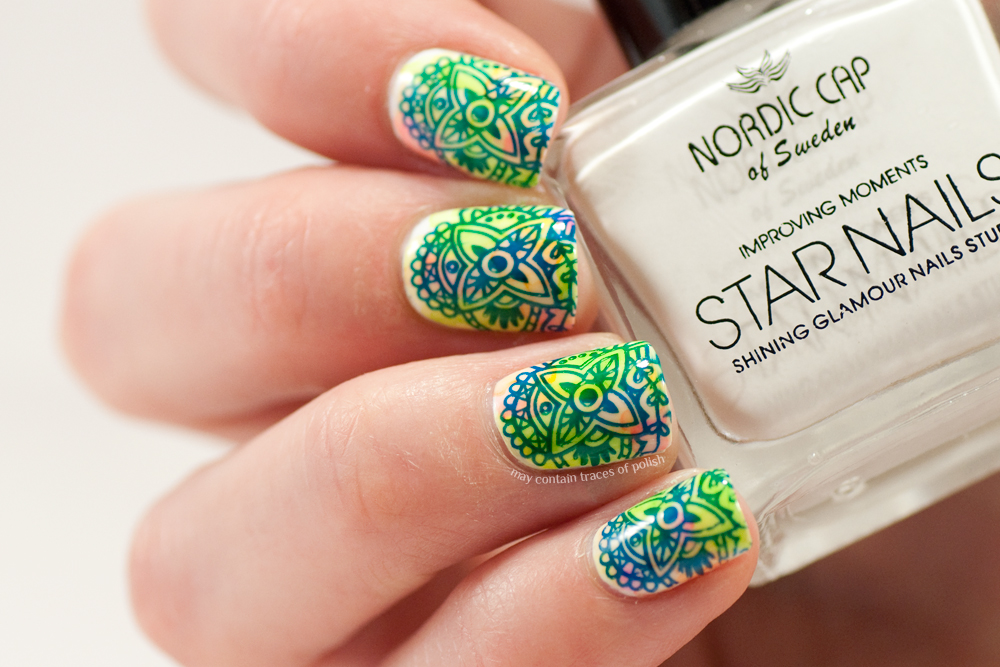
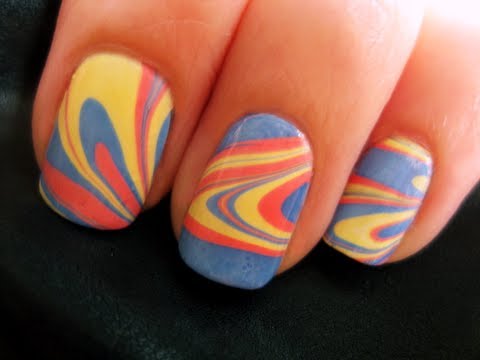
- The final product should look something like this:

Hope you learned a little DIY trick today that will help make your life simpler in the future 🙂
– Em
Emily,
These designs are really cool. The last one especially. Like a lot of you other posts this one enlightened me on an area in which I have no experience. I can now appreciate intricate designs on nails considering the amount of work that goes into it.
The first and the water marble nails are really cool. Not going to lie but when I read the title I was disinterested because it doesn’t apply to me but you do such a good job explaining that I was hooked just for the creative aspect. This is definitely very interesting.
One of my best friends at home used to paint her nails at least twice a week. She was incredible and always made them relevant to seasons, events, etc (I remember before one of the presidential elections she managed to put pictures of the candidates on her nails using little pictures she printed off and clear nail polish). Although I am not the biggest fan of having my own nails painted I was always fascinated by what she could do. I always had someone to do my nails for school dances too.