Using web components with Sites is as easy as using any JavaScript library. Just follow these steps:
Contents
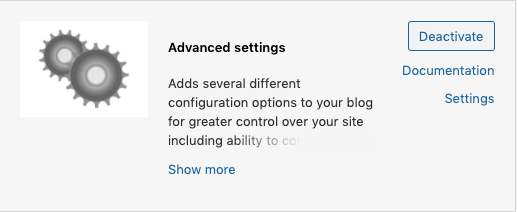
Step 1. Activate the Advanced Settings plugin.
- From your site’s left menu, go to Plugins

- Form the Plugins page, find the Advanced Settings plugin, and click its Activate button.

Step 2. Use the “magic script”.
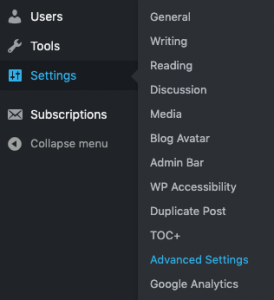
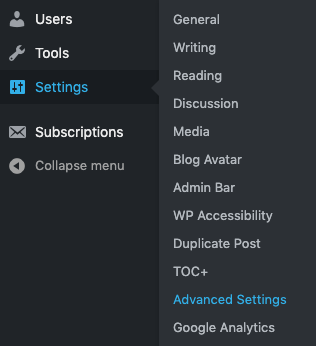
- Once this plugin is activated, use your site’s left menu to go to Settings→Advanced Settings.
- From the Advanced Settings page, scroll down to the Additional Code section and place the following lines of Javascript into the Header Tag (high priority) field:
<script>
    window.__appCDN="https://cdn.webcomponents.psu.edu/cdn/";
</script>

<script
    src="https://cdn.webcomponents.psu.edu/cdn/build.js">
</script>

<script

/*
if a regular element has a data-custom-element attribute, convert it to the web component in its data-custom-element attribute; for example <div data-custom-element="accent-card" color="blue"> would be converted to <accent-card color="blue">
*/

window.onload = function(){
let customElements = document.querySelectorAll("[data-custom-element]");
  [...customElements].forEach(el => {
  console.log(el);
   let custom = document.createElement(el.getAttribute('data-custom-element')),
     attributes = el.attributes;
console.log([...attributes]);
   [...attributes].forEach(a=>{
    let attr = a.nodeName, val = a.nodeValue;
    custom.setAttribute(attr,val);
   });
   el.parentNode.insertBefore(custom,el);
   [...el.children].forEach(child => custom.append(child));
 });
};
</script>
Step 3. Read the documentation.
This site includes some examples of web components with Sites. To see more examples of what’s possible, check out https://webcomponents.psu.edu.
To convert the examples from https://webcomponents.psu.edu to tags you can use in Sites, change the tag name to div and set the div’s data-custom-element to the tag name you replaced. For example, you would change <accent-card color="blue"> to <div data-custom-element="accent-card" color="blue">
Step 4. Add the HTML to your page.
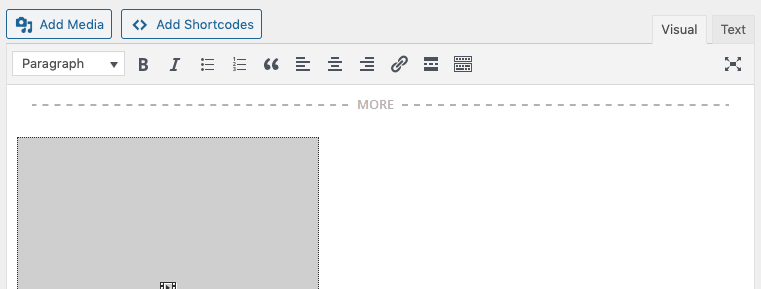
When adding the code, use the Text tab of the page’s or post’s text editor.

One of the challenges with Sites is the its Text tab doesn’t give you the full features of HTML. Please note:
- You may have to use a <span> where you might have used a <div> or a <p>.
- Do not save when the Visual tab is showing. If you accidentally save, just restore from a previous revision.
Do not use the Visual tab. - If you go back to edit with the Visual tab open, your code may disappear. If that happens, switch to the Text tab, and then refresh your browser.

You can view and restore a revision if you break your code.