Do you ever look at an insect part and think, “Wow, I wonder what 1.5 micrometer thick slices of it would look like in series from one end to the other, stained to maximize contrast between different tissues?”. No? Well you should. You really should.
Sectioning is a fairly time consuming process, but none of the individual steps are particularly complicated. They are as follows:
- Go catch something. Make sure it’s awesome. Then kill it (with Karnovsky’s fixative). Examples of awesome things: gasteruptiid metatibiae, evaniid metatibiae, aulacid metatibiae, pelecinid metatibiae, and trigonalid metatibiae. There are probably other things. Actually, everything.
- After ~48 hours in the fixative, rinse it off with sodium cacodylate buffer. Then rinse that off with water.
- The alcohol series: the water needs to be removed from the specimen slowly in increasing concentrations of ethanol. Remove the structure you will section (how about… the metatibia of a trigonalid? This trigonalid.). Then move the sample to acetone.
- Embedding: leave the specimen in a 1:1 mixture of acetone and eponate resin overnight. Then just eponate. Then put the sample in a special mold with fresh eponate, and put it in an oven so it hardens. When you take it out, it will look like this:
Embedded specimens. Photo by Salvatore Anzaldo (CC BY 2.0). - Make a glass knife. Glue a little boat to it that can hold water.

Glass knife. Photo by Salvatore Anzaldo (CC BY 2.0). - Shape the block. The cutting surface needs to be as small as possible, or your knife won’t last long.
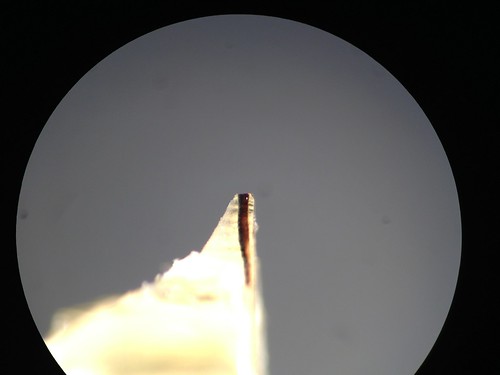
The dark thing is the tibia. Photo by Salvatore Anzaldo (CC BY 2.0). - Put your sample and glass knife in the microtome. Line everything up perfectly.
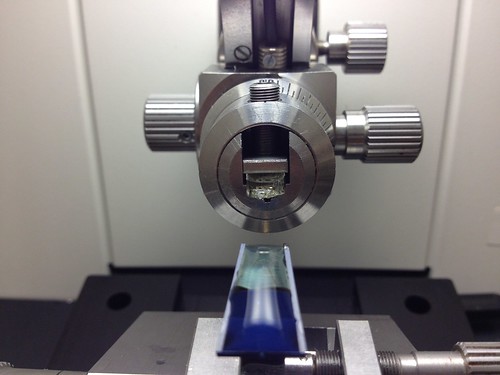
Glass knife overfilled with water (to wet blade edge) at bottom of the image. The water level at the time of sectioning should be flat. Resin block with leg above it. Photo by Salvatore Anzaldo (CC BY 2.0). - Start making sections!
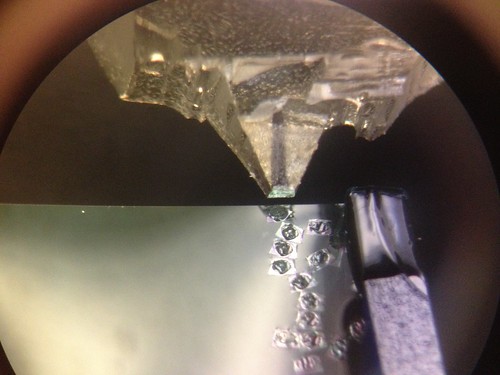
As the block is lowered onto the knife blade, little ribbons of resin with the section slice off and float back on the water surface. Photo by Salvatore Anzaldo (CC BY 2.0). - Corral sections away from the blade with an eyelash tool (an eyelash glued to a stick) and scoop them up with a loop tool (a loop of wire glued to a stick). Deposit sections on a slide.
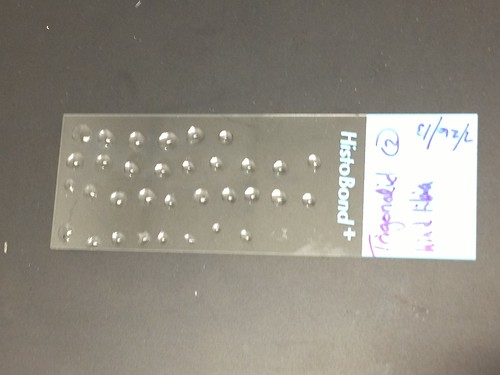
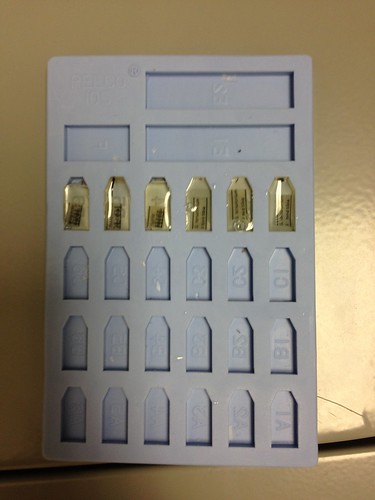
This slide contains about 370 sections. Photo by Salvatore Anzaldo (CC BY 2.0). - Heat the slide so water evaporates, adhering sections to the glass.
- Stain them. Toluidine blue and safranin works nicely.
- The end product:
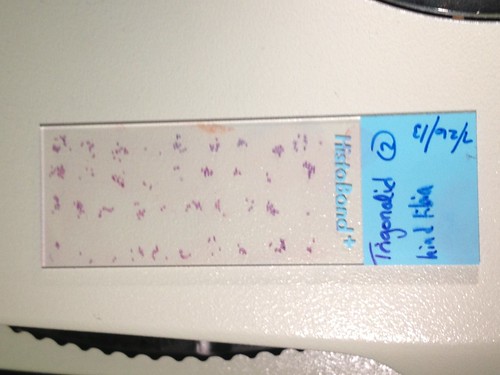
Photo by Salvatore Anzaldo (CC BY 2.0). - Now look at all of your pretty sections!
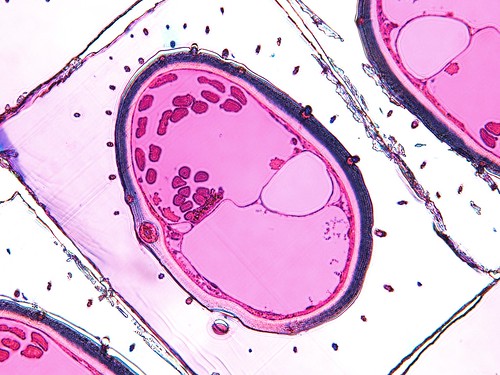
Section at the distal end of the hind tibia of Lycogaster pullata. Muscles are the reddish pink spots at the top of the section. The trachea is the large empty spot on the right side. The base of a large setae is in the left side of the cuticle. Photo by Salvatore Anzaldo (CC BY 2.0).
Taking into account the annoying human behaviors of eating and sleeping, the whole process takes me about a week from specimen acquisition to section viewing. Time consuming, but well worth it.
Leave a Reply