Passion Blog #8 – I’m Wearing My Smarty-Pants Today

Sadly, passion blogs are coming to an end for this semester. Not going to lie, but I am not really complaining about writing my last post. I have never really been the diary or blogger type. I thought to make things interesting for my last post, I would switch things up a bit. The past seven blogs have been written about DIY costumes I have already made and worn. Instead of focusing on the past, I thought I could focus on the future. Perhaps, I could write about costumes that I would DIY to wear for next year’s Halloween. Not only would it spice things up within my blog, but I would be killing two birds with one stone by already determining what I will wear next year.

Throughout the years, my favorite candies have gradually changed along with the person I became. Right now, I love Reese’s, but I used to love blueberry Airheads, and before that the infamous Smarties. I remember popping each of the small circular candies into my mouth one after the other until the twisted packaging became empty. What I am trying to get at is that the best part of my future DIY costume is edible. The Smarties.

If you have not guessed yet, my DIY costume is titled “Smartie Pants”. The saying “smarty pants” stands for someone who is a know-it-all and very intelligent. The gist of this costume is that you are essentially portraying a nerd but putting a fun twist on it. It is now time to get crafty!

First up, items found around the house or dorm/ apartment. I would wear a business shirt I already own, some leggings or jeans (choose a pair of pants you would not mind destroying), Converse (color is up to you), and a tie. Shout-out to my dad for owning a million ties. As for the nerd glasses, I would personally DIY them. I have a pair of sunglasses that have lenses I would pop out. After that, I would take a Band-Aid out and wrap them around the middle in between where the lenses would go. Voila! Nerd glasses for the win. Now, for the final and best part: the pants. Grab a pair of jeans or leggings that you would be ok with ruining for the purpose of this costume. Make sure you also have a hot glue gun with glue in it and however many Smarties you think you will need to cover the pants. There are three ways one can go about this. One, you can glue the Smarties on in its entirety. This means individual packaging and everything.

Image by Pinterest

Or, you can glue each individual Smartie onto the pants.

Image by ValoreBooks Blog

Your last option would be to glue the Smarties on both ways!

Image by Nickety Nackety Noo

Some additional accessories that are optional include a bow tie (instead of a tie) or suspenders. This is the point where you can really make the costume your own. It is up to you if you want to dress it up with a suit jacket and a pen in the shirt pocket or if you just want to wear jeans with a shirt.

Essentially, the Smarties Pants costume consists of a nerd costume and Smarties. I tried linking a nerd costume, but most people find that they have the materials needed to be a nerd right in their own home. Here is a link to a nerd accessory kit that could help add to the effect of your costume. Happy DIYing and have fun eating your costume throughout the night!


What You Need DIY Smartie Pants Checklist:

-Business shirt

-Jeans or leggings

-Suspenders

-Tie or bow tie

-Nerd glasses

-Band-Aid

-Converse

-Hot glue gun

-Enough Smarties to cover pants
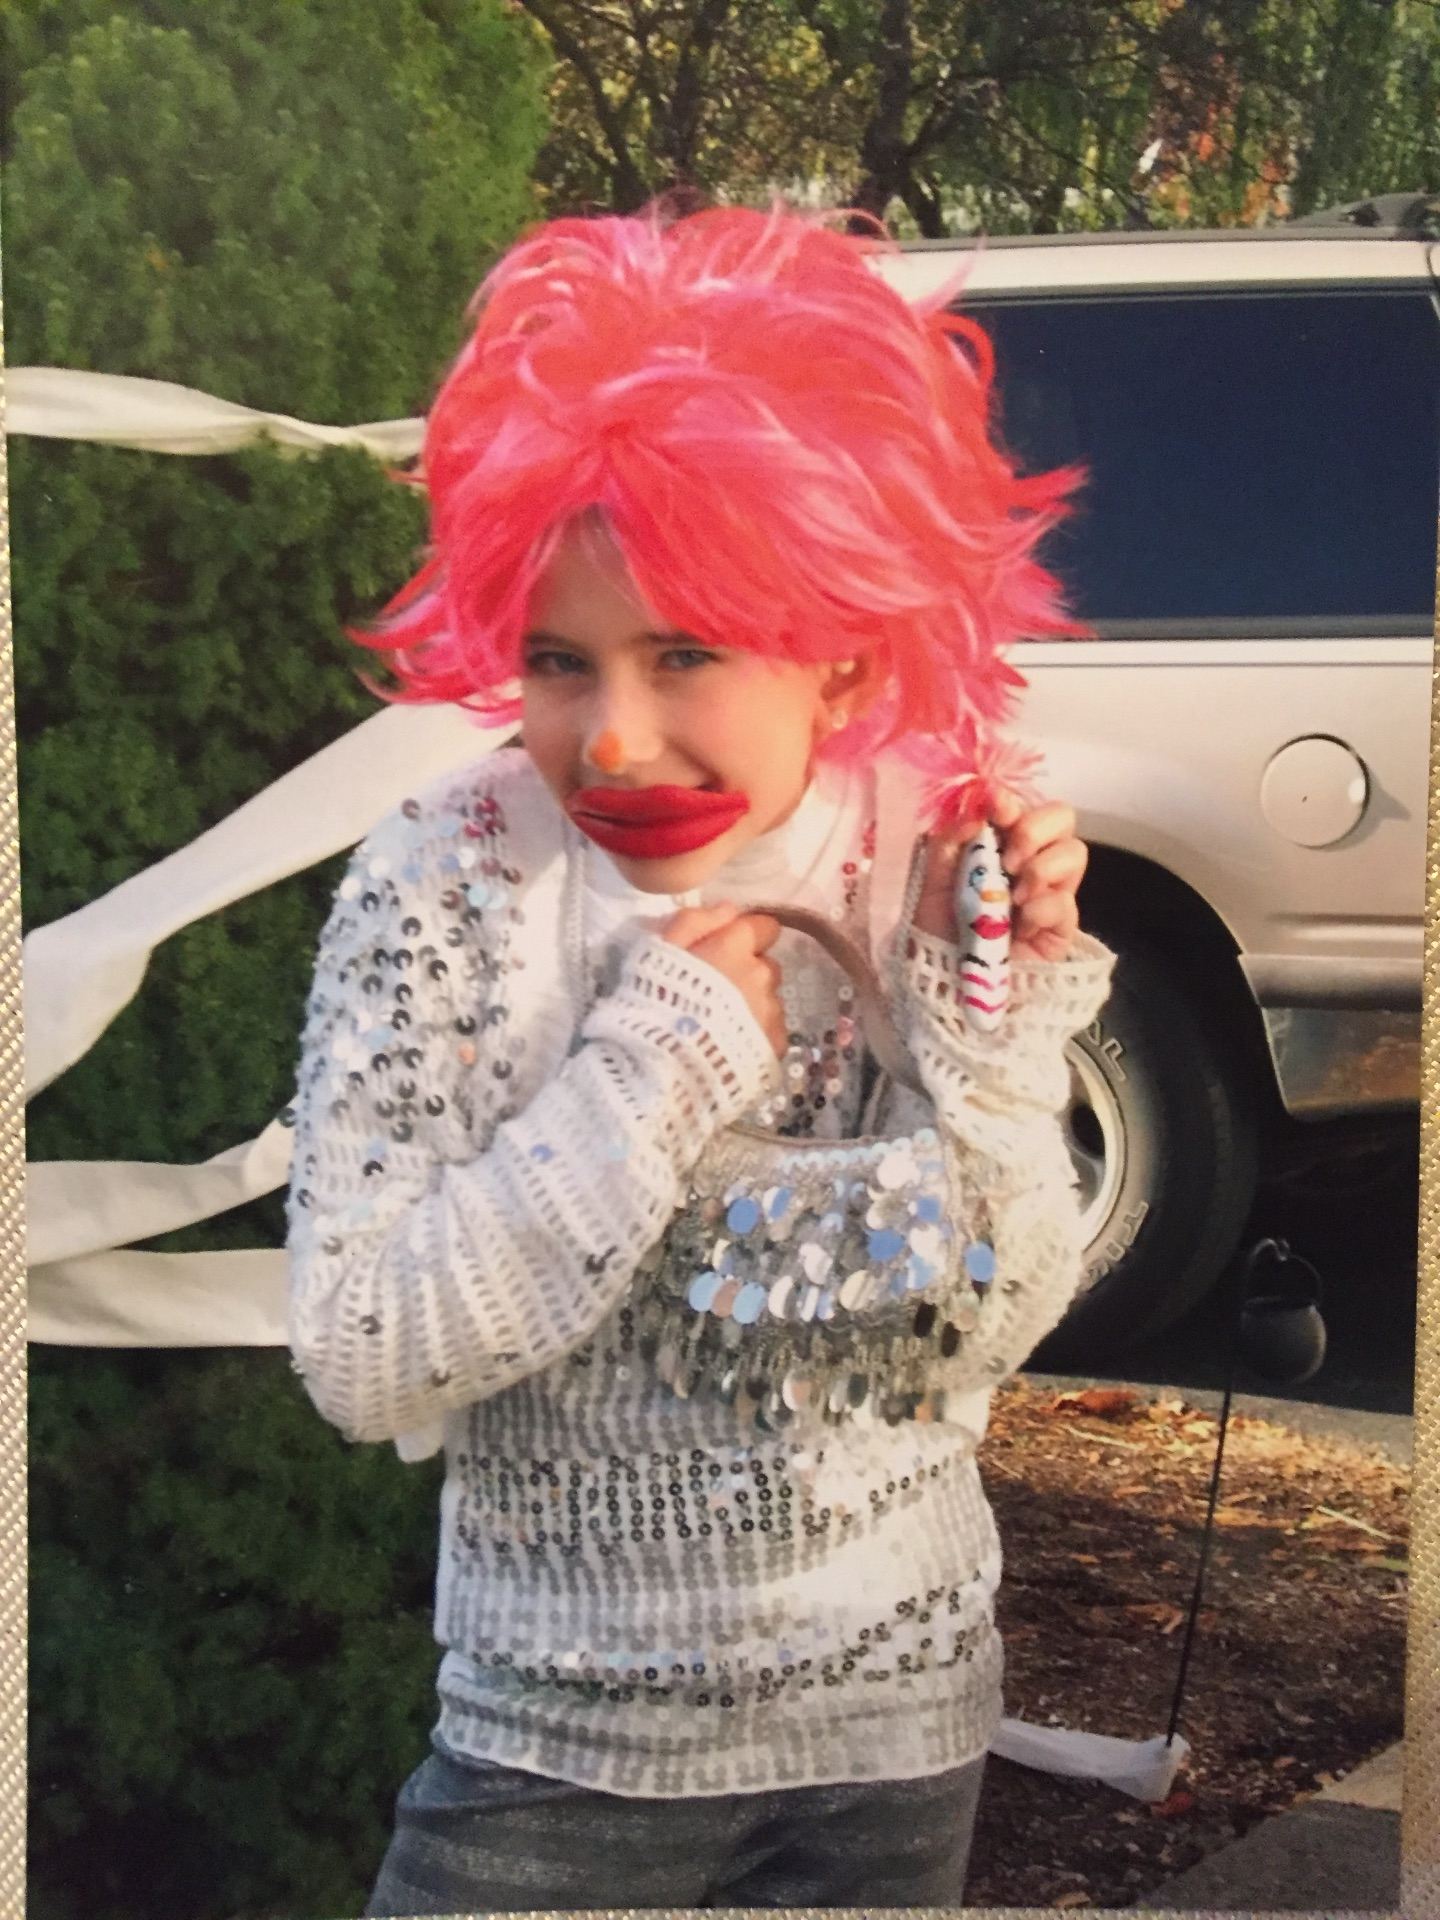
Passion Blog #7 – Double-Whammy!!

Due to my attendance at another Deliberation run under Professor Babcock, I now no longer have to write two extra blogs. There is just one problem: I have too many costumes to talk about and not enough blogs left! As a solution, I decided to write about two different costumes in this blog to make up for the fact that I cannot write about each of them individually anymore.

Throwing it back to junior year of high school, I yet again had two different costumes. My actual Halloween costume was Blossom of the Powerpuff Girls. Powerpuff Girls was a TV cartoon during the early 2000’s as I was growing up. One of my favorite shows, I always loved Blossom’s character. As a group of three, costume ideas began to become limited in options. My friends and I chose the Powerpuff Girls because it would be easy to recreate, but also served as a joke since we had my friend Peter dress up as Bubbles. Blossom’s costume requires items that everyone can find within their closet or local Walmart. All you need is: red ribbon, pink shirt, shorts (any color but preferably pink, white, or black), pink tutu, high white socks, and black flats. Throw those clothes on and tie the red ribbon into your hair and you are good to go. Buttercup’s costume requires: a green headband, green shirt, shorts, green tutu, high white socks, and black sneakers. Finally, Peter (aka Bubbles) used a blue shirt, blue tutu, blue shorts, high white socks, black sneakers, blonde hairspray, and a blonde hairband. Together, strike your best superhero pose. Sugar, spice, and everything nice (+ a dash of Chemical X) never looked so good!

Image by the author

I wore my second costume for Halloween that year during the annual Halloween cheer practice that year. Again, I paired up with a buddy (everything is so much more fun when you have someone to experience it with!). As my friend Kaitlin and I brainstormed ideas we came across the idea of emojis. At the time, emojis were a newer trend and proved popular. We discovered the emoji that depicts two girls dressed in black dancing together. I think I would argue that this costume is probably the simplest but most efficient costume I have written about so far. It can easily be used as a last-minute costume for a costume party you forgot about. All you need is: a black t-shirt, black shorts, high black socks, any shoes you prefer (I wore cheer shoes to practice in this outfit), and a black ribbon. Technically, the real emoji twins wear bunny ears, but we substituted the black ribbon. We figured the loops of the bow could mimic the ears somewhat. As you long as you strike the hands on hip and right leg stuck out pose with a “twin” of your own, people will get the gist of what you are trying to mimic.

Image by the author

As always, I try to link store-bought versions down below as well. Here is a link to Blossom, and a link to Bubbles. I could not find a link for Buttercup unfortunately. As for the emoji twin costume, there are no store-bought costumes. After doing some research it seems as if others bout a black leotard and bunny ears, but it is up to the viewer’s interpretation. This is your chance to personalize your costume and make it unique compared to others. Mine is tailored for cheerleading, but perhaps you could tailor it for a college Halloween party (I am assuming most of my readers are those in college.).

Which costume do you like better?

Passion Blog #6 – Some Costumes Are Worth Melting For

Flash forward from last week’s major throwback and we are going to find ourselves in the year 2014.  I know I mentioned I would write this blog in chronological order, but I get too excited to write about my new favorite costume! Perks of having this passion blog is that I get to write about things I am passionate about, and that, in turn, makes me want to write. As mentioned in one of my previous posts (the one where I dress up as Princess Leia from Star Wars) around Halloween time my cheerleading team would have a costume-themed practice. This blog post is about the same occasion but a different year and a different costume. This outfit is one of my all-time favorites because the character I channeled I was, and still am, obsessed with. I dressed up as the character Olaf from the Disney movie, Frozen.

Image by Disney Wiki

Frozen came out in 2013, but I never got to see it in theatres. As a result, I did not watch it till much later, but when I did the time for Halloween 2014 had come around. Essentially, Olaf is both Anna and Elsa’s sidekick in the film. He is a snowman with a positive attitude and a passion for loving all of his friends. He warms my heart. I knew when picking out ideas for a “cheer friendly” and regular costume, he was my first choice. There was no doubt. I think the first thing I should mention before launching into how to create this outfit is my one main problem and how I solved it. It can be very easy to dress up as a snowman. Wear white, have buttons, maybe hold a pipe in your mouth. However, I needed to dress up specifically as Olaf. The only way to tell him apart from the typical snowman is his body shape (there is no way I could change my body shape) and his face. Stay tuned to find out how I was able to incorporate his face into my costume. The whole point of that spiel is to keep in mind how you will get people to recognize that you are a specific snowman rather than a normal one.

Image by the author

First, let’s talk about the most important aspect of this costume: Olaf’s face. When I went shopping at Party City for some costume supplies and ideas, I saw a hat. A hat with Olaf’s face on it. It was the most perfect find of my life. From there, I was able to work out the rest of my costume really easily. While in the store I also picked up a white tutu to add more a “cute” and “feminine” touch and a white t-shirt. At another store I bought some black stick-on felt. I gathered up white shorts, my white cheer sneakers, and my white socks from my wardrobe. Taking the black felt I traced out three circles using a water bottle as my outline. I cut them out and placed them on the shirt where I felt it would look best. Taking off the plastic, I stuck them right and voila: a costume was created! Do your makeup and hair however you please.

As always, costumes take time and not everyone has time. I found an alternative- and I have to say it is a pretty close second in comparison to mine. Nothing is comfier than a onesie. Check it out here! I’d like to think that if I asked Olaf what he thought of this outfit he would say, “This costume is worth melting for.”


What You Need DIY Olaf Checklist:

-Olaf hat (see link in blog post to purchase one)

-White t-shirt

-Black stick-on felt

-White tutu

-White shorts

-High white socks

-White sneakers

Passion Blog #5 – Who’s Kookier? The Pen or the Costume?

Okay, first, we should address the elephant in the room. All of the costumes I have blogged about so far are from senior year of high school. You are probably asking yourself, “Grace, did you only just start making your costumes last year?” That, my friend, is not true. So, as a result I decided to post a major flashback. A major embarrassing flashback. I honestly cannot believe I would put a photo as uncomfortable as this one on the Internet, but hey, I need that A+ what can I say?

This costume first made its debut in the fall of 2008. My old school, St. Mary’s, always let us kids dress up for Halloween. As fourth graders, we put on our costumes and “oohed” and “ahhed” at everyone else’s cool ideas. Afterwards, we would have our dose of energy through a cupcake or candy that the moms brought in. Then, all of us hyped up fourth graders (sugar + kids = a disaster waiting to happen) paraded around Hackettstown. I remember every single year as a child brainstorming for a good two months on what unique costume I would choose to wear. I always wanted to have the most creative.

In the year 2008, Kooky Pens were a HUGE deal. I HAD to have the most amount of Kooky Pens, and I had to have the prettiest ones obviously. Kooky Pens were the new Webkinz. Silly Bandz would soon become the new Kooky Pens. As you can imagine, my Kooky Pens were my greatest prized possessions. They were pens that had spiky rubber hairs on top of the clicker and each had a different face with a different set of patterns and colors. My favorite was Lulu. I thought she was the most beautiful of all. She was girly and pretty and everything that I aspired to be. As you can tell, Kooky Pens made a lasting impression on my childhood. When my mom suggested I be a Kooky Pen for Halloween, it was a no-brainer. I would embrace my inner Lulu. It was a great Halloween that year.

Image by the author

Lulu is kind of hard to see in that cringe-worthy photo, but you can see her better in this next one. She is the one all the way to the left.

Image by Business Wire

This outfit did not require anything that needed to be made, but I consider it DIY because we came up with it entirely on our own. Using a mixture of both items found at home and store-bought items, my mom and I were able to complete this outfit. Starting with the hair, I bought a wig from Party City. I could not find the same exact wig, but I found a pink wig to use instead (Fun Fact: When I showed all my friends the photo they all thought the wig was photoshopped!)! As for the face, I am sure older Grace would do a full-face of makeup since Lulu gave off a “fashionista” type of vibe. I added an orange dot on my nose since Lulu had an orange nose, and since her lips were so big I got some big ol’ wax lips. As for the outfit, I just tried to find anything I owned that was silver. I had the silver glitter shawl on because it was cold out, but this is your opportunity to make the costume your own! Find whatever silver pants and shirt that satisfy your likings. I wore my black school flats (not pictured). Also, not pictured, was a big beaded black necklace because I had broken it at school. Finally, to accessorize I added a silver clutch to keep all of my belongings in.

So, final verdict. Who was kookier? The pen or me?


What You Need DIY Kooky Pen Checklist (see links throughout blog for look-alike items to purchase):

-Pink Wig

-Orange Face Paint Crayon

-Red Wax Lips

-Kooky Pen (to explain the outfit)

-Silver Clutch

-Silver Shirt

-Silver Leggings

-Black Shoes

Passion Blog #4 – Not Just Any Woman, but Wonder Woman!

Would you look at that! Another senior year costume for the books! Lately, I have been introducing group costumes, but this can be classified as an individual costume. Both my best friend, Haley, and I paired up for this opportunity! After some searching and some buying, I think it turned out pretty darn well. First off, we knew we wanted to find a superhero costume. Clearly, in today’s society, we could have chosen any gender superhero to model our costume off of, but we decided to stick with the females. We wanted a well-known individual who empowered others. Instantly, Catwoman was off the list considering some think of her as a villain. We thought about Super Woman, but some reason we chose Wonder Woman instead. It is just as well we chose her anyways, because lately there has been a lot of hype regarding her character.

Image by DC Comics

The Wonder Woman movie recently came out, making Wonder Woman one of the most popular costumes for this past Halloween. During this new movie, Wonder Woman’s newly updated and modernized outfit debuted. However, the costume I created is based off of the original Wonder Woman outfit. To find out more about Wonder Woman, click here.

This costume requires materials you may find at home, materials you can buy elsewhere, and some items that require a little bit of love and effort (aka your typical DIY). Let’s start with the easy part. In my house, I already owned some blue shorts and a red t-shirt. Life hack: turn your red t-shirt inside out to provide the perfect blank canvas. Haley and I then headed out to Party City and purchased a mini kit that included both our cape and arm cuffs. Due to our cheap budget, that was all we could afford. As a result, I went home and created our belts and headbands. I used this template as a guide (the black and white one with a star). I then collected some red and gold paint from the paint bucket in our basement, and grabbed some red ribbon while I was down there. I cut my card stock to the dimensions of the template, painted it, then cut some holes to thread my red ribbon through and voila! A belt and headband are officially made. Next, I printed out the Wonder Woman logo, cut it out, and taped it to my red shirt. To tie the look together, I curled my hair and applied some red lipstick.

Needless to say, I was really proud of how this costume turned out. I stayed up till two in the morning creating our DIY segment of the outfit. By exchanging the skirt for shorts and the form-fitting strapless top for a t-shirt, the look lost some of its femininity. However, we managed to make it into a comfy costume that essentially served its purpose. I think it is pretty obvious the superhero we channeled. We were not just any woman, we were Wonder Woman!

Image by the author

Due to today’s recent movie, Wonder Woman’s costume has evolved since she first originated in the comics. The original outfit channels the red, white, blue, and yellow that Haley and I followed. The new outfit is a mixture of rich metallic reds, golds, and blues. Like always, some do not have the time or the effort to be put in to create a costume. Here is a link to an original style of the costume. Here is a link to the newer costume. Good luck and happy DIYing!


What You Need DIY Wonder Woman Checklist:

-Card stock

-Red and gold paint

-Hole puncher

-Red ribbon

-Wonder Woman logo

-Template

-Red cape and arm cuffs

-Red t-shirt

-Blue shorts

-Red lipstick

Passion Blog #3 – I Love This Costume ‘Berry’ Much

Senior year I made a lot of costumes. First, Princess Leia, and now, today’s topic, a strawberry. It is tradition in Warren Hills Regional High School for all of the seniors to have a Halloween party on Halloween or that Friday if it fell on a weekend day. During the Halloween party, each senior dresses up in an outfit either by themselves or with a group. We then eat some good food and set off for the parade. During the parade, the entire senior class marches through the hallways while all of classes spread out and watch us walk by.

Image by the author

As we make our way back to the cafeteria, teachers judge the best costumes. Finally, they pass out awards to each winner. Needless to say, Halloween is a pretty big deal when you are a senior in my town. Some people go all out to win an award and some just do it to get out of class. You maybe scratching your head trying to figure out which one I was, but I have a feeling this blog makes it pretty obvious.

One of my friends (who also happened to be my neighbor), Taylor, came up with the idea to be Fruit Ninja! Fruit Ninja is a very popular video game typically found on phones. The object of the game is to slice as much fruit as you can without letting them fall back down on the ground. So, Taylor decided to take the term quite literally regarding costumes. It was simple. All of the girls would dress up as fruit in the game and the guys would dress up as actual ninjas. If you are looking for an idea, you could easily dress up as both fruit and ninja, but we took advantage of having a group. We had an orange, a lime, a pineapple, a watermelon, some grapes, a strawberry (me!), and two ninjas.

Image by the author

In this week’s blog post, the costume is bit more DIY. By that I mean there is more crafting involved. Let’s start with the simple things. Grab a pair of black leggings, a pair of high white socks, white sneakers, and some red lipstick (insert links). The t-shirt is very easy to explain. We all coordinated with the idea of having extra big shirts. So, head out to your nearest craft store and buy an extra-large plain red t-shirt and some stick-on white felt sheets. Taking a Sharpie, trace out several teardrops and then cut them out. Place them on your t-shirt to figure out where exactly you want them to go. Cut out some more if you have to. When you are satisfied with how it looks, take off the back of the felt and stick it right on! Easy peasy lemon squeezy!

The leaf hat is a bit more difficult to explain, but I swear it is easy as well. First, make sure to purchase a headband, a glue gun (with the glue), and some green foam. Second, trace out a half tear drop shape and cut it out with scissors. After, cut right down the middle of the tear drop shape but stop halfway. Take one side of the “leaf” and cross it over using a hot glue gun to make sure it stays in place. Then, glue the leaf onto the headband. There should be a total of around four leaves. Take a strip of green foam, roll it up, and hot glue it to stay together. Then, attach that piece to the middle of the headband. Here is a video tutorial to better understand how to make one of these hats. Put it all together and you’ve got yourself a strawberry costume!

Not to brag, but our group ended up winning the “Best Group Costume” award which is probably the best one you can get out of all of them (besides best female and best male).

Image by the author

As always, I understand that not everyone has the time or materials to make themselves into a strawberry. That being said I found this strawberry costume online for a relatively good price! I hope you have a ‘berry’ good time while being a strawberry for the night, but stay away from the ninjas!

Ninja4-23fp46m


What You Need DIY Strawberry Checklist:

-Black leggings

-High white socks

-White sneakers

-Red lipstick

-XL red t-shirt

-2 sheets of “sticker” white felt

-Black Sharpie

-Scissors

-Headband

-Glue gun (w/ glue)

-4-5 sheets of green foam

Passion Blog #2 – May the Force Be With You

As I continue to write my passion blog, I will talk about my individual costumes in chronological order, but for my very first debut I am going to write about one of my all-time favorite “do it yourself” outfits from throughout my eighteen years. Like I said in my original post, my mom started this newfound obsession within me through the creative, unique and crafty ways to express myself with clothes and accessories during one of the most popular holidays of the year: Halloween. Throughout these next blog posts I want to describe what my costume represented, how I made it, and where to buy an alternative version (the store-bought version) that requires no effort but cash.

Dating back to my good old cheer days (occurred last year, but I already feel like a weak grandma with no muscle), my competitive cheer team would often dress up throughout the week before Halloween. Each cheerleader had the option of dressing up by herself or pairing up with friends. In this case, I paired up with my stunt group. One thing I loved about my stunt group was that right before we had to do the partner stunt, we would say things to pump us up. Often, before we ran through our routine, my coach would also yell inspirational words of wisdom to motivate us and push us to “hit” our routine. One time she said, “99% mentality the routine is”. I remember I could not stop cracking up and when my stunt group asked why I said she sounded exactly like Yoda from Star Wars. Thus, a brand-new costume idea was born. That Halloween we decided to dress up as some characters from the movie, Star Wars. For more information on what Star Wars is about, please visit their website.

Taking inspiration from my amazing coach (shoutout to Coach Libby), my stunt group decided which character we would be. My flyer, Yoda, main base, Chewbacca, and assist base, Storm Trooper, all found onesies to complete their outfits, but I could not find a Princess Leia onesie anywhere. I knew what I had to do. It was time to search the whole house for materials to complete the look. Basing my costume off of this infamous Princess Leia look,

Image by Wookieepedia

I made it so that it would be compatible with cheer and to wear while I ran through my whole routine. I grabbed my white cheer sneakers (these are what I wore to practice every day), white calf socks, my white cheer shorts, two ‘sock buns’, and some gold rope from my house. I went out to Walmart and bought a cheap white turtleneck (~$10), light-up lightsaber (~$5). I kept my makeup minimal and natural, as I wanted the hairstyle to be the main focus. If there is one thing Princess Leia is known for, it is her two side buns. I looked up a tutorial on YouTube and followed the steps to achieve the look I have in my photo. Altogether, my costume cost less than $15 between what I bought and what I found in my household. My main base, Amanda, created the sign with a white poster and Sharpie. I am really glad with how it turned out, and everyone thought we dressed the best. Here are some photos of how the group costume turned out:

Image by the author
Image by the author

Unfortunately, not everyone has the time or items needed to complete a DIY costume, and that is completely understandable. Other times, people just find that the professional costume just looks better and more realistic. In that case I will attach links to every blog post for this second option. If you cannot end up purchasing this one, always just type in “’idea’ and costume” on Google and you will be sure to find it. I found a Princess Leia costume for $50 here. I know that whatever option someone chooses, they will look strong, empowered and amazing!

Passion Blog #1 – Trick or Treat!

As a kid, each holiday served a special purpose in my life, and when that once-a-year special day rolled through you bet I went all out. Granted, it was often my mom who went all out, but because of that holidays soon became a special piece of my childhood filled with wonderful memories. For each holiday, whether it be Christmas or Easter, my family created some special traditions. For my passion blog, I decided to talk about a certain tradition for the well-known holiday, Halloween. With the help of mass production and machinery, buying a costume is often the easy way out for a busy parent who wants to satisfy their child. While there is nothing wrong with that, my mom decided to take another stance when it came to Halloween costumes. Image by the author

Instead, she created our costumes with a mixture of DIY’s and individually bought items and she tried to think of one-of-a-kind costumes that no one would really have.Image by the author

As I grew older, I soon began to take these projects into my own hands, and now, I love to make my own costumes. Not only do DIY costumes create some pretty awesome memories, but they also make sure to provide a unique and budget-friendly ensemble.

To start, I think it is important to know what Halloween is and how costumes originated. In today’s society, everyone celebrates Halloween on October 31st and kids dress up as someone or something and walk from door to door to fill their pillowcases with candy. However, most people do not know that Halloween originally started off as a religious holiday. Back then, the Catholic Church recognized Halloween as the day before All Souls Day.

This day was created to honor Christian martyrs. On All Souls Day, individuals would dress up as saints, angels, and devils (Insert photo of angel costume/ Image by the author). The term Halloween is derived from the term All-Hallows Eve, and as time went on, people began to dress up on Halloween.

Halloween moved to America as immigrants moved to America. Over the years, Halloween slowly became commercialized. Costumes now expanded to every single category possible. One of the most popular places to buy these costumes today is Party City. Thousands of different designs and styles exist, allowing for any individual to express themselves in the way they want. A major change in the holiday was the start of trick or treating. Years ago, people went door to door begging for food. Often, they wore disguises to cover their identities. Children in America started to trick or treat after World War II. Kids now use baskets and pillowcases and walk from house to house asking for candy. At each door, a bowl of candy is offered to the little hands that search for a personal favorite.

In recent years, costumes have become extremely popular. Unfortunately, this increase has led to a spike in prices. Costumes can range from about $15 to over $100. Due to this, DIY costumes are common everywhere. The use of social media, specifically Pinterest and Youtube, provide step-by-step tutorials that are easy to follow along. DIY’s are also a great alternative because they are cheaper. Many people use items found around their household lessening the cost. DIY costumes also allow everyone to individually express themselves. They can add their own flairs, such as sequins for a “girly girl”.

Now that you know a bit more about Halloween itself, it is time to weigh in on what costumes you wore as a child. Which one was your personal favorite?