
(Initial Chain and Single Crochet)
And we’re back with this little (more like long) continuation of last week’s crochet-crazy post! Crocheting is a fantastic hobby to pick up; It makes a marvelous gift and a stress-easing pastime. I particularly recommend crocheting in groups or perhaps while watching some TV.
Actually, the woman who taught me how to crochet has a little rule that I think ought to be passed on to all of you: After you learn this wonderful craft, you must pass it on to two other people. I fulfill FAR more than my share by teaching all you lovely little readers, so now it’s up to you! I promise, your friends will thank you in the long run!

What you will desire:
- Yarn (any kind and color will do, basic Red Heart brand yarn is often best)
- Crocheting Hook (size: I or 5.50mm)
- Your Hands (more importantly, your fingers)
- A Plenitude of Patience
- Optional: Music to Pass the Time (I recommend Mumford and Sons’s newest album, Babel)
(A Tidbit of a Tip: If you find that you are crocheting too tightly, go up one size in the hook. If you find that you are crocheting too loosely, go down one size. It will make it a lot easier, but give it a bit of time and practice first!)
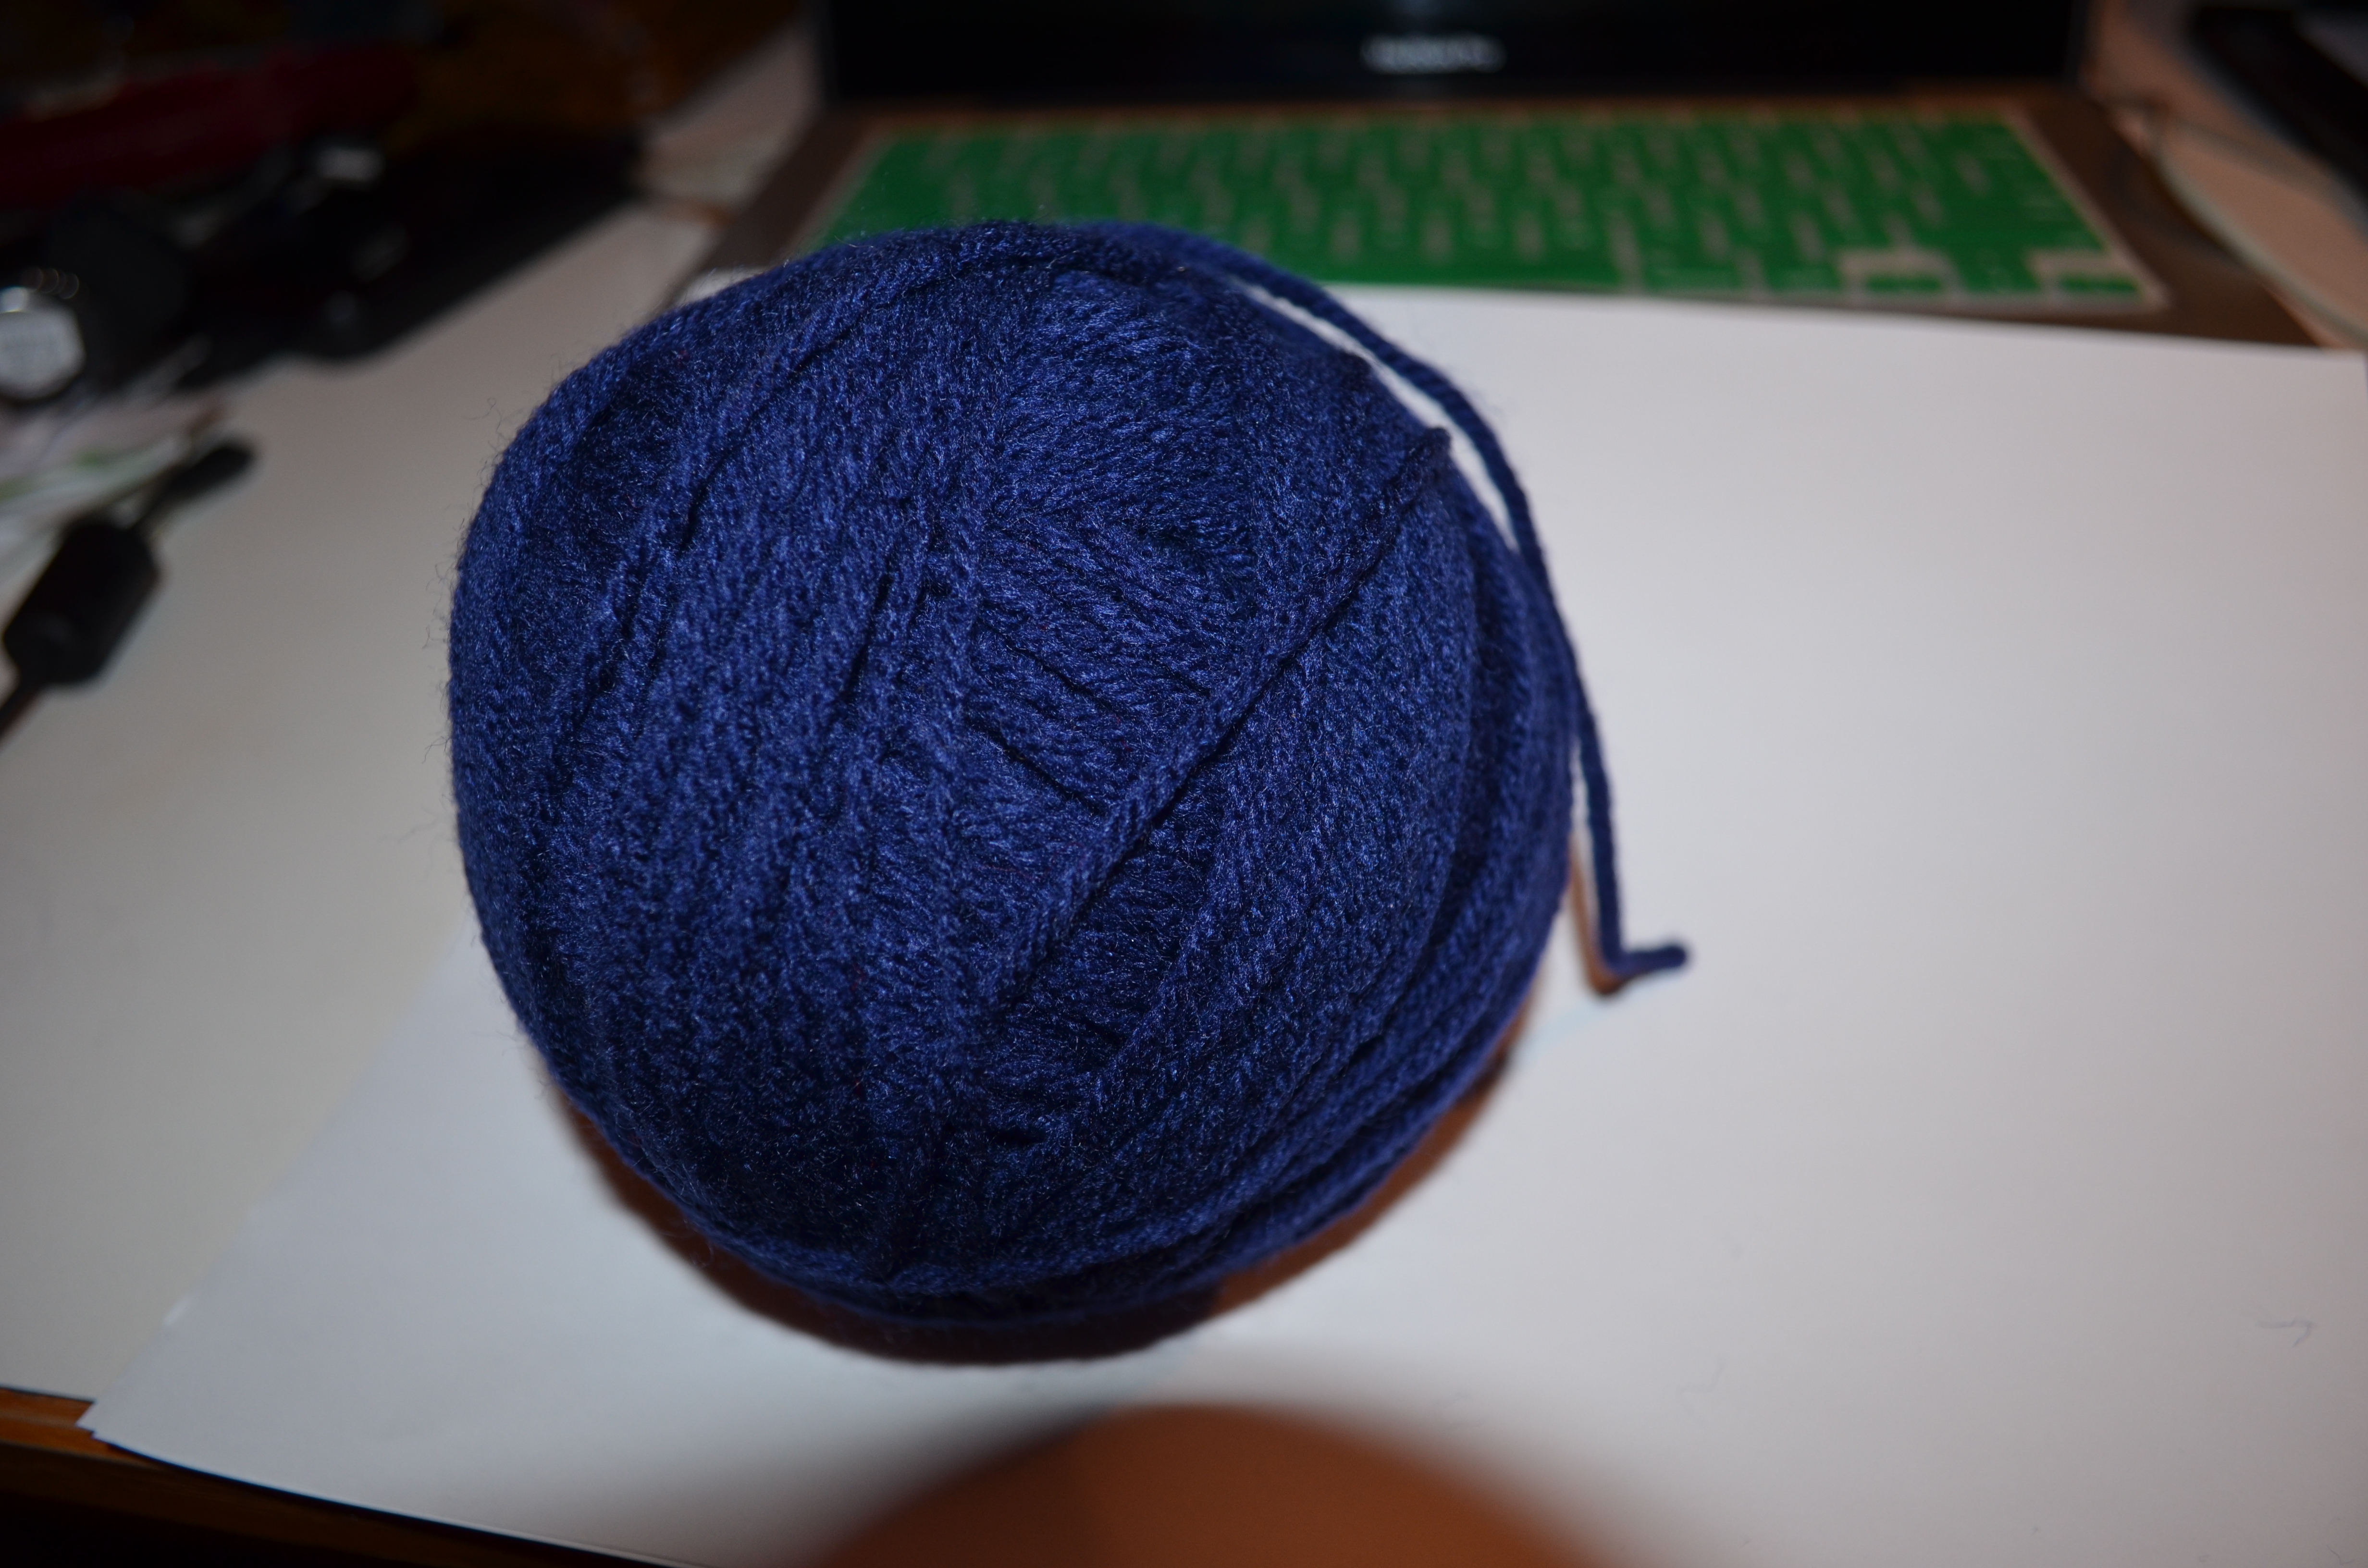
Step 1: The Balls and Beginnings
BEFORE YOU DO ANYTHING, check out “Balling and Beginning” for your initial steps! This will get you started with the proper yarn balling technique and the slip knot that starts you off!
Step 2: The Chain
This is your basis for nearly anything you crochet, whether it be a scarf, hat, little crochet animals, etc!
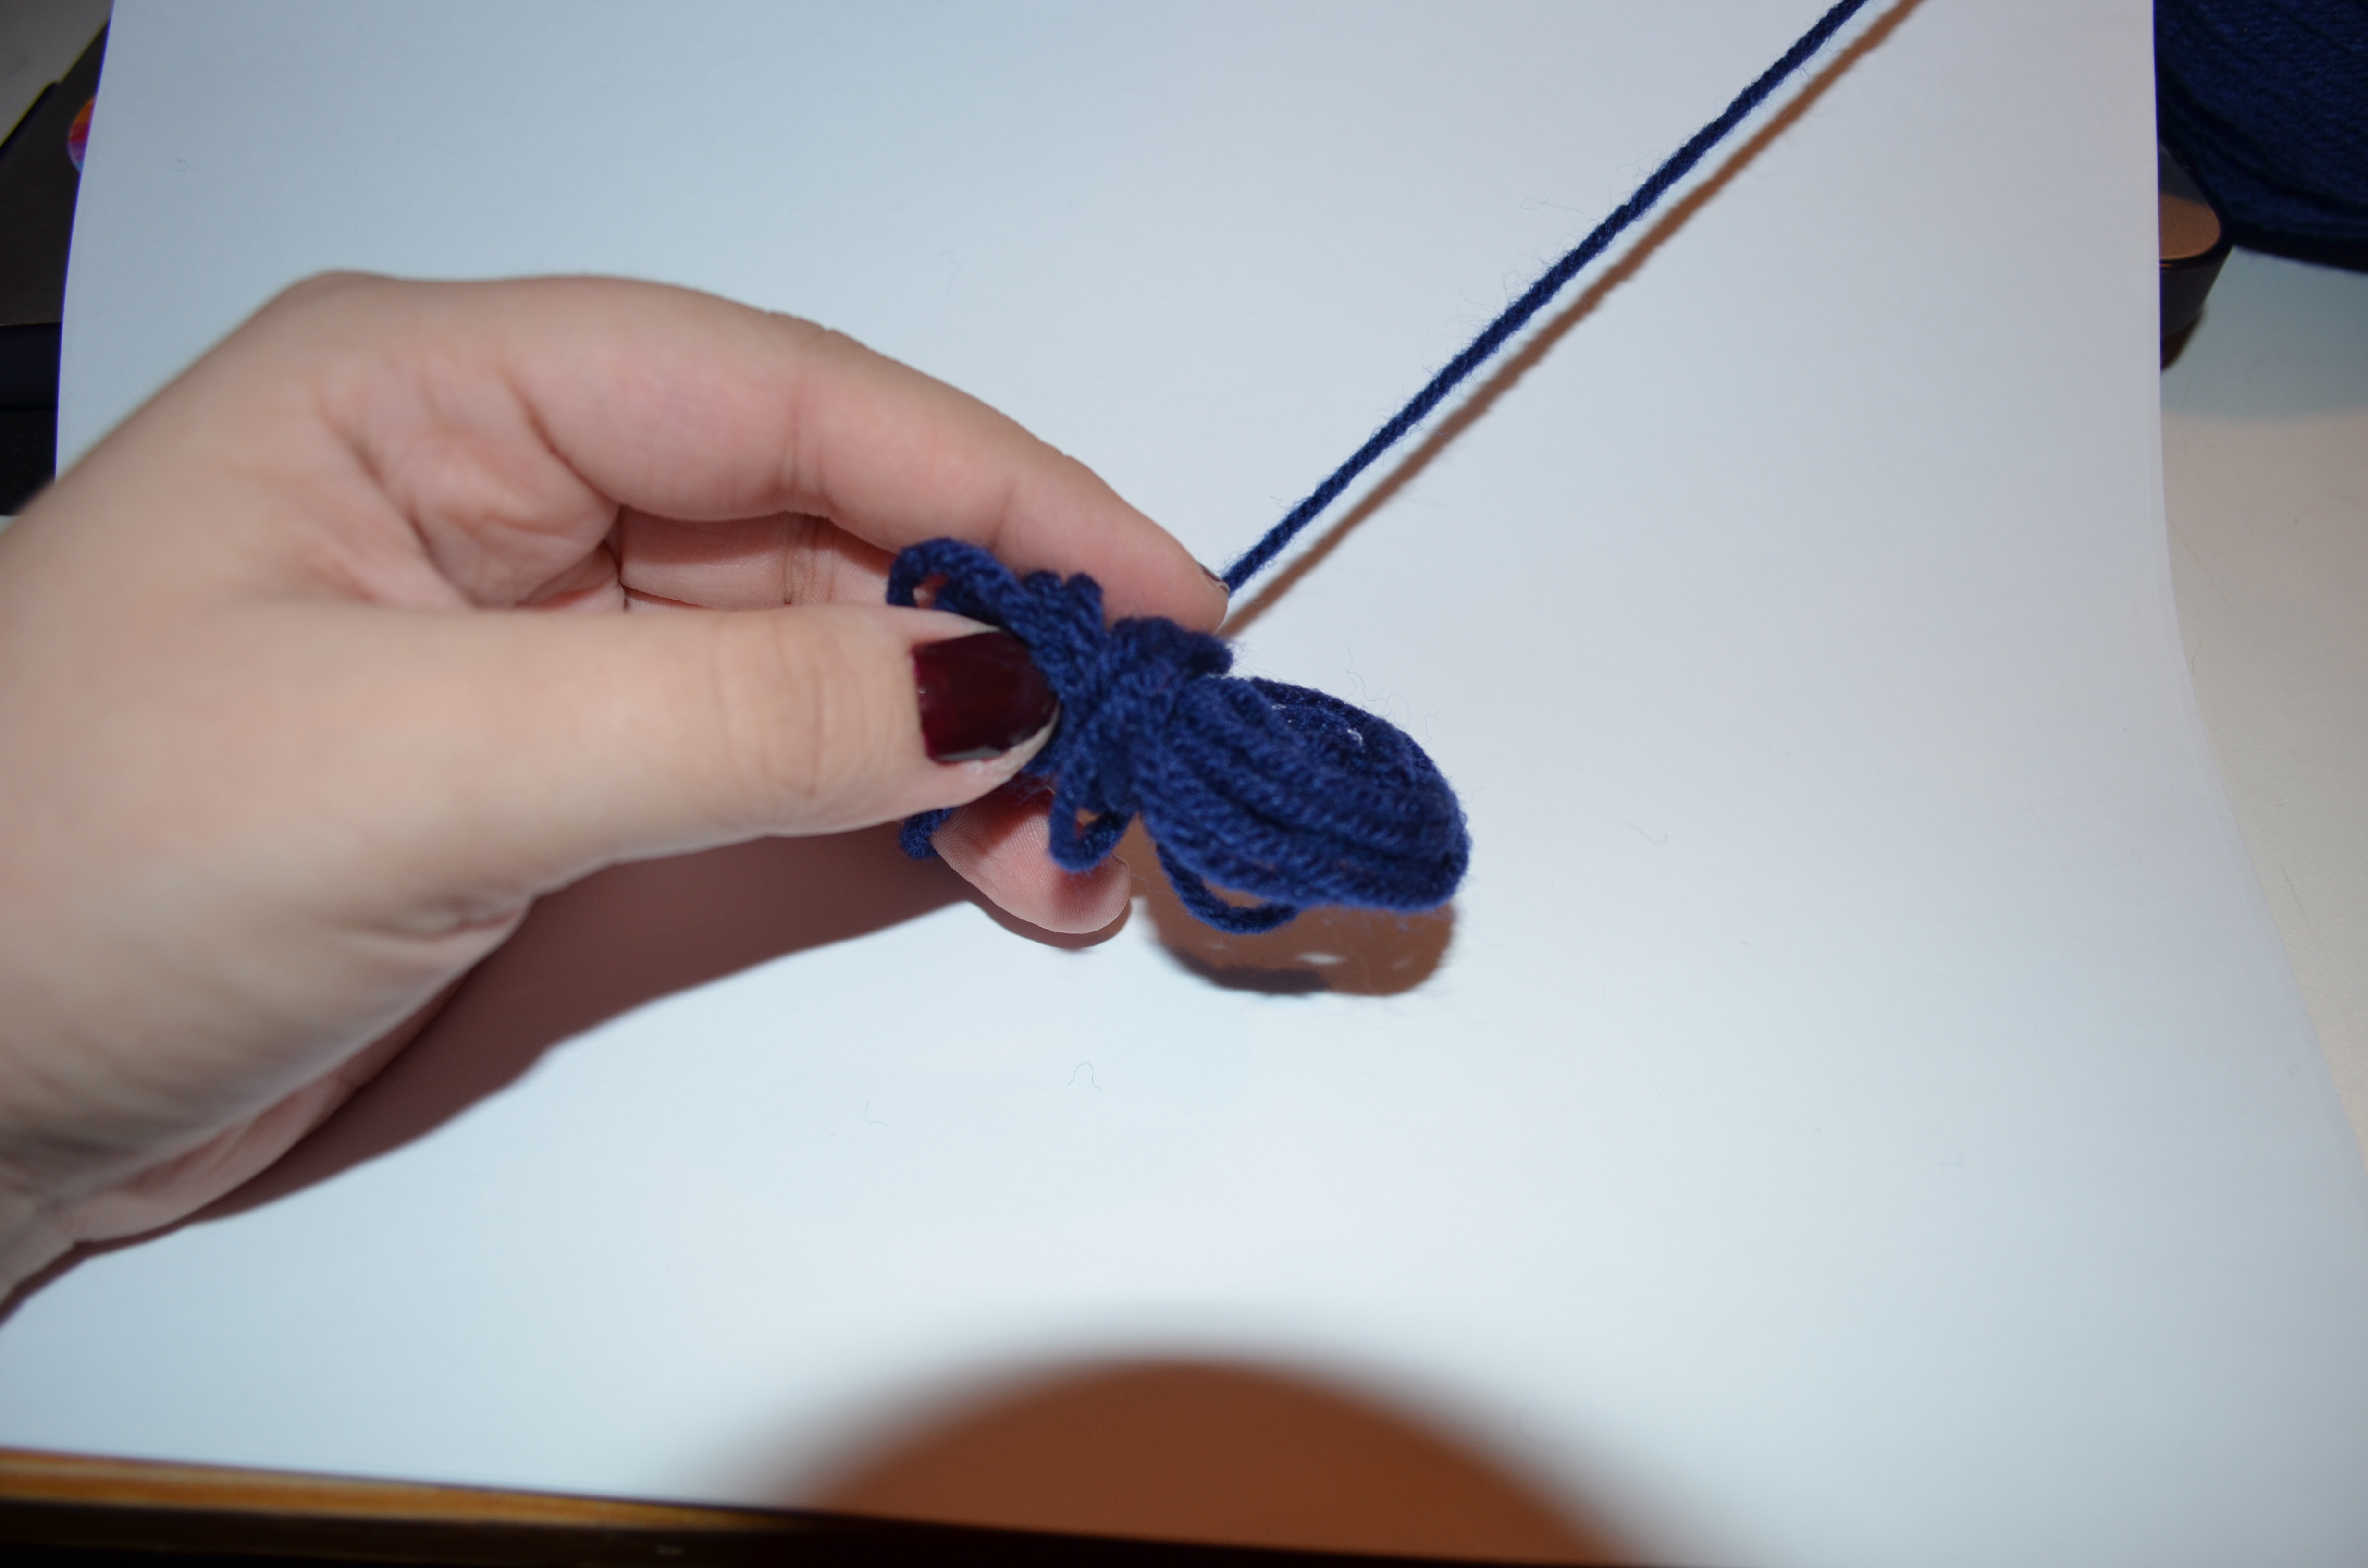
First you must assume the proper finger stance. If you write with your right hand, your yarn should only ever touch your left hand and your hook must always be held in your right hand (as it is beautifully depicted below). If you write with your left hand, then the prior statement is opposite: yarn in the right hand and hook in the left. If your ambidextrous… well, you’re on your own. Kidding! Just pick a side; go with what feels most comfortable for you!
No matter what hand, the knot should always be held with your thumb and middle to pinky fingers.The long strand of yarn connected to your perfectly spherical (or lumpy and peculiar) ball of yarn will always be looped around your index finger (like so). The crochet hook that is being held in your other hand is typically held like one would hold a pencil (hook tip -more professionally know as the point and groove- facing down ward, thumb and index finger holding the tumb rest like they would hold a pencil, and the handle facing upward and away fromt he hand). However, that is actually slightly more difficult to do when first learning, so I am demonstrating the somewhat easier formation (hook tip pointing upward and away from the hand, thumb rest being held like so, and the handle pointing downward toward your body). I highly recommend starting out with this position. Then, later on, you can try to other (pencil-like) way. It honestly does not matter how you hold the crochet hook, so long as you feel comfortable!

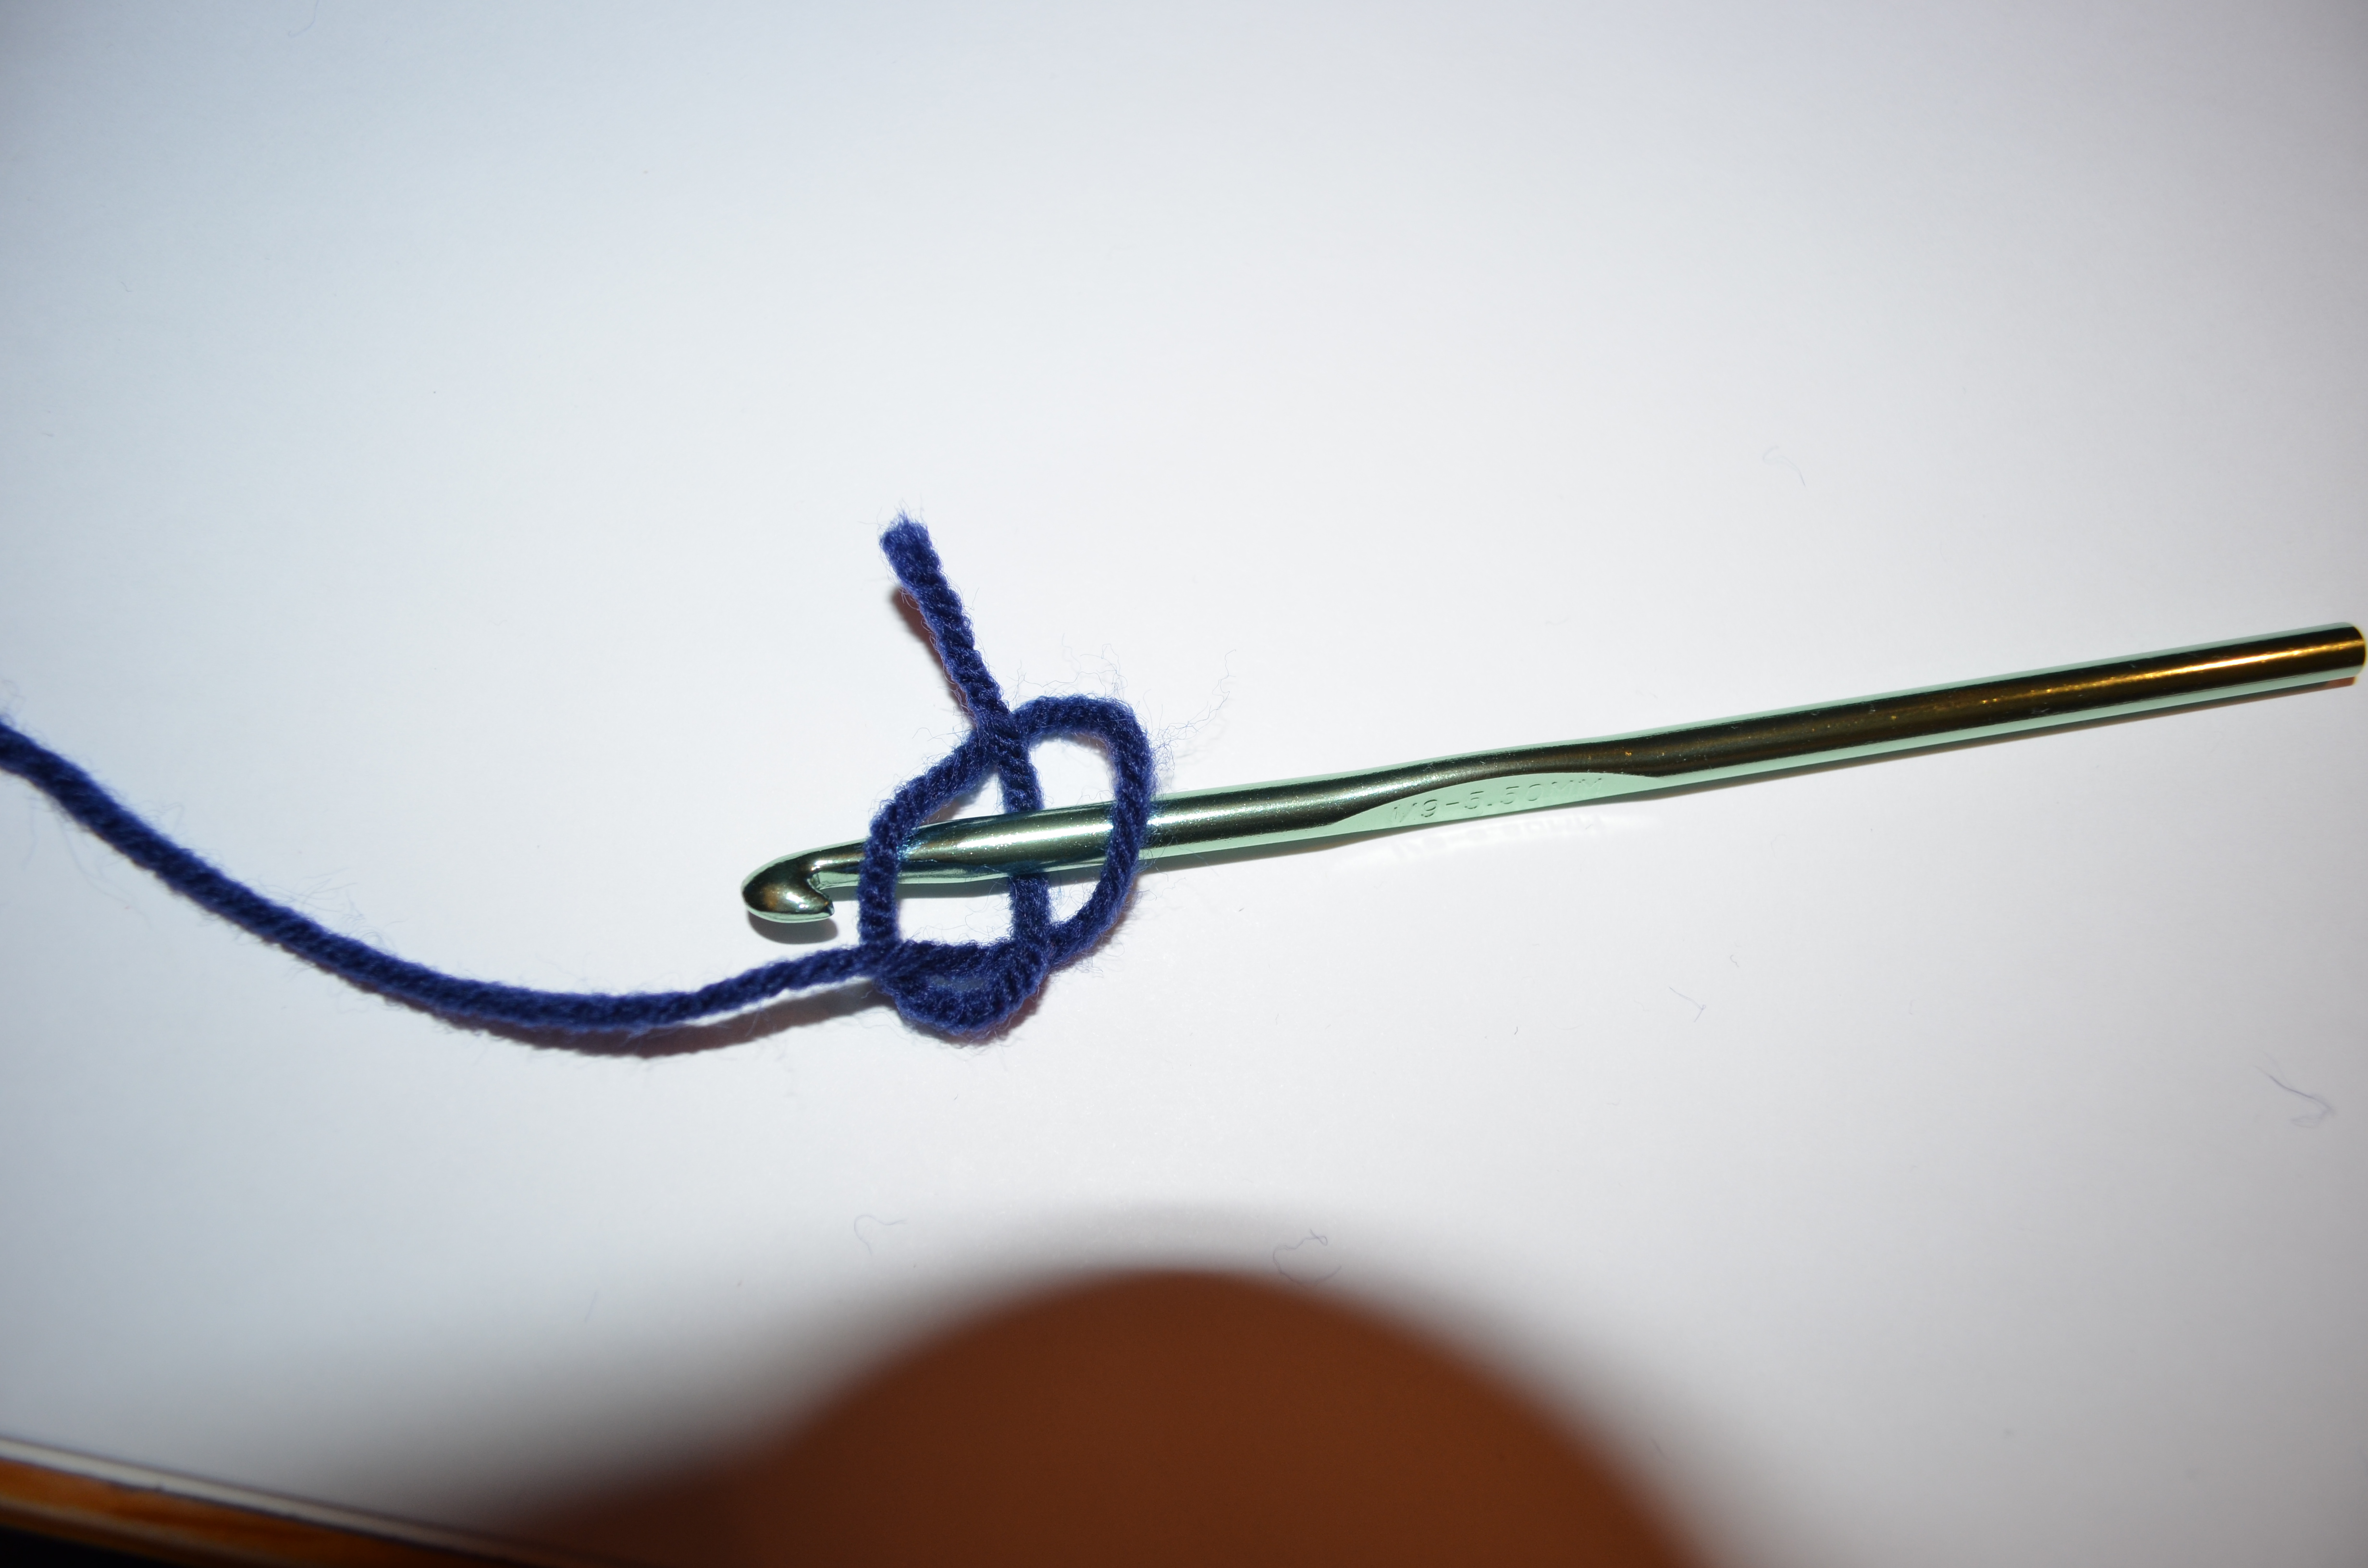
To create your chain, you must begin with what is commonly known as yo (yarn over). This first step requires you to loop your yarn over your hook (as depicted below). It does not matter if you loop your yarn from behind the hook or in front of the hook (like I did below). Then you must pull said yarn through your initial knot. This may be tricky at first but have no fear! Your hook is smooth and the yarn will slip a bit; just keep trying until you have got the hang of it. Now, I recommend not pulling your new knot too tightly. You’re just starting out, dear; keep it all nice and loosey-goosey! Once you’ve got the hang of it, then you can pulla bit tighter. I still recommend avoiding tight stitching. Keep keeping it a bit loose. I find that the end look is often better when you do this. Tight stitching is not as comfortable to wear or use, trust me!

You’re going to pull your yarn through, and the image below will show what it should (somewhat) look like.

Just keep doing that same procedure over and over until you have the length or width you want you piece to be. It’s going to look somewhat like a braid!

(A Tidbit of a Tip: If you would at any time like to “undo” what you have created – even if it is a whole row or just a stitch or two – all you have to do is take your work off the hook and pull the string till you are where you want to be. I recommend creating your first chain, completely undoing it, then redoing it. Do that AT LEAST once. You need the practice at first!)
Step 3: The Single Crochet
Look, guys, this is your first real stitch! You’ve come so far; I’m so proud of you, dearie! Are you ready? Okay, here we go!
Turn your chain so that the braid is facing you. Take your crochet hook with the single knot you currently have around it and stick your hook through the outer part of the braid (as demonstrated below). Just through that part, so that you have two loops of string around your crochet hook.

Yo (yarn over -we just learned this!). In this stitch, I just went from behind (it really does not matter). Now, it will appear that you have three lines/loops of yarn around your hook. Pull this new loop through the loop closest to it (the one that you took from the braid, not the knot you started this stitch out with).

Then just push your hook out, so that you now have just two loops/lines on your crochet hook. This will leave you with the product displayed below!

Wait, it’s not over yet! Then yo again.

You will then pull this new loop/line you just made through the remaining two loops/lines that are on your crochet hook.

Push your hook out so that you now have only one line/loop on your crochet hook, and voila! You have just completed one single crochet stitch! Then move on to the next definitive braid, repeating the process! Make sure that you do not just keep working on the stitch you just made (you’ll just end up with a mess of knots – better known as a “craftastrophe”)! This may seem super tedious and take a little while but after a few stitches of practice it becomes like second nature. Just keep trying!

Step 4: The ‘To Be Continued’
After you complete your row of stitches right through to the end of the chain, create one single chain stitch. This will allow you to work outward (creating length or width to your piece). In all future rows of stitches you create after the first row you just completed, you must take all (a.k.a. both sides) of each braid on the piece to work from. Then just proceed with the stitch the same way (but you must take the first two lines/loops – which is the braid sides – with the first yo you do). I will demonstrate this further and in more detail in a later blog post, I promise! I may even show you some different types of stitches in future posts as well! Get excited, dearies!
End Note: Keep your yarn ball in one place and try not to get all tangled up in it! I will not be having any craftastrophe injuries from this, folks!
%20%7C%20Do%20It%20Yourself%20%7C%20An%20Utter%20Craftastrophe)


%20%7C%20Do%20It%20Yourself%20%7C%20An%20Utter%20Craftastrophe)