
(Balling and Beginning)
Need a gift to give away for the holidays? Getting a bit chilly with this incoming cold weather? Are you stressed out? Do you always need to be doing something with your hands? Well, fear not, my dears! Crocheting is just the hobby/craft for you!
Men, this is even a craft for you! Take a look at this newsletter article to gather up some courage and inspiration! Men often take up crocheting later in life (after retirement), but it is never too early to begin. Crocheting even has health (mainly brain) and practical benefits. Plus, guys, wouldn’t the gals fall head-over-heels after you give her that gorgeous hand-crocheted scarf and hat? Woohoo!

What you require:
- Yarn (any kind and color will do, I recommend just basic Red Heart yarn)
- Crocheting Hook (preferably size: I or 5.50mm)
- Your Hands (more precisely, your fingers)
- An Overabundance of Patience
- Optional: Some Music to Pass the Time (I recommend Ellie Goulding’s new album, Halcyon)
(A Tidbit of a Tip: If you find that you are crocheting too tightly, go up one size in the hook. If you find that you are crocheting too loosely, go down one size. It will make it a lot easier, but give it a bit of time and practice first!)
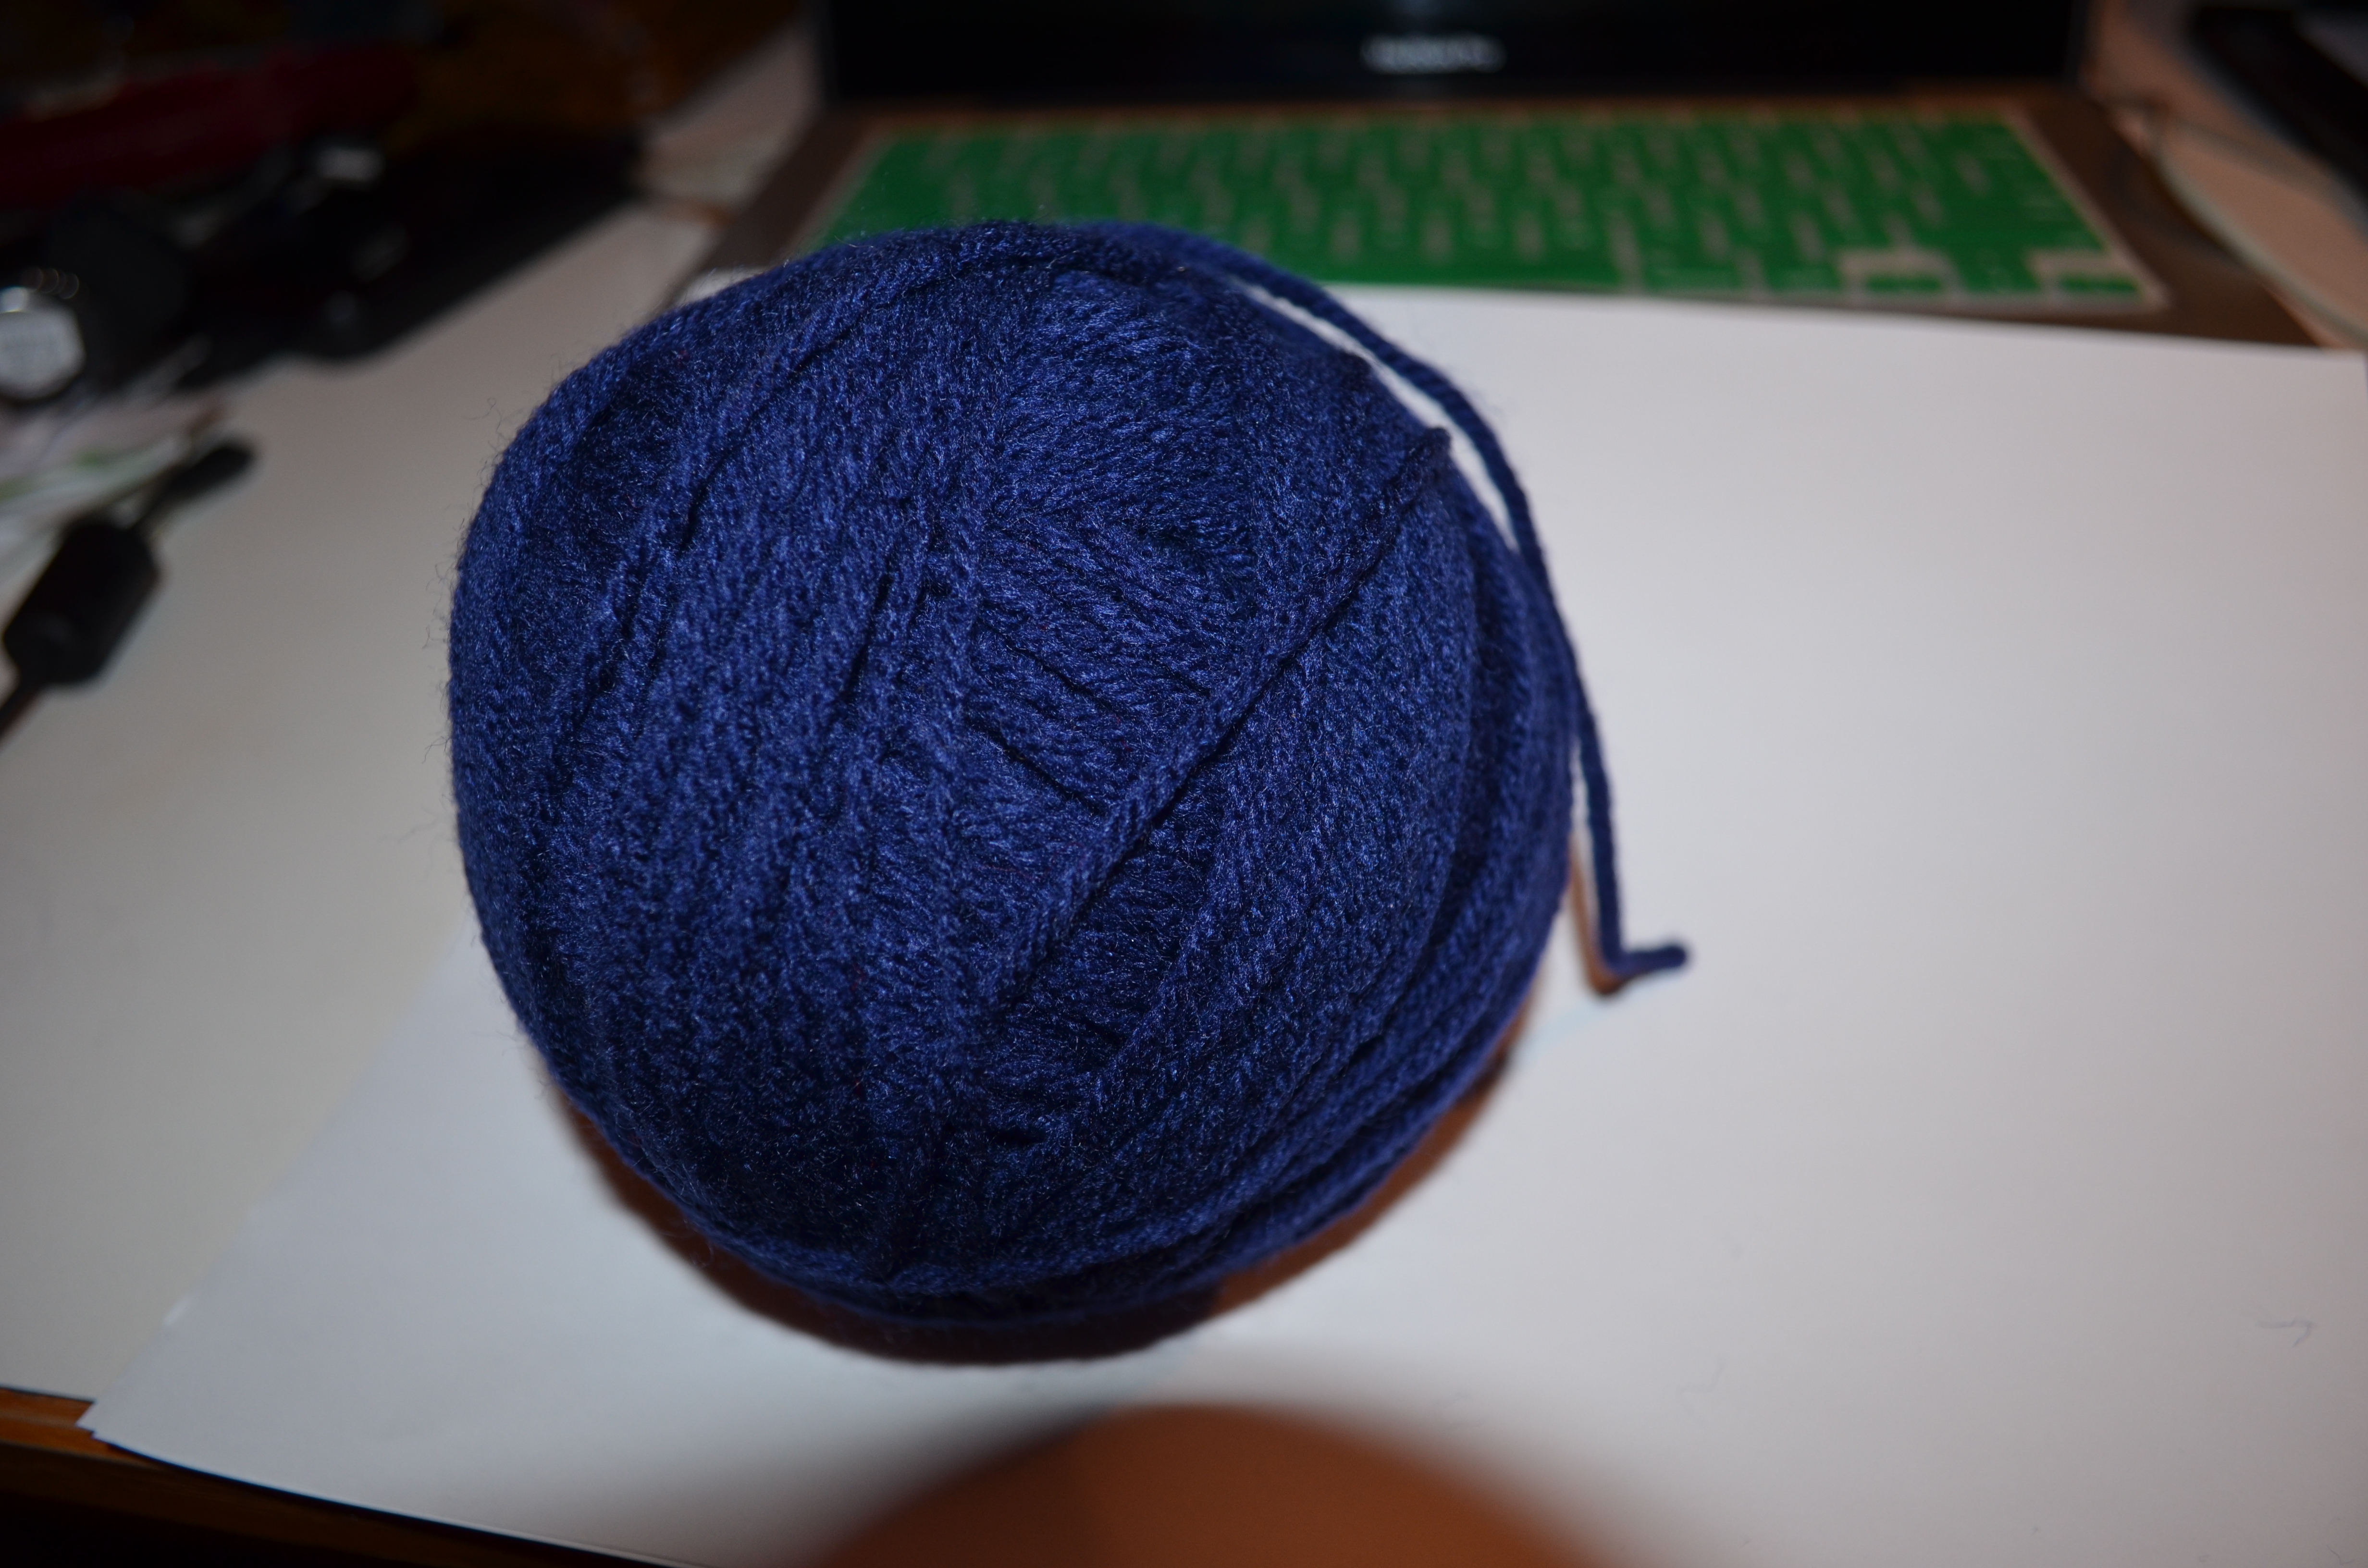
Step 1: The Yarn Ball
Yarn comes in that odd-ball (see what I did there?) oval-shaped something, but it needs to become a ball! Always start by pulling from the inside string, not the piece hanging out on the side of the outside of the oval tube. Then wrap it around your three fingers several times, until you feel that there is enough string there.

Take the string off of your fingers and begin wrapping around the other way, many times.
You must continue wrapping the string several times in different directions until the entire yarn oval-tube has become a well rounded, organized ball. If you would like, you can even use this to play with your cat or dog! See, we’re already teaching out how to multi-purpose craft!
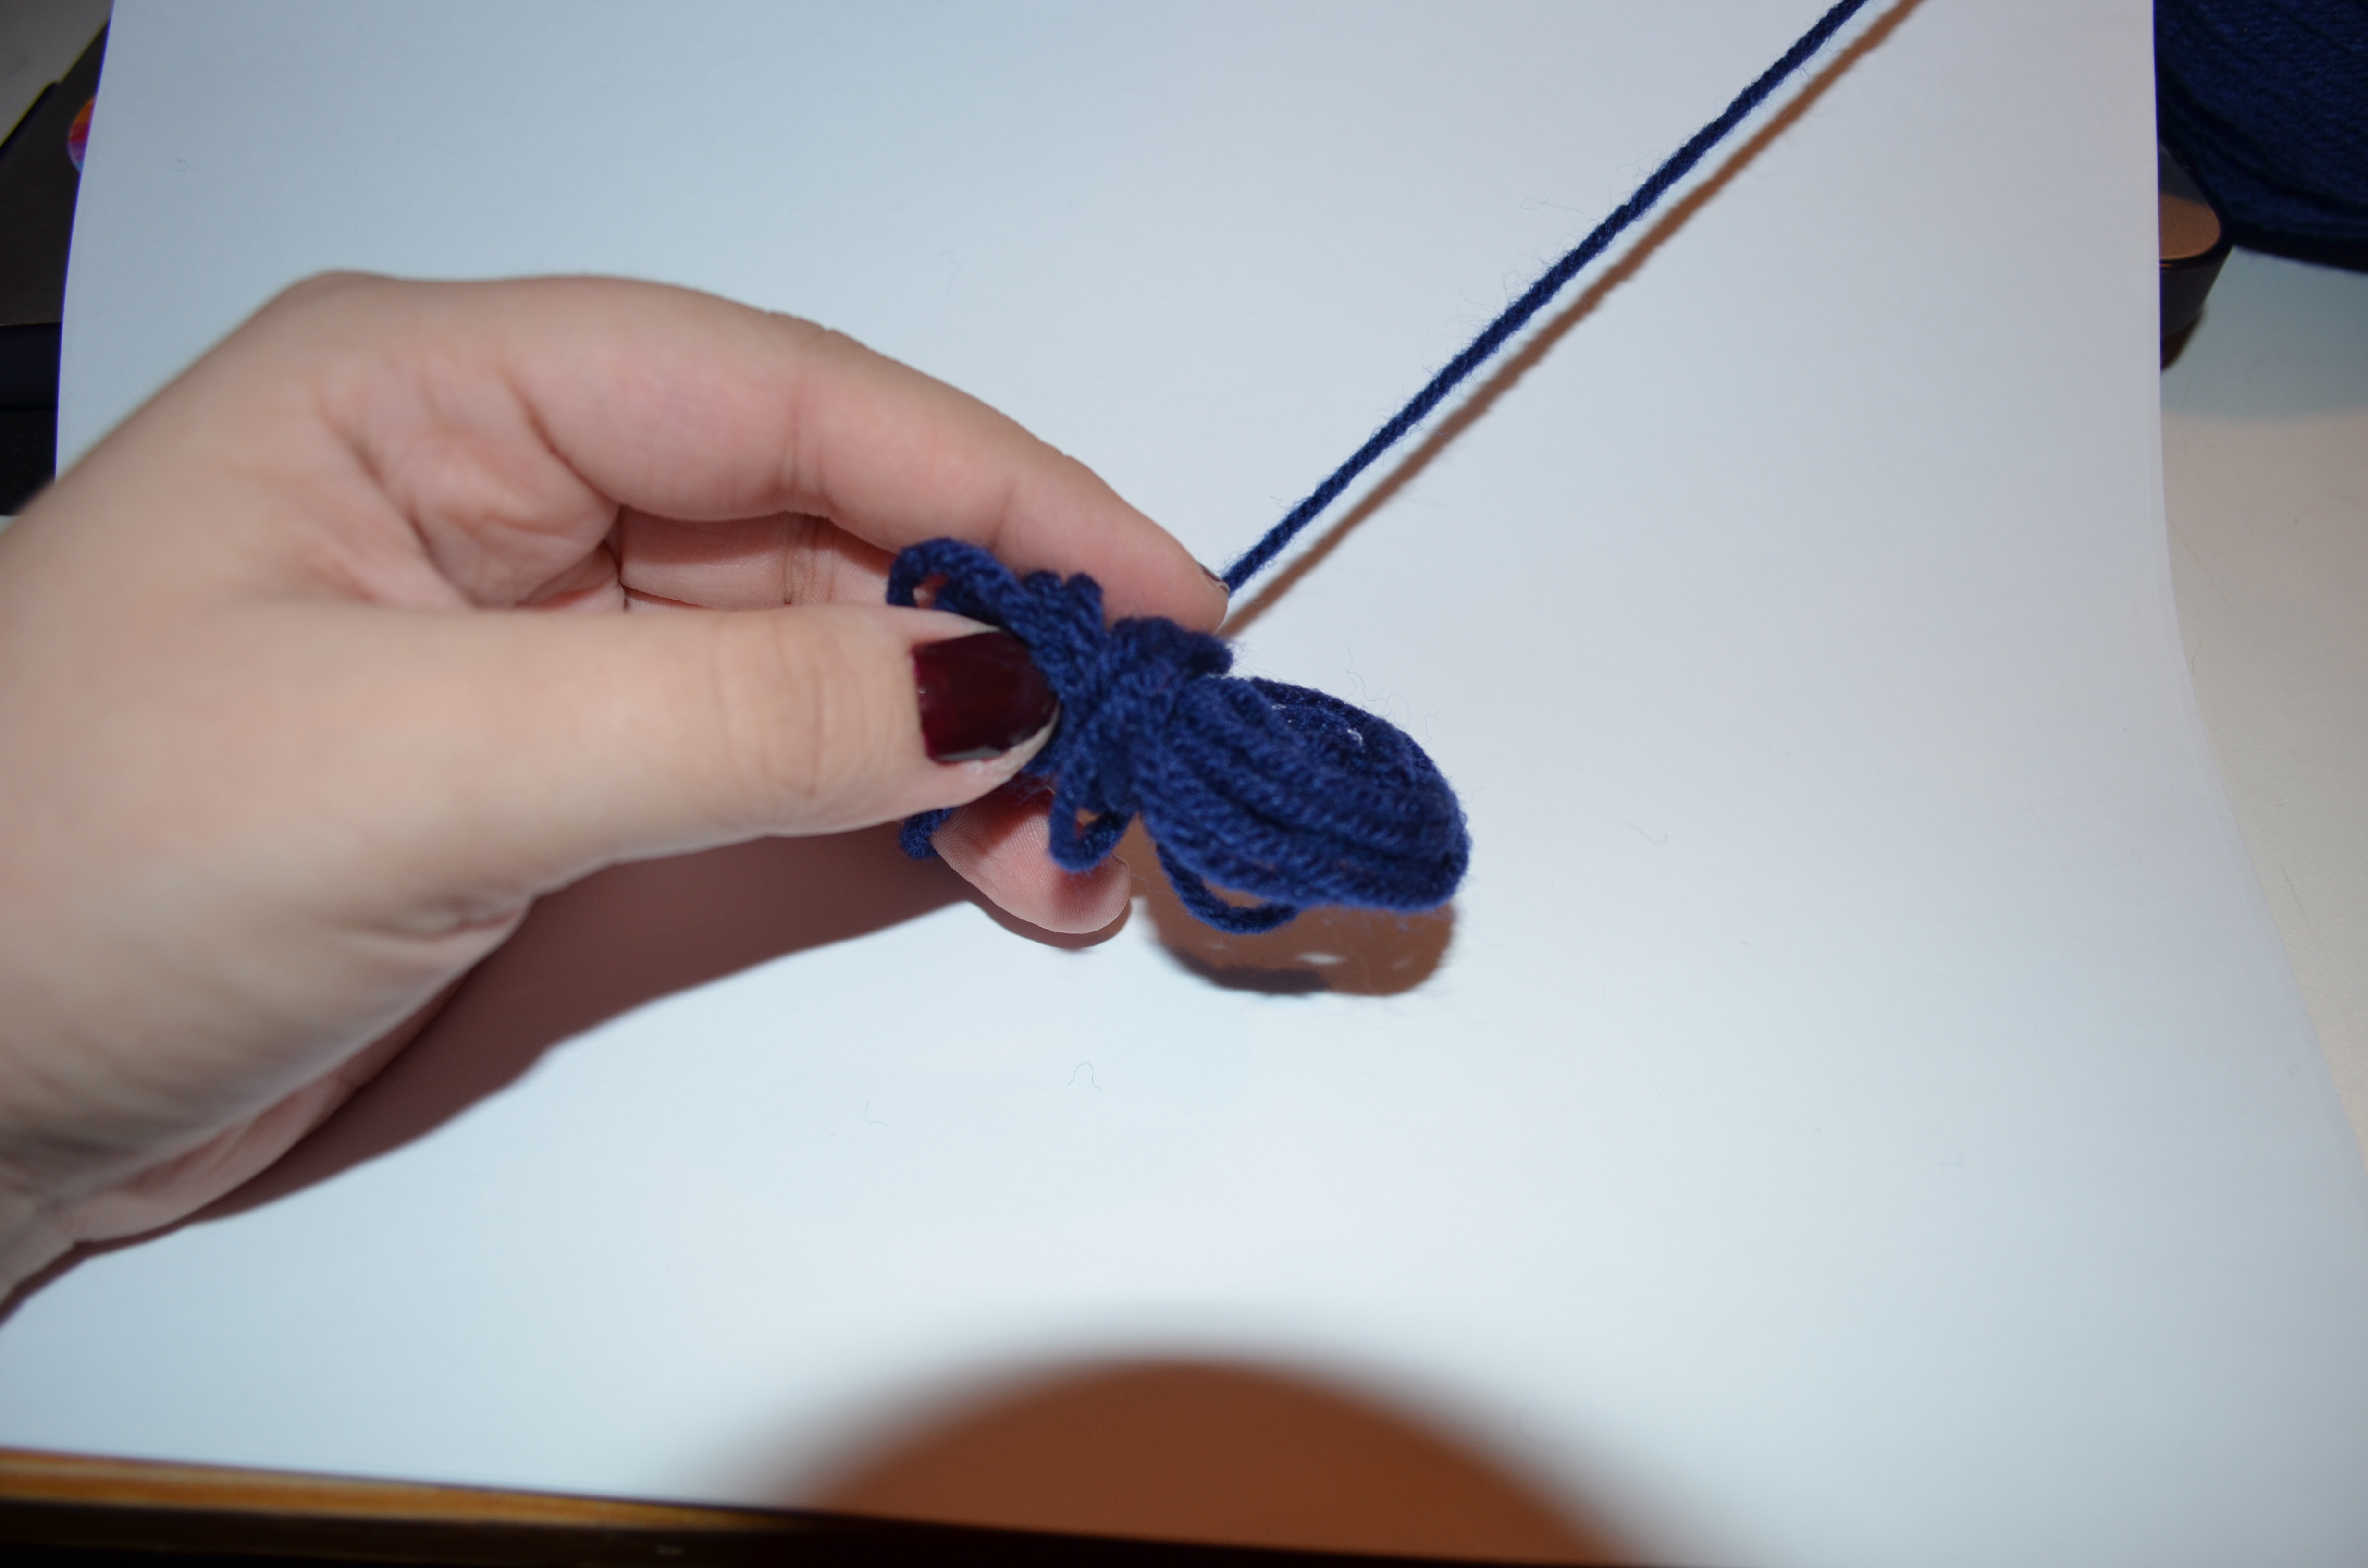
Step 2: The Initial Knot
This will get your chain started. Make a normal loop with the end of the yarn.

Place the end of the string across the loop. It sort of looks like a pretzel (or just a circle with a line through it)!

Slide your crochet hook through the pretzel. Keep the two sides of the circle on one end of your crochet hook and then the end tip on the other (still keeping the end tip looped through your circle-loop).
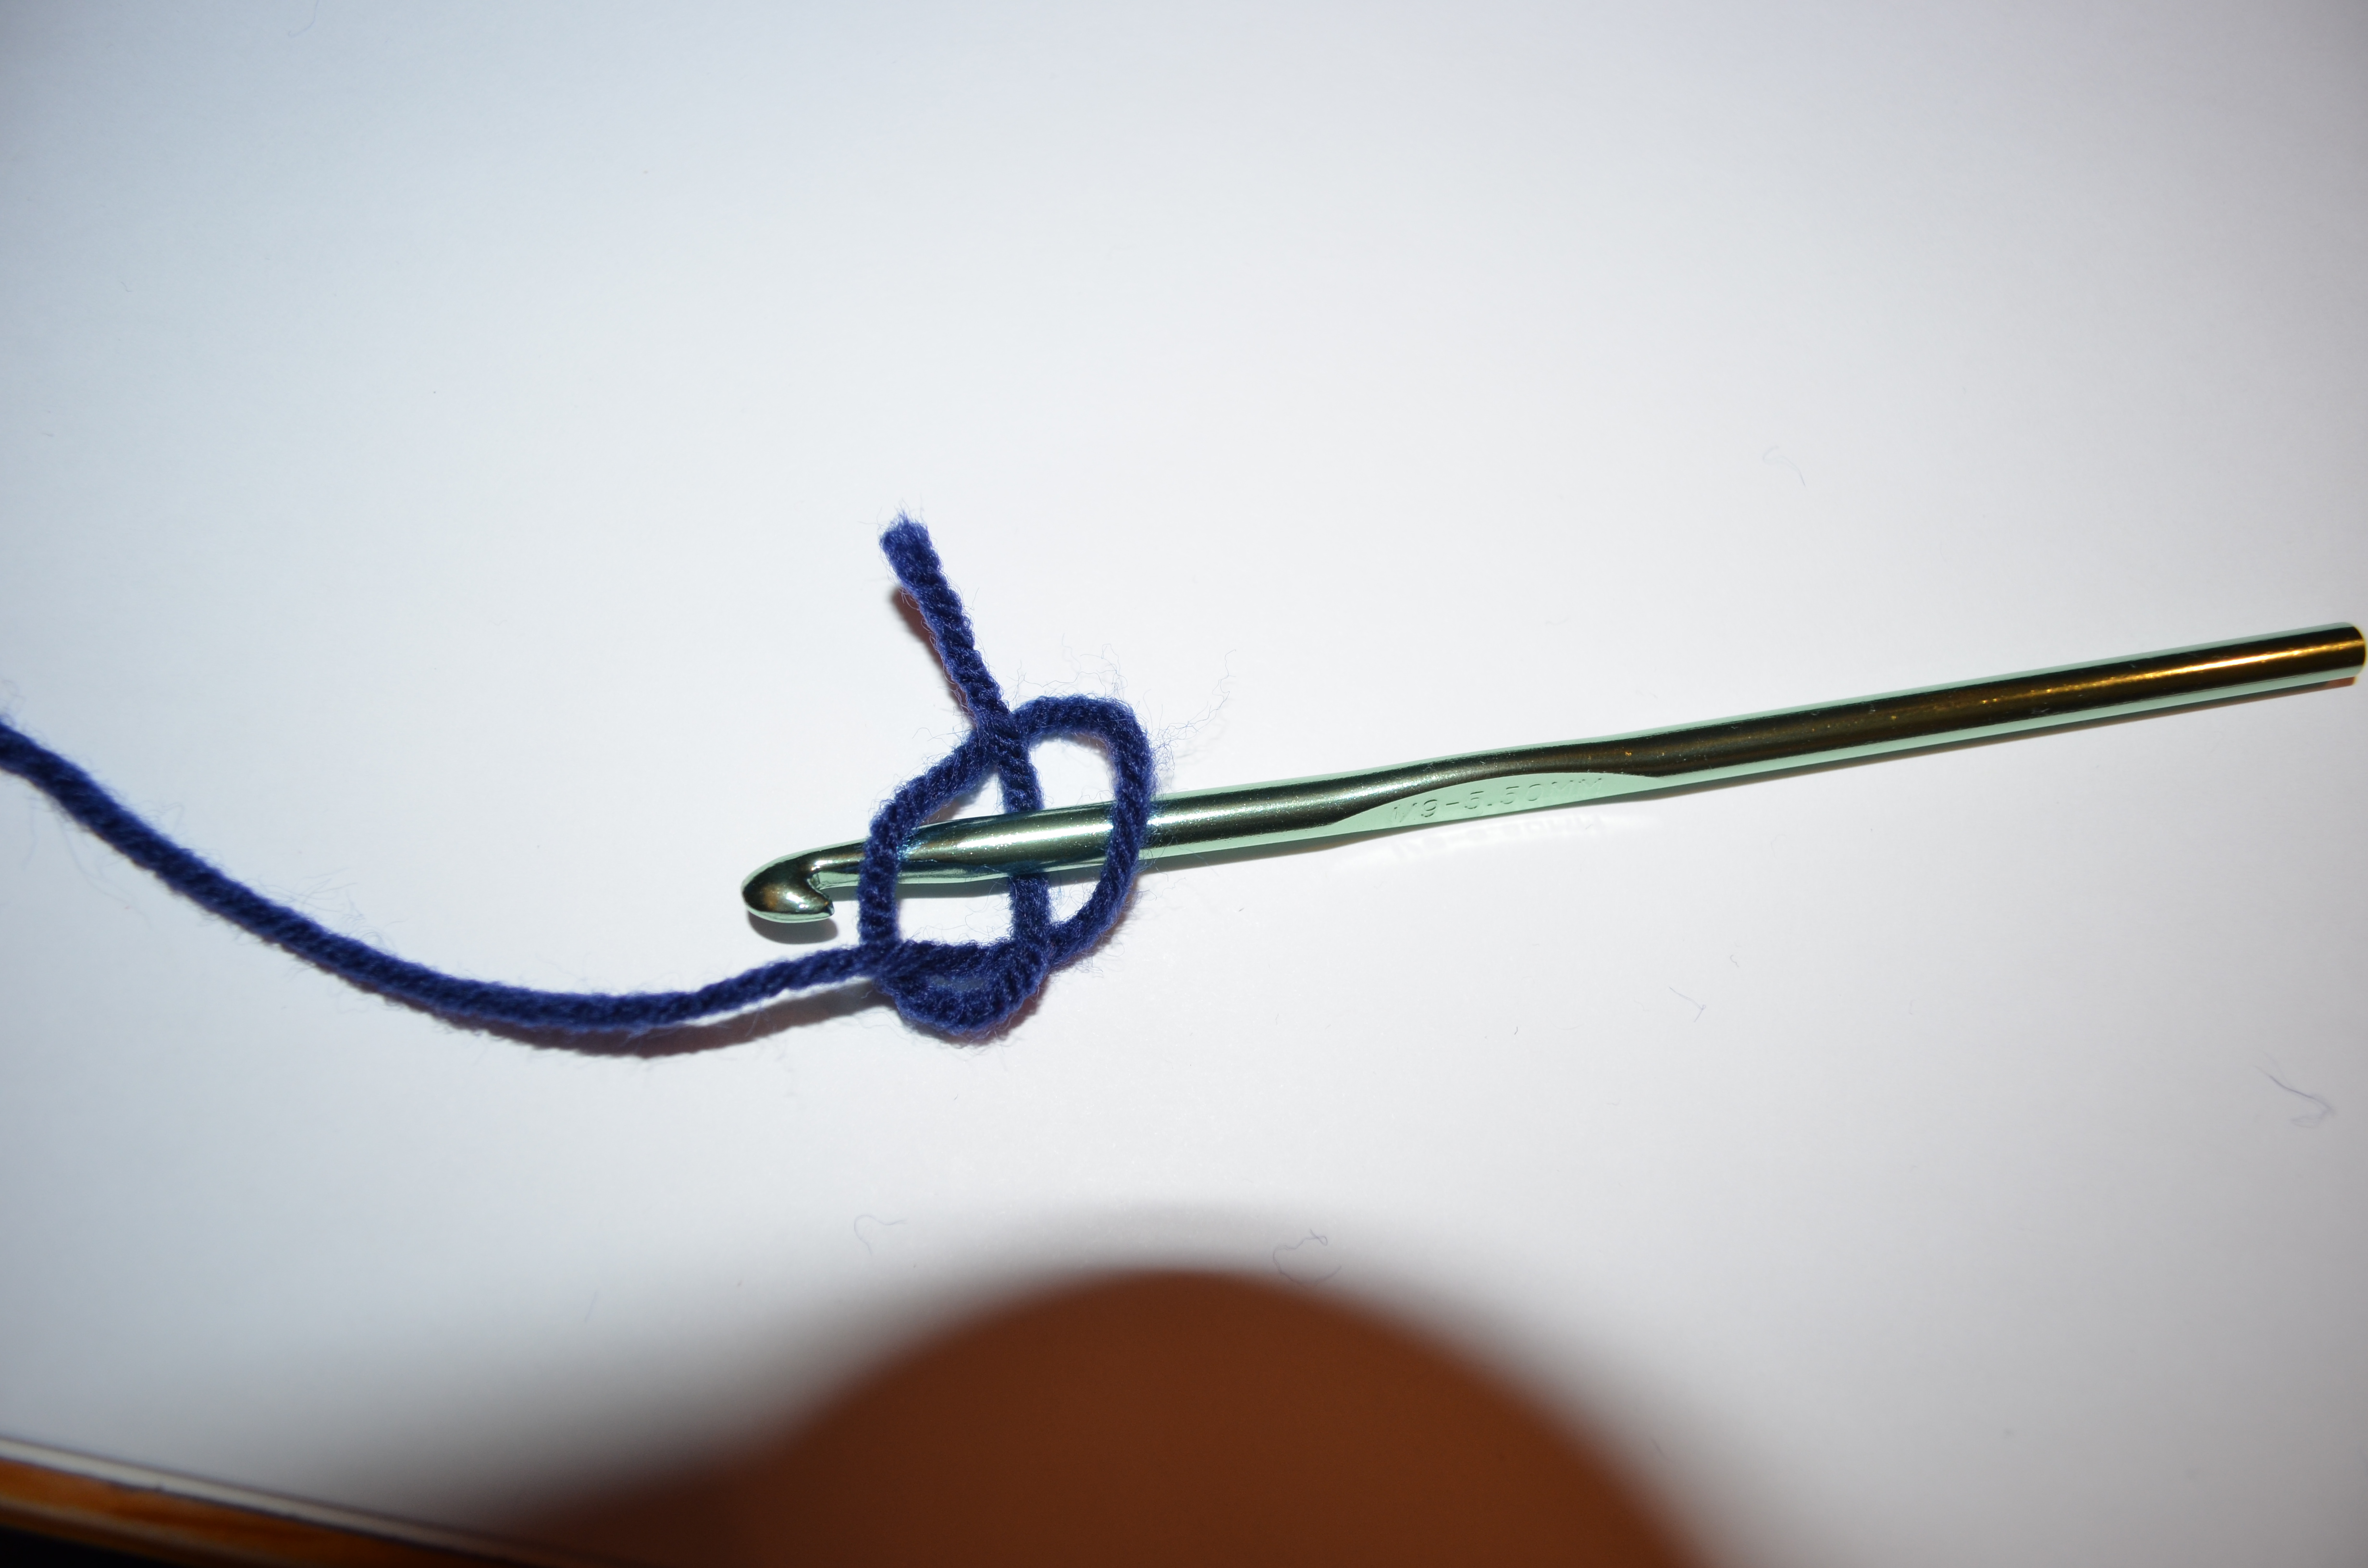
Then pull it tight, but not too tight! Keep it a bit loose seeing as you will have to be sticking your hook through it again!

Your knot (actually somewhat of a noose) is now ready to use!

(A Tidbit of a Tip: If you can’t get this first knot down then you can just tie a normal knot around your crochet hook. That would work just fine, but this is a somewhat more professional approach! Just keep practicing and trying. Eventually it will all work out, I promise!)
Step 3: The Next Bits
Read next week’s blog post to learn how to do your initial chain (and maybe even your first type of stitch)!
End Note: You should not have made too much of a craftastrophe! The worst you can do is get all tangled up in your yarn, which is totally understandable! Or an animal/small child may have started running around with the ball… If so, CATCH THAT THING! We don’t want any stringy accidents!
%20%7C%20Do%20It%20Yourself%20%7C%20An%20Utter%20Craftastrophe)